
Figuring out how to size ductwork correctly for a home HVAC system really comes down to one thing: keeping a trustworthy duct sizing chart CFM residential HVAC reference within arm’s reach before you ever cut pipe — and most homeowners don’t discover they need one until a room goes cold or a register starts shrieking.
Early on, I made this exact mistake myself on a basement finish-out job in Salt Lake City. I was tying in two new supply branches off the main trunk — a 6-inch run feeding the bedroom, another 6-inch run feeding the big recreation room — and I sized both of them by feel instead of running the numbers first. That decision came back to bite me. Once winter set in, the rec room refused to climb past 64°F, and every time the system kicked on, a high-pitched whistle came shrieking out of the bedroom register. I’d already sunk two weekends and a few hundred dollars into duct material, and what I had to show for it was a cold room, an irritating noise, and a homeowner who was losing patience fast.
Once I actually stopped guessing and worked the math, the issue jumped right out at me. The rec room needed something like 180 CFM — cubic feet per minute, the standard unit for measuring airflow in residential systems — just to cover its heating load. I’d run a single 6-inch duct, and that size tops out around 100 CFM at a proper design velocity. Meanwhile, the bedroom only called for about 40 CFM. So that same 6-inch duct was choking the rec room by starving it of airflow, while blasting the bedroom with far more velocity than it needed — which is exactly where that whistle came from. Neither branch was sized correctly, and fixing it meant tearing out what I’d installed and rebuilding both runs from scratch with the right diameters.
I’ve watched this same scenario play out on other jobs more times than I’d like to admit. Duct sizing seems deceptively basic — it’s just metal pipe moving air, right? — but get the numbers wrong and you’re stuck paying for it through discomfort, noise, and inflated energy bills for as long as you live in that house. Here’s how to get it right from the start.
Why Duct Diameter Carries More Weight Than People Assume
Here’s the underlying principle: every duct has to deliver a set volume of air (CFM) while keeping velocity within a workable range. Velocity gets measured in feet per minute (FPM), and in residential systems, the workable window for supply ducts generally falls between 500 and 700 FPM. The industry’s go-to design target sits at 600 FPM.
Drop below 500 FPM and the air won’t mix properly once it enters the room — it just falls straight down out of the register, leaving cold or hot pockets near the floor. Push past 700–800 FPM and noise becomes the problem: the airflow turns turbulent enough to rattle the duct walls and the grille itself. That’s precisely the whistle I created in my own bedroom branch. There’s nothing mysterious about it — it’s straightforward physics at work.
Matching CFM to Round Duct Diameter
Using a 600 FPM design velocity as the benchmark, here’s how round duct sizes translate into CFM capacity. This table is really the backbone of any residential duct sizing reference:
- 4-inch round: 40 CFM
- 5-inch round: 70 CFM
- 6-inch round: 100 CFM
- 7-inch round: 130 CFM
- 8-inch round: 160 CFM
- 10-inch round: 275 CFM
- 12-inch round: 425 CFM
When you’re working with rectangular duct — a common choice in cramped spaces — the sizing logic shifts because you’re now dealing with a different cross-sectional shape and area. A 6-inch round duct carries roughly 28 square inches of free area. The nearest rectangular match is a 3.25″ × 10″ duct, which lands around 32.5 square inches. You’ll also come across 4″ × 8″ used as a rough stand-in. What actually matters is matching that free area, not chasing the nominal dimensions printed on the duct.
Friction Loss: The Variable Everyone Forgets
Velocity is only half the story — you also have to account for friction, which is the drag that duct walls, fittings, and overall length introduce into the system. The accepted residential benchmark is 0.08 inches of water column (w.c.) per 100 feet of equivalent length. That phrase “equivalent length” matters quite a bit, and I’ll circle back to it shortly. If your system’s total external static pressure climbs above 0.5″ w.c. — the design ceiling for most residential equipment — your blower ends up straining, airflow tanks, and every room in the house feels the consequences.
This is exactly why duct sizing can’t be treated as a room-by-room guessing game. It’s a whole-system calculation that has to account for static pressure across the entire air distribution network, not just one branch in isolation.
Trunk-and-Branch or Radial: Choosing the Right Layout
Most homes end up with one of two duct layouts. Trunk-and-branch relies on one large central duct — the trunk — that shrinks in size as individual branches split off to feed different rooms. That trunk typically starts big (often 10″ × 20″ rectangular, or the round equivalent at 14″–16″) and steps down in size as CFM demand drops along its length. Radial design, on the other hand, runs separate ducts straight from a central plenum out to each room — a layout you’ll see more in smaller homes or wherever flex duct is used. Each approach comes with its own trade-offs around material cost, space needed, and how easy the system is to balance later. On most basement add-ons, you’re extending an existing trunk-and-branch setup.
The Sizing Calculator I Wish I’d Reached for Before That Salt Lake City Basement
Looking back at that 64°F rec room, the real problem was that I’d installed both branches purely by eye — no CFM math, no chart, nothing to check my work against. A solid sizing calculator eliminates that guesswork entirely and hands you the exact diameter your specific airflow and run length actually call for.
Where it earns its keep
- Delivers the precise duct diameter your CFM and friction loss require — no more eyeballing it and hoping the room turns out right
- Handles the pressure-drop math for you; plug in your numbers and walk away with a result you can actually stand behind on the job
- Saves you from that sinking feeling when a homeowner asks why a room won’t warm up and you realize the ductwork was never sized right in the first place
Where it falls short
- It’s strictly a reference tool — it can’t correct ductwork that’s already installed wrong, and plenty of installers still brush past what it tells them
- You still need to know your system’s total CFM along with the length and layout of your runs before the results mean anything
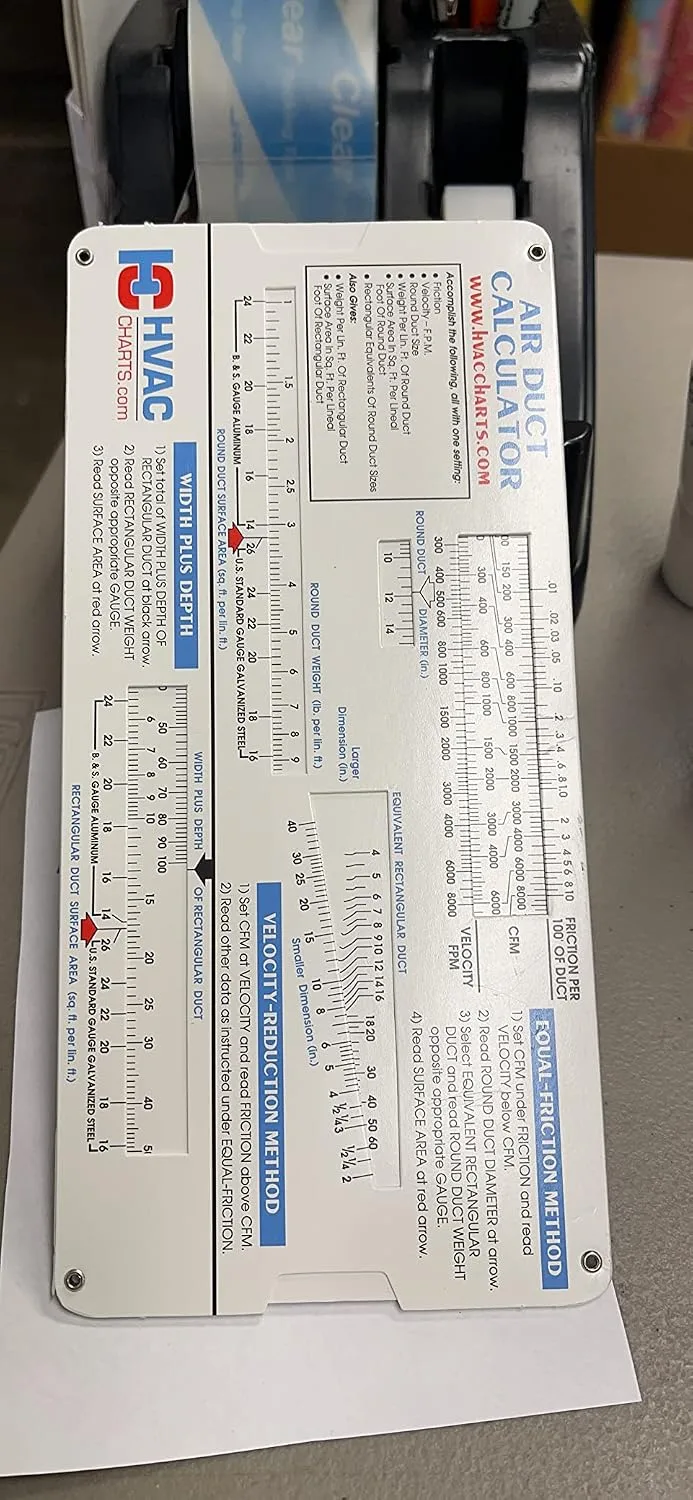
I second-guessed myself for about five minutes before pulling out my own sizing reference on that Salt Lake City job—wondering if I was overthinking it. Grab the ADI Ductulator – Duct Size Calculator and never waste that time again.


About This Article

Written by Dana Sorensen. Homeowner turned building-science obsessive. I help other homeowners understand attic insulation, ventilation, and air quality so they can stay comfortable year-round without overspending on energy bills. More about this site.
Scope and limits. Dana is a homeowner who studies building science, not an HVAC contractor or licensed tradesperson. Anything involving combustion appliances, gas lines, or electrical work belongs with a licensed contractor.
Verify this against a primary source
Specifics change, and your situation may differ from the one described here. These are the authorities worth checking directly:
- ENERGY STAR — recommended insulation R-values by climate zone
- U.S. Department of Energy — air sealing and insulation guidance
- EPA Indoor Air Quality — ventilation and indoor air quality standards