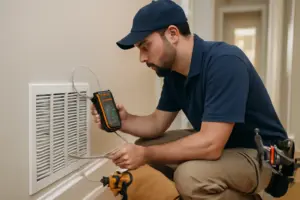
“It’s not the equipment,” I told her, standing in a doorway with my hand still on the knob. This was a newer subdivision home last August, and the woman I was working with — I’ll call her Michelle — had spent two full years arguing with her builder about a master bedroom that ran “ten degrees hotter than everywhere else” every summer. Three separate homeowners had come through on the builder’s dime, and all three signed off on the system as fully functional. One of them actually recommended she just buy a window unit and live with it. I stood in that bedroom with the door shut for maybe four minutes, and I didn’t need a single tool to see the culprit. Cold air was pouring out of the supply register just fine — it simply had no exit once that door clicked closed. The room was ballooning with trapped pressure. Starved of return air, the system was working against itself on every single cycle, while Michelle sweated through August nights and paid a power bill that made no sense for what she was actually getting. I run into this exact scenario constantly, and it’s almost always misread as an equipment failure when it isn’t. It’s airflow, plain and simple — and the fix is usually far easier than people assume. Here’s how to track it down, and more importantly, how to make it go away.
The Real Problem: How a Shut Door Cuts Off Your System’s Air Supply
Let’s break down the mechanics without the jargon. Think of your HVAC system as a loop that only works if it stays open on both ends. Conditioned air travels out through supply ducts into each room, courtesy of the air handler, and then it’s supposed to make its way back through return ducts. In most homes, though, the return grilles live in hallways or shared spaces — rarely inside individual bedrooms. That layout is fine right up until someone shuts a door, at which point you’ve sealed off the only route that air had back to the system.
From there, basic physics takes over. Supply air keeps flowing into the room — usually somewhere between 80 and 150 CFM for an average bedroom — and with nowhere to escape, that air forces the room into positive pressure. You’re generally looking at a differential of 3 to 8 Pascals between the closed room and the hallway outside it. That number seems trivial on paper, but it’s enough to quietly wreck both your comfort and your monthly bill.
Two things go wrong at once. The pressurized room starts forcing conditioned air out through any weak point it can find — outlet boxes, window trim, recessed lighting, wherever the wall isn’t sealed tight. Essentially, you’re paying to condition air and then shoving it straight into your attic or wall cavity. At the same time, because return air can’t get back to the system, the return plenum swings into negative pressure. The blower is straining to pull air that simply isn’t available. Technicians refer to this condition as high static pressure, and equipment does not tolerate it well. It overworks the blower motor, chokes airflow across the coil or heat exchanger, and shaves years off the system’s lifespan. I’ve personally pulled blower motors that failed at just five years old, and every time, the root cause traced back to a return air path that had been blocked for years.
The complaints all sound alike once you know what to listen for. A room starved of return airflow runs hot in summer, cold in winter, and homeowners describe it as a space where “the system never seems to catch up.” They’re not wrong — supply air is pressurizing the room and leaking out through the building envelope before it ever gets a chance to do its job. And because the rest of the house feels perfectly normal, this problem tends to fly under the radar for years at a stretch.
Try this yourself: shut the bedroom door, let the system run undisturbed for 20 to 30 minutes, then check the temperature. If that room lands more than 3 to 4 degrees off from the rest of the house — hotter in summer, colder in winter — you’re almost certainly dealing with a return air bottleneck. For a second confirmation, crack the door about half an inch and hold a strip of tissue paper near the opening. If it flutters outward toward the hallway, you’ve got positive pressure — and your diagnosis is confirmed.
Adding Return Air Pathways at Home: Three Fixes, From Simplest to Most Involved
There isn’t one universal fix. What works best depends on your layout, your wallet, and how bad the pressure imbalance actually is. I always walk clients through these three options starting with the easiest, because more often than not, the third option turns out to be overkill.
Option 1: Undercutting the Door (Basically Free)
The least expensive path forward is simply trimming more space beneath the door. Standard interior doors leave about a 1/2-inch gap at the floor. Widen that gap to a full inch and you’ve opened up roughly 100 CFM of return pathway — plenty for a small-to-medium bedroom served by one supply register. Keep in mind that a 1-inch undercut usually translates to 1.5 to 2 inches of total clearance once carpet gets factored in. A circular saw and a careful hand can get this done yourself, or a carpenter will typically knock it out for under $50. The tradeoff: you lose any sound privacy the door was providing, and thick carpet or transitional flooring can make for a messy cut. But for a kid’s room or guest bedroom where acoustic isolation isn’t a concern, this alone often solves the whole issue.
Option 2: Transfer Grille or Jump Duct (The Sweet Spot)
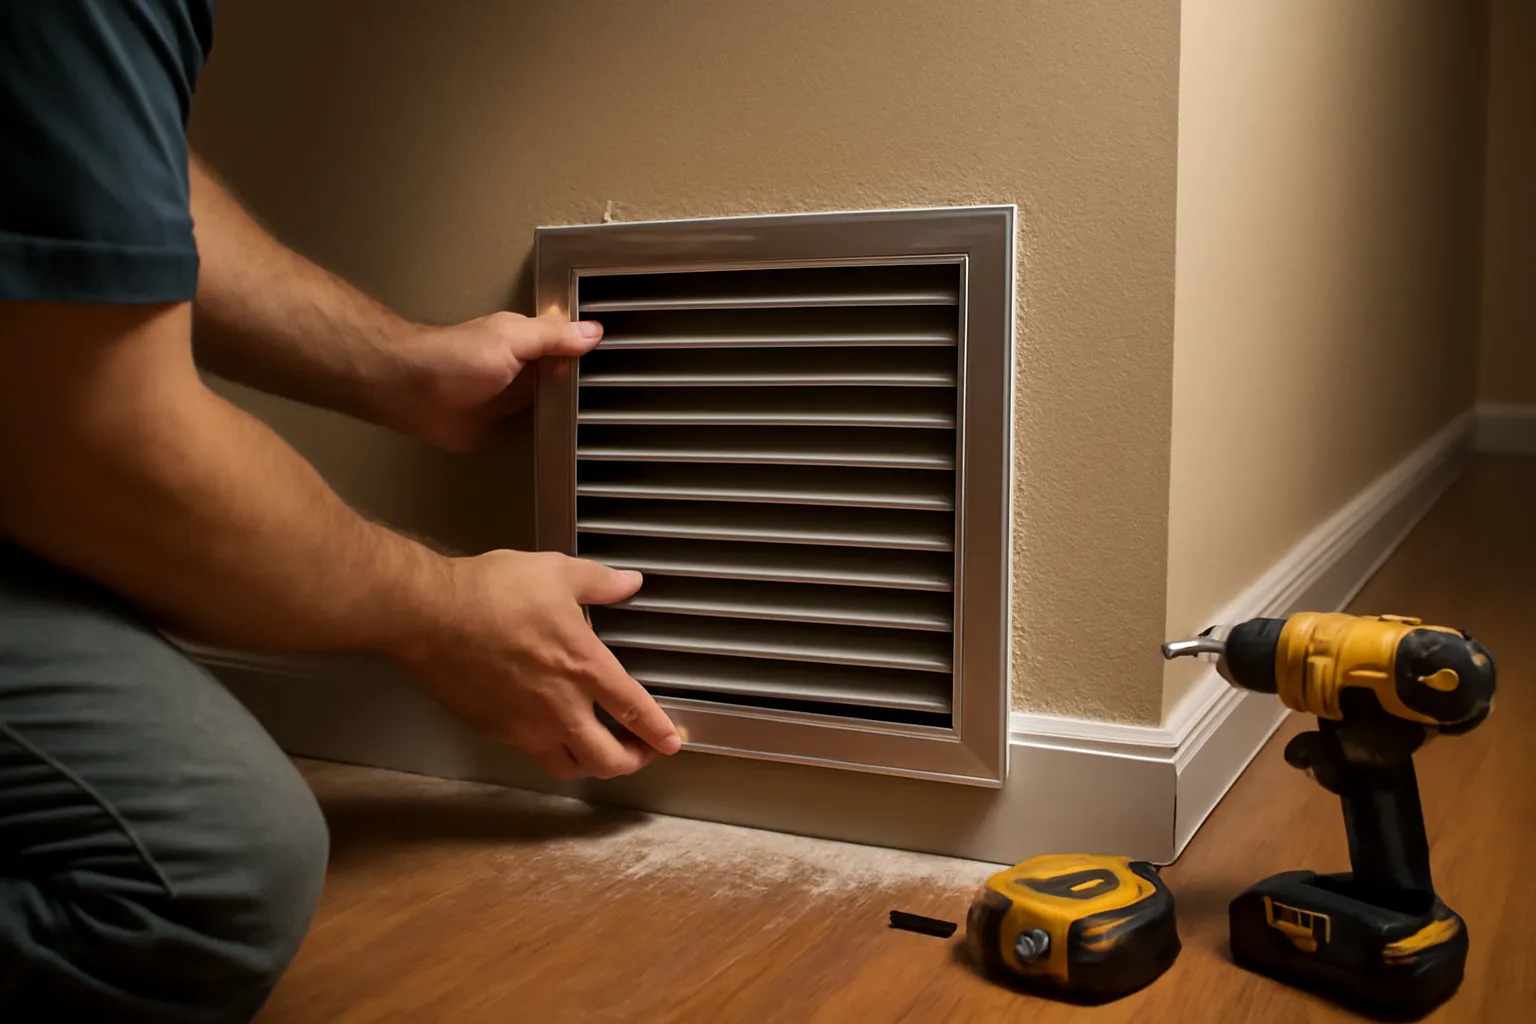
This is what I recommend most often for residential jobs. A transfer grille gets mounted directly through the wall — usually the shared wall between the bedroom and a hallway that already has a return grille nearby. You cut an opening, mount louvered grilles on either side (or a single-piece through-wall unit), and now air can move freely between the pressurized bedroom and the return system — no ductwork required. Getting a room a functioning return path doesn’t always mean running new duct; sometimes it just means punching a controlled opening through an existing wall.
A jump duct accomplishes the same goal but through the ceiling: a short flex duct run connects a ceiling grille in the bedroom to a ceiling grille in the hallway, threading through the attic space in between. It takes a bit more labor to install, but it disappears completely once finished and does a better job dampening sound transfer.
As a sizing guideline, I use roughly 1 square inch of free area for every CFM of supply air the room receives. So a bedroom fed by a 4×10 register moving 100 CFM needs a transfer grille offering at least 100 square inches of free area — think a 14×8 or 14×6 opening, depending on the specific grille’s rated free area. Since most louvered grilles only achieve 60 to 70 percent free area, plan to size up a bit past your initial calculation.
Option 3: Running a Dedicated Return Duct (Most Thorough, Most Labor)
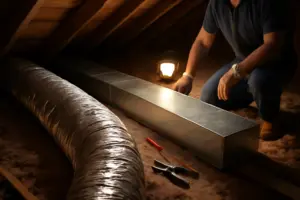
When a room is oversized, feeds off multiple supply registers, or the floor plan just won’t accommodate a transfer grille, the better move is installing a standalone return duct that runs straight back to the return plenum. This is the most thorough fix available — a genuine return air vent, complete with a wall or ceiling grille, ductwork routed through the attic or wall cavity, and a direct tie-in to the air handler’s return side. Done right, it wipes out the return air starvation issue entirely. It’s also your priciest option, generally landing between $300 and $800 depending on how long the duct run is and how accessible the space is, and in most areas you’ll need a homeowner if the work involves tying into the main plenum.
The Grille That Gave Trapped Air Somewhere to Go
Shutting a bedroom door does double duty for the wrong reasons — it blocks incoming cool air from settling in, and it seals off the return path that air needs to get back out. Since most homes only place return vents in central hallways, a closed door quickly builds positive pressure and starves the whole system of return airflow. A correctly sized return grille resolves that imbalance and lets your HVAC system actually complete its job.
Where it delivers
- Shrinks temperature swings in closed-off rooms by 3–5 degrees, since air finally has a way back to the system rather than piling up as pressure
- Fits into a standard duct opening in a matter of minutes — skip the contractor call, and pay a fraction of what a second return duct would cost
- Built from sturdy plastic louvers that shrug off dust buildup better than cheaper versions, meaning less maintenance and steadier airflow long-term
Where it falls short
- Sound still travels through it — restoring airflow to a closed room also means noise can carry back through the ductwork, so don’t count on total quiet
- It depends entirely on having a usable duct opening nearby; a bedroom tucked far from any return path won’t be fully fixed by this alone
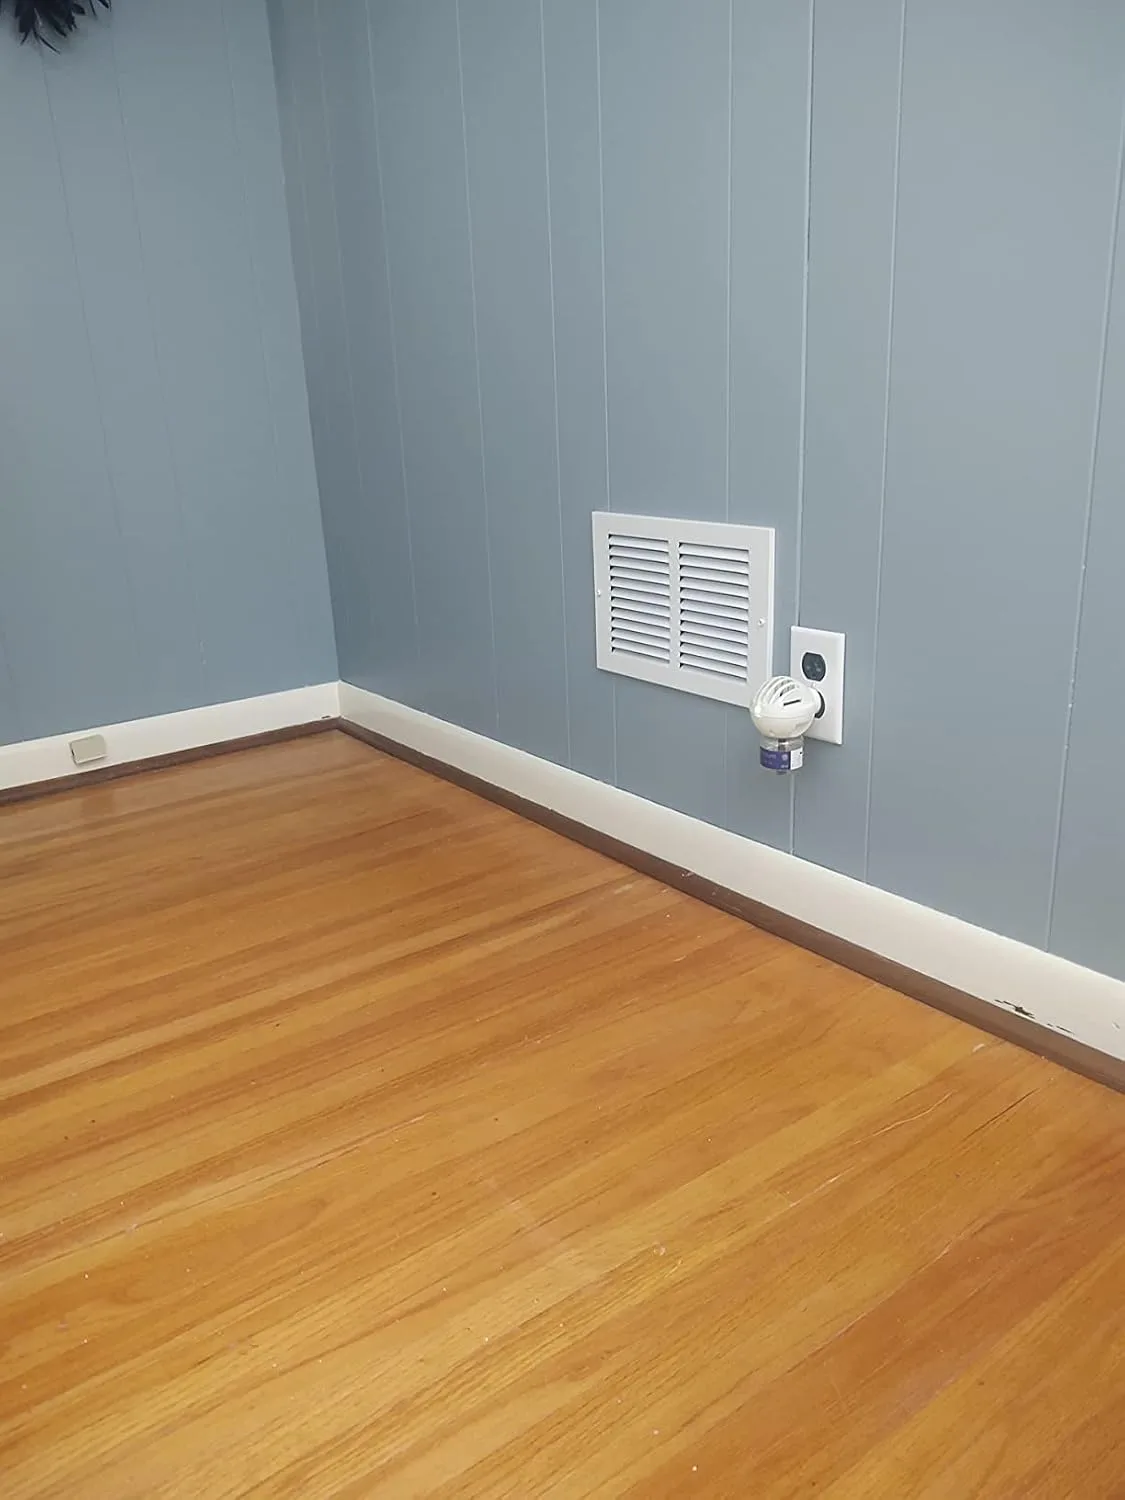
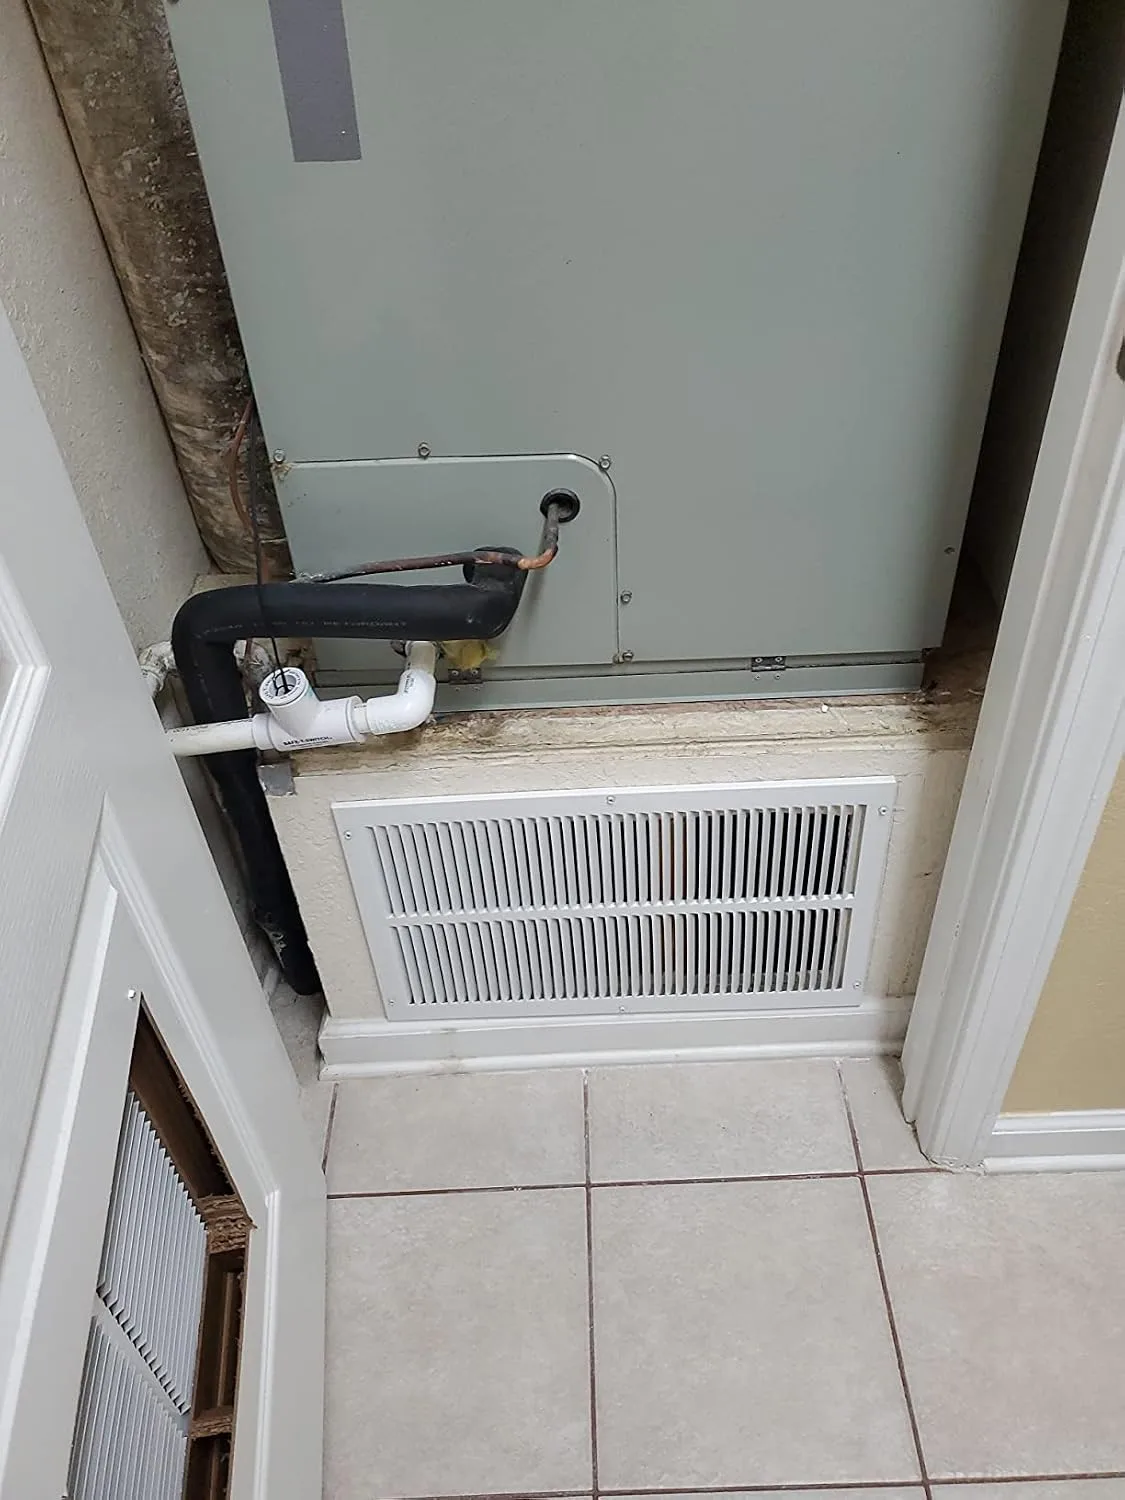
I was honestly skeptical that something this simple would move the needle on Michelle’s temperature problem — I figured we’d need to install a second return line, which meant cutting drywall and running ductwork. But when I slipped a Rocky Mountain Goods Air Return Grille for 14″ x 6″ Vent Opening into the hallway return near her bedroom, the difference was immediate and measurable.
About This Article

Written by Dana Sorensen. Homeowner turned building-science obsessive. I help other homeowners understand attic insulation, ventilation, and air quality so they can stay comfortable year-round without overspending on energy bills. More about this site.
Scope and limits. Dana is a homeowner who studies building science, not an HVAC contractor or licensed tradesperson. Anything involving combustion appliances, gas lines, or electrical work belongs with a licensed contractor.
Verify this against a primary source
Specifics change, and your situation may differ from the one described here. These are the authorities worth checking directly:
- ENERGY STAR — recommended insulation R-values by climate zone
- U.S. Department of Energy — air sealing and insulation guidance
- EPA Indoor Air Quality — ventilation and indoor air quality standards