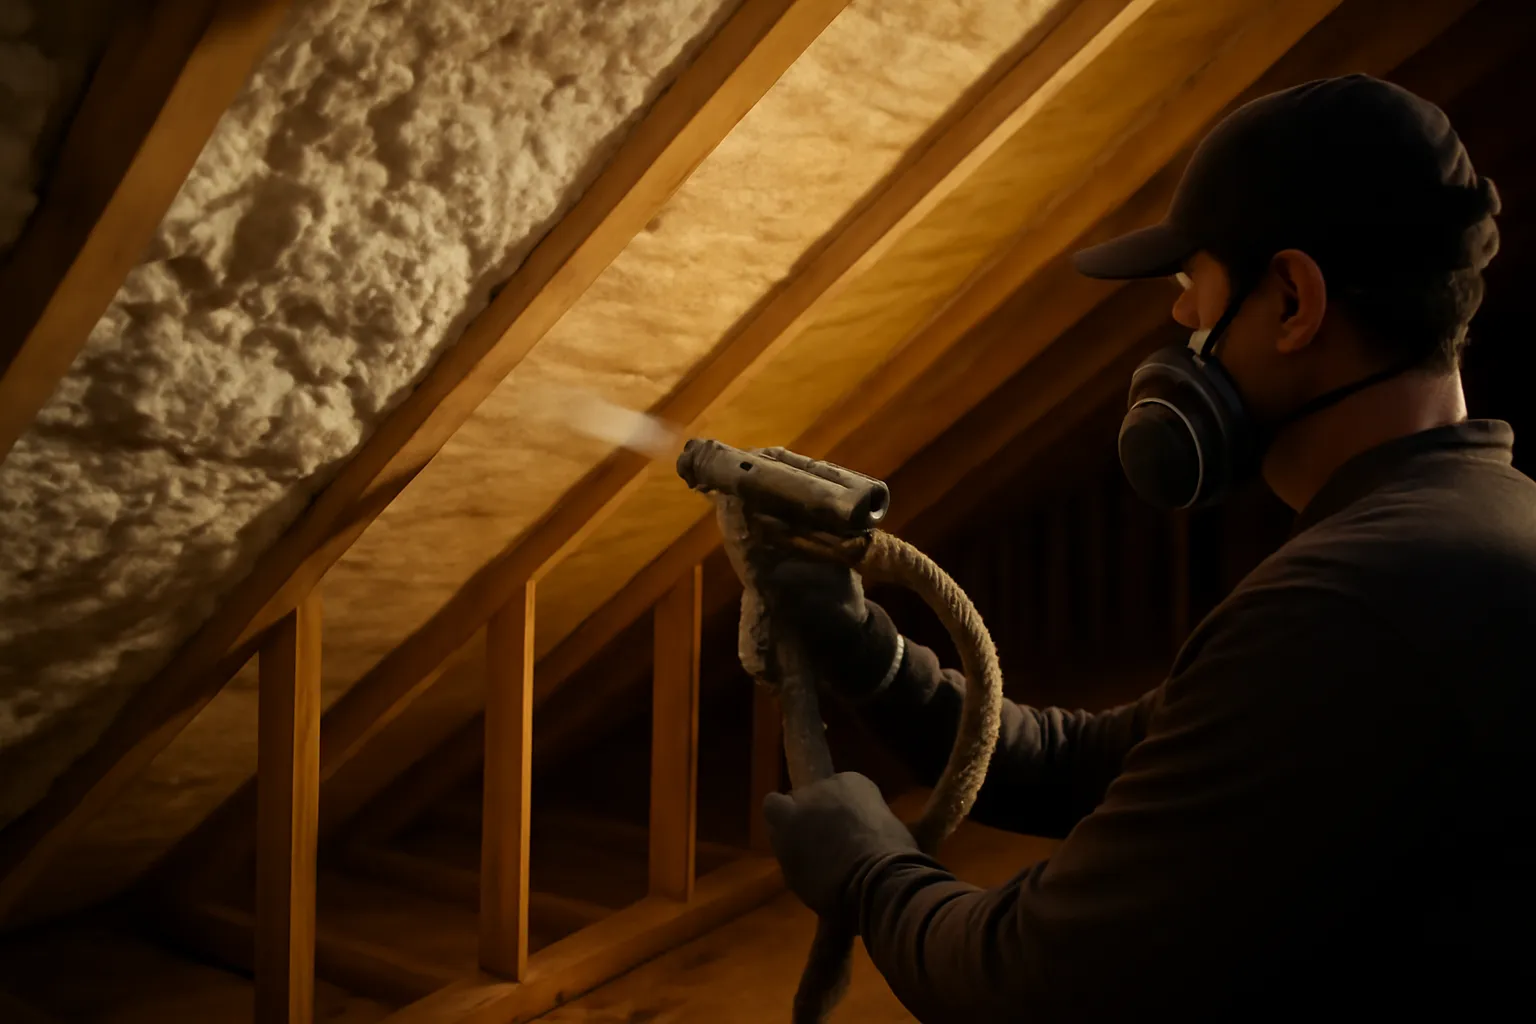
Why does a spray foam job that looks perfect on installation day turn into a moisture nightmare a few months later? Nine times out of ten, it’s not sloppy work — it’s the wrong foam for the wrong climate. I think about this every time I picture a homeowner I worked with in central Utah, squarely in Climate Zone 5, who was livid after dropping $4,800 to have her attic roofline sprayed with open-cell foam. Ninety days after the crew packed up, rafter stains started spreading across her attic. The application itself was flawless — tight coverage, no gaps, clean lines from a crew that clearly knew what they were doing. The problem was that “clean” and “correct” aren’t the same thing. They’d sprayed a product that was never suited to her climate zone, and that mismatch had quietly built a condensation trap into her own roof structure. That job has never left my memory, mostly because I’ve watched the same scenario repeat itself on other properties since. The truth is, when homeowners weigh open cell vs closed cell spray foam insulation, picking the wrong one for their climate or application ranks among the costliest errors you can make in this business — and a surprising number of contractors either skip the explanation entirely or don’t fully grasp the distinction themselves. After more than 15 years working in HVAC and home performance, I run into this exact decision point on nearly every attic project I touch. Sales materials for these two foams love to make them sound like near-twins. They’re not even close. My goal here is to hand you the field-tested breakdown that rarely makes it into a contractor’s quote — what you’re actually paying for, why it matters based on your house and climate, and when a DIY closed-cell kit might genuinely beat hiring it out.
What Actually Separates Open Cell From Closed Cell Foam
Chemistry is the right starting point, since it drives everything that follows. Both open-cell and closed-cell products start life as two-component polyurethane systems — an A-side and a B-side get combined, a reaction kicks off, and the mixture expands into foam. Where they diverge is in the finished cell structure, and that structure is what dictates how each product behaves once it’s cured inside your walls, attic, or crawlspace.
Open-Cell Foam, Explained
Picture the texture of a kitchen sponge — soft, springy, full of tiny pockets. During expansion, those cells are left open on purpose, which lets air and vapor move through the foam at thinner thicknesses. Here’s what that translates to on an actual job:
- R-value: R-3.5 to R-3.7 for every inch (plan on about 5.5 inches to reach R-20)
- Expansion behavior: Grows to roughly 100 times its liquid size — hard to beat for filling odd-shaped cavities and gaps
- Vapor permeability: Roughly 10 to 16 perms at 3.5 inches, landing it in Class III — vapor passes through with little resistance
- Noise control: Very strong — the open structure soaks up sound energy well
- Installed price: About $0.35 to $0.55 per board foot (a board foot equals a square foot at one inch of thickness)
That vapor permeability isn’t a downside everywhere — in mild or mixed climates, it’s actually a benefit, letting an assembly dry out if moisture sneaks in from a small leak, leftover construction moisture, or ordinary seasonal vapor drive. Zones 1 through 4 rarely have an issue with this. Zones 5 through 7 are a different story. When outdoor temperatures drop low enough, the dew point can shift right into the foam layer itself, moisture condenses against the roof sheathing, and you end up staring at the same problem I found on that Utah roof.
Closed-Cell Foam, Explained
Closed-cell foam sets up rigid and dense. Its cells stay sealed and hold a blowing-agent gas, and that’s the reason its R-value jumps so much higher. Here’s what you’re paying for:
- R-value: R-6.5 to R-7.0 per inch — more than double what open-cell delivers at the same thickness
- Vapor permeability: Once you reach 2 inches or more, closed-cell foam usually lands in Class II vapor retarder territory (about 0.8 to 1.0 perms) — at that point it’s essentially acting as a vapor barrier
- Structural value: It genuinely stiffens wall assemblies against racking forces — in certain builds, it can even cut down or replace the need for OSB sheathing
- Water resistance: Practically no water absorption at all — exactly why it’s the standard pick for crawlspaces, flood-prone areas, and rim joists
- Installed price: $1.00 to $1.50 per board foot — noticeably pricier than the open-cell option
That closed cell spray foam R-value per inch figure is exactly why it wins out whenever space is tight or you need built-in vapor control. Spray just 2 inches of closed-cell and you’re getting R-13 to R-14 plus Class II vapor retarder performance from a single product. That’s an enormous amount of performance packed into a thin layer.
My field rule is simple: anywhere moisture might reach the assembly — a crawlspace, a rim joist, a roofline in a cold climate, or an exterior wall in a humid coastal zone — closed-cell is the safer bet, full stop. Open-cell earns its keep on interior partition walls for sound deadening, on attic rooflines in milder climates, and anywhere cost is the deciding factor. Getting familiar with this spray foam insulation types comparison before you ever call a contractor keeps you from locking in a decision that’s nearly impossible to undo without tearing open your roof assembly.
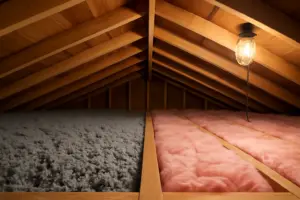
I’d be leaving something out if I didn’t mention the hybrid method, since it’s what I steer many Climate Zone 5–6 attic clients toward: spray 2 inches of closed-cell straight against the roof sheathing to lock in a vapor retarder and thermal break right at the cold surface, then finish filling the cavity with open-cell to reach your target R-value. You get moisture protection exactly where it matters, the gap-filling advantage of open-cell, and a lower total material cost than an all-closed-cell job. It’s a genuine best-of-both approach, and most spray foam bids never even bring it up. If you’re curious how blown-in and batt insulation stack up in comparable attic situations, that background makes it clearer why spray foam so often wins out for unvented rooflines specifically.
The Test Kit That Stopped Me From Guessing on Open vs. Closed Cell
If you’re weighing spray foam on your own, without a contractor’s schedule or budget dictating things, having a small testable kit in hand lets you feel out the difference between open- and closed-cell foam in your own climate before you commit to the full job. Choosing the right kit can be what separates a retrofit that actually performs from one that quietly builds a moisture problem you won’t discover for years.
Where it delivers
- Lets you trial both foam types on a small patch of attic or rim joist before signing off on a $5,000-plus contractor job
- Includes straightforward guidance on cure times and how each foam handles moisture — details most homeowners only learn after something’s already gone wrong
- Gives you a physical sense of expansion rate and density, so contractor quotes and sales pitches actually start making sense
Where it falls short
- A limited DIY test can’t fully reveal how vapor permeability and long-term performance will play out in your specific roof assembly
- Demands careful attention to mixing ratios — get it wrong once and you’ll burn through material learning the lesson your contractor should have taught you upfront
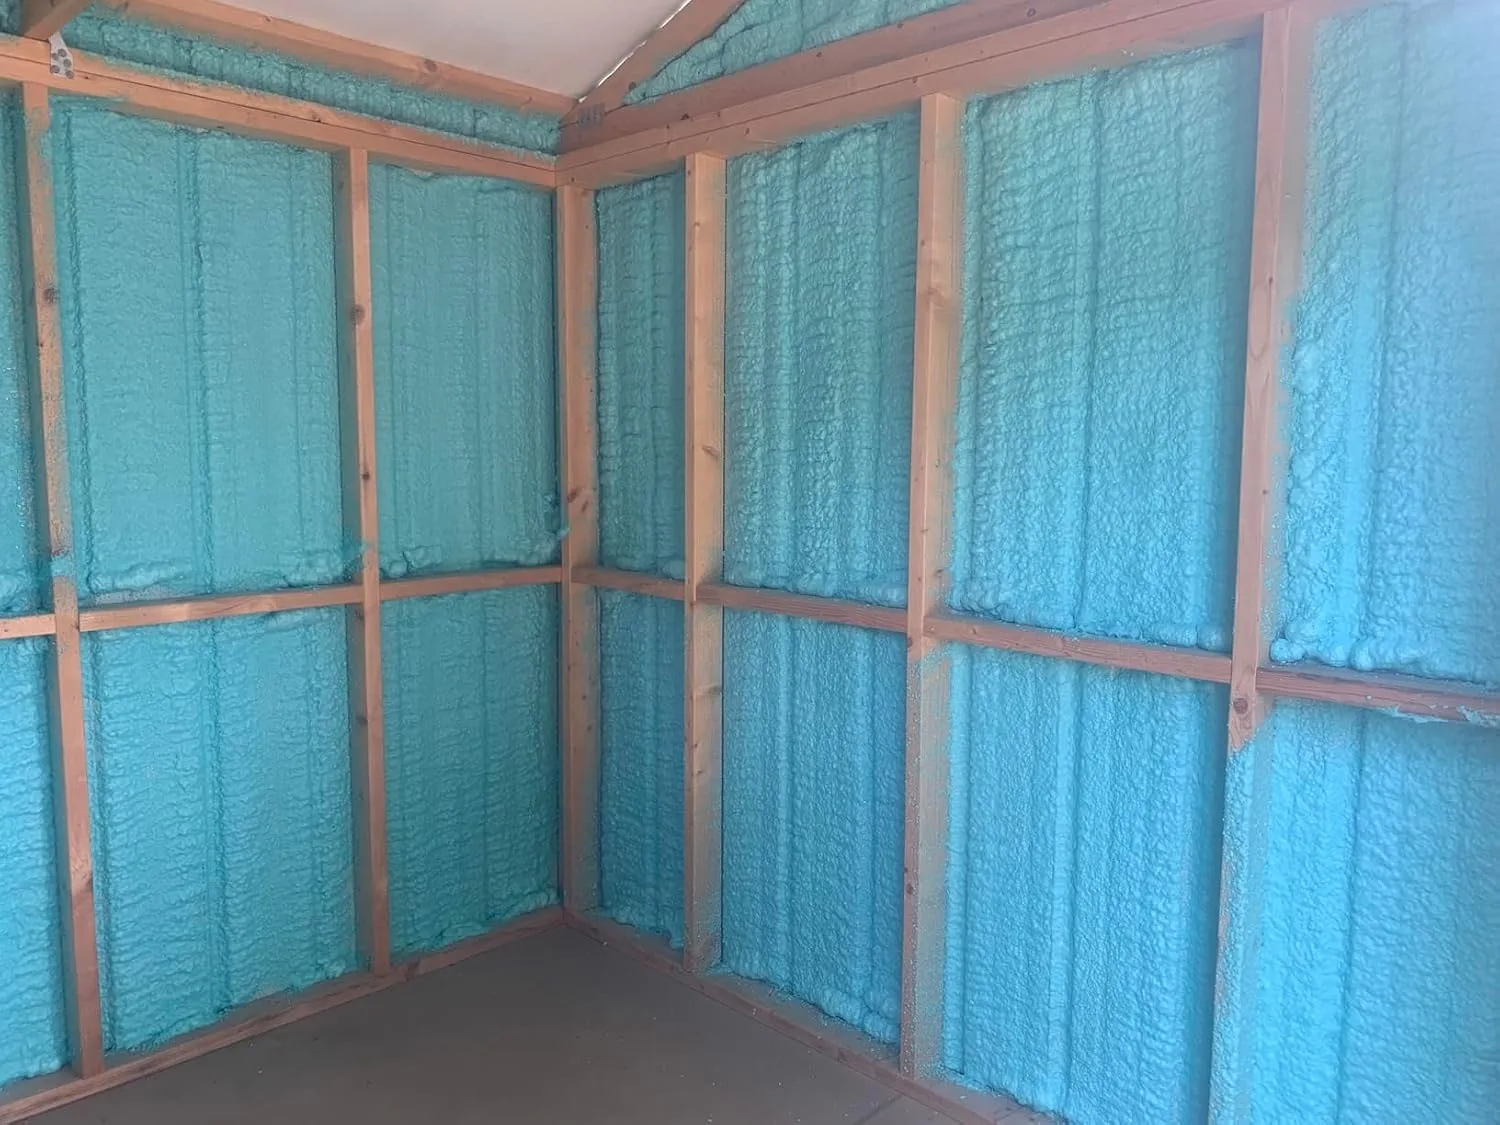
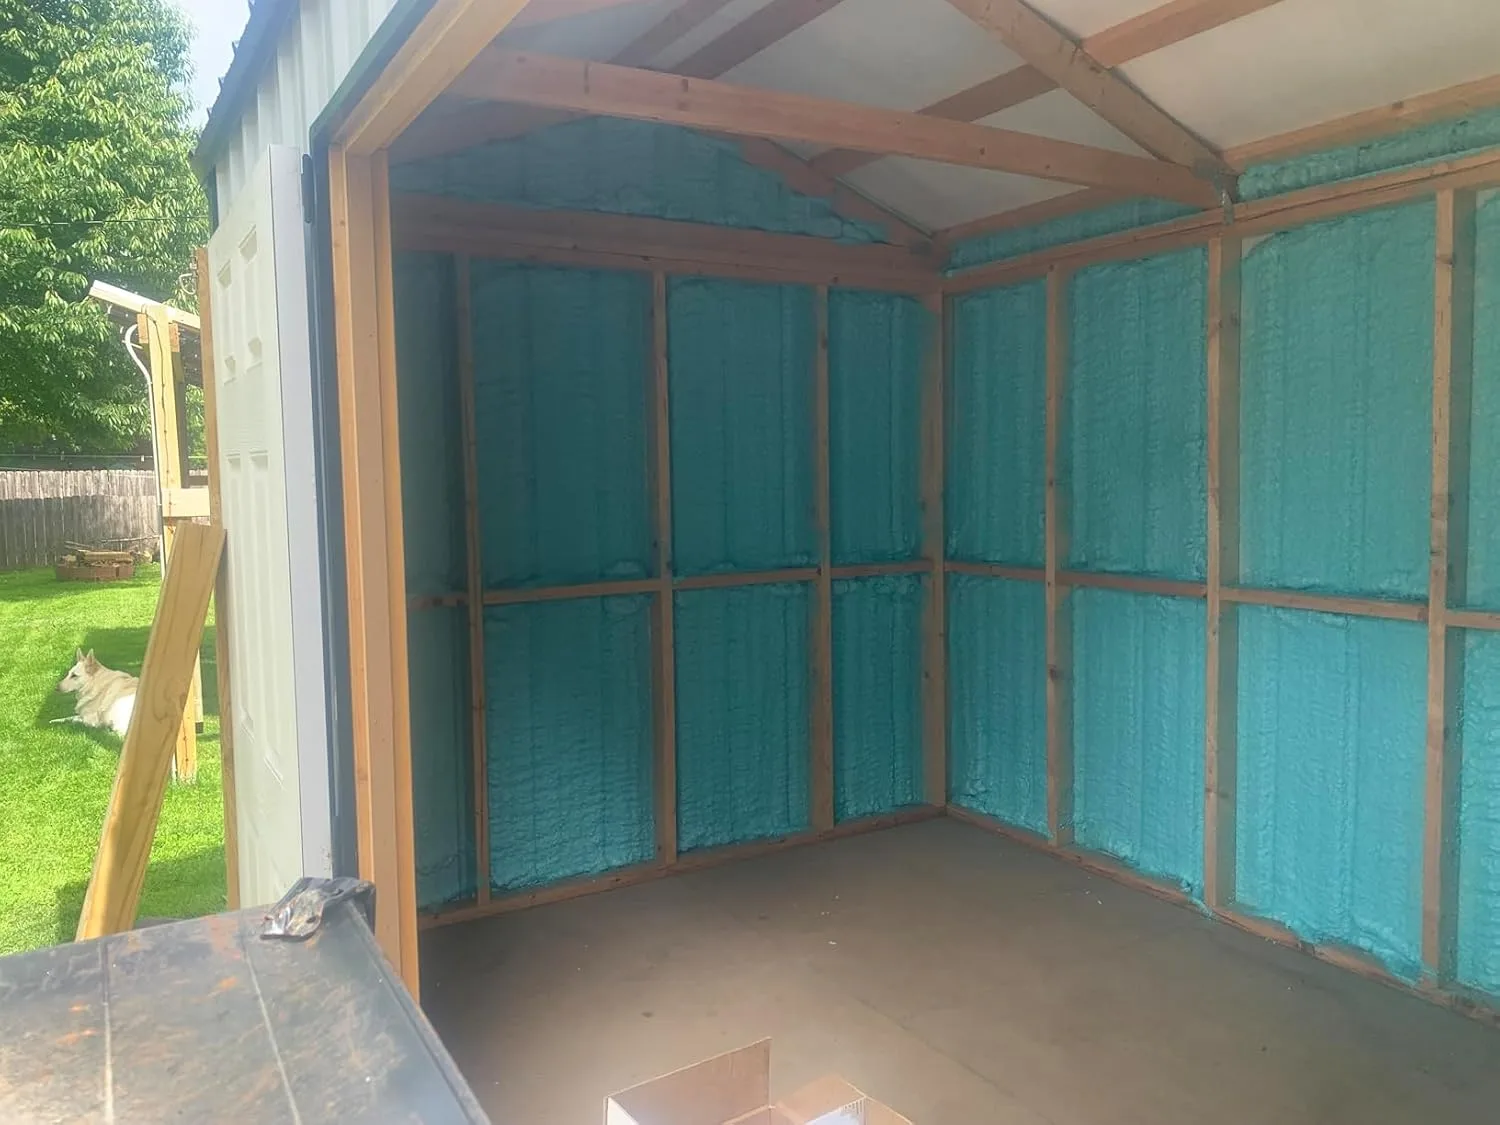
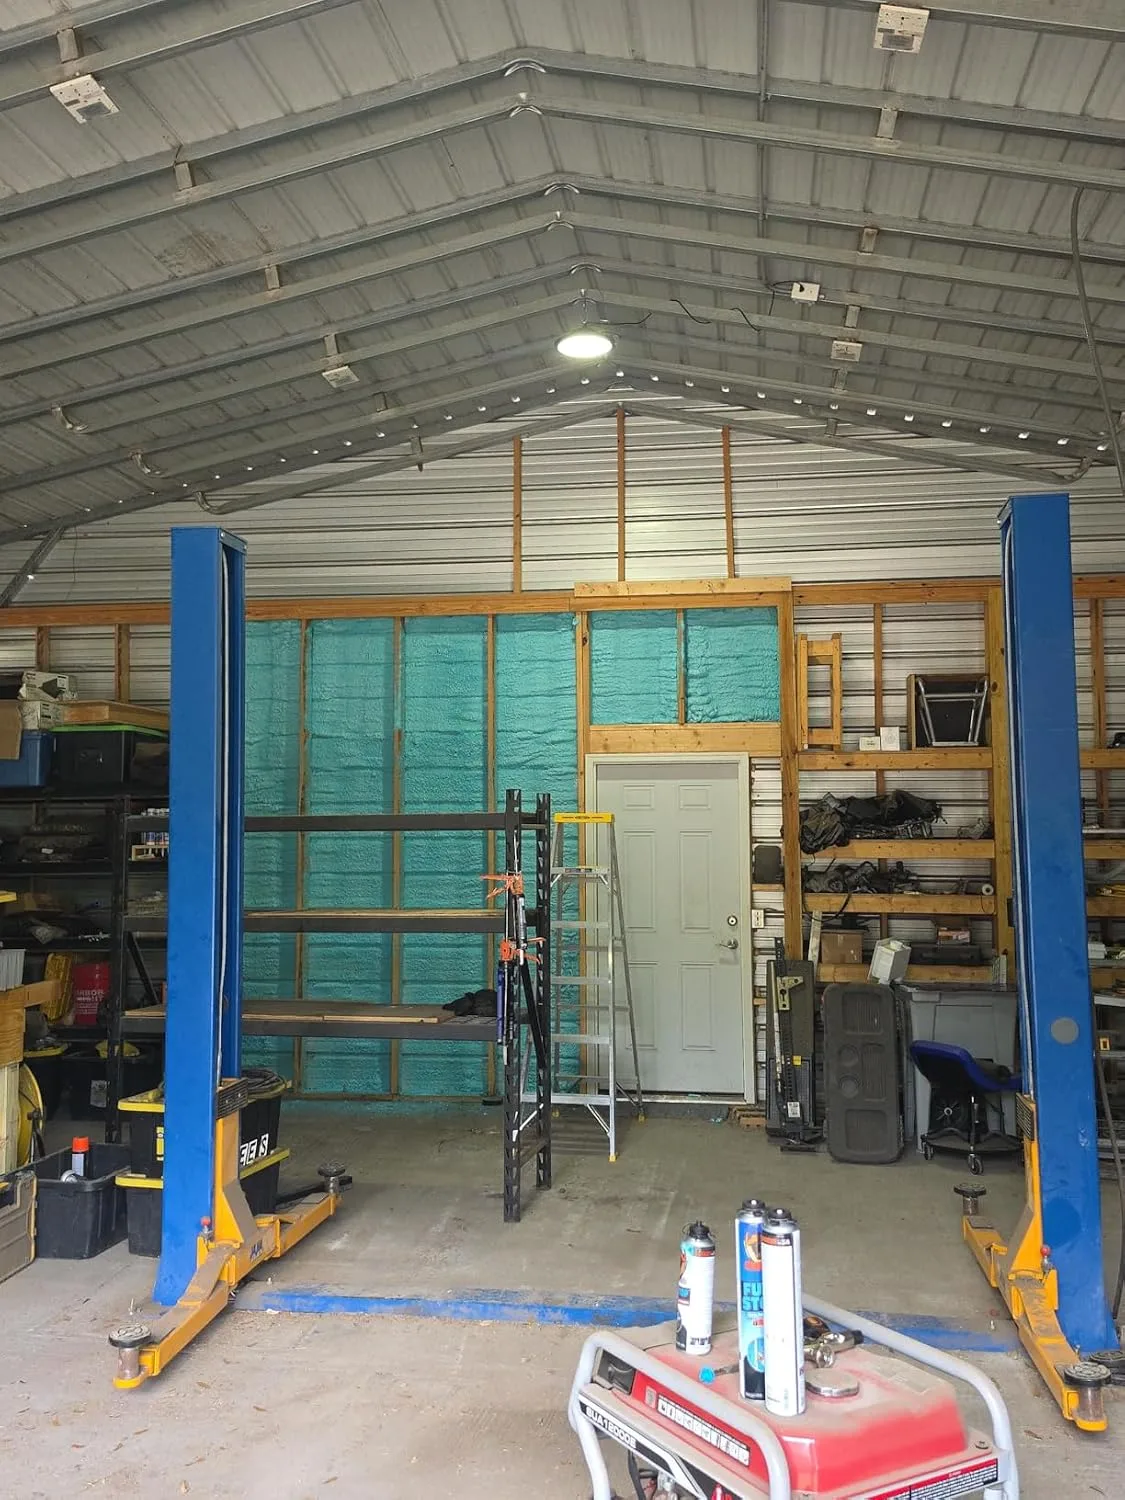
I almost skipped the test approach on one retrofit and nearly made the same mistake that homeowner in Utah paid for—but spending an afternoon with a kit and watching how the foam actually behaved in my climate gave me the confidence to ask the right questions. If you’re torn between open and closed cell, grab the BEEST FullStop Spray Foam Insulation Kit and run your own test before any contractor touches your attic.
About This Article

Written by Dana Sorensen. Homeowner turned building-science obsessive. I help other homeowners understand attic insulation, ventilation, and air quality so they can stay comfortable year-round without overspending on energy bills. More about this site.
Scope and limits. Dana is a homeowner who studies building science, not an HVAC contractor or licensed tradesperson. Anything involving combustion appliances, gas lines, or electrical work belongs with a licensed contractor.
Verify this against a primary source
Specifics change, and your situation may differ from the one described here. These are the authorities worth checking directly:
- ENERGY STAR — recommended insulation R-values by climate zone
- U.S. Department of Energy — air sealing and insulation guidance
- EPA Indoor Air Quality — ventilation and indoor air quality standards