I spent a Saturday last summer crawling through my own attic with a flashlight, chasing down why the guest room upstairs refused to drop below 80°F no matter how hard the system ran. My house is only three years old, built with a properly sized 4-ton unit and a solid air handler, and flex duct running the length of the attic. On paper, none of that should have been a problem. But once I got up there and started tracing runs, I found nearly every flex duct installation mistake to avoid stacked into a single system — runs cut 30% longer than the actual path required, bellied sections pooling condensation, a 90-degree turn kinked so tight it resembled a folded garden hose, and inner liner crushed into accordion folds beneath the outer wrap. That attic was only delivering something like 60% of the airflow it was designed to move. I’d paid for a 4-ton system and was effectively living with the output of a 2.5-ton one. That’s not an equipment failure — that’s an installation failure, and the maddening part is that every single mistake up there was avoidable with basic attention to detail. What follows are the eight flex duct installation mistakes I run into most often on job sites, the airflow penalty each one carries, and how to actually get it right.
Why Flex Duct Mistakes Hit Your Airflow So Hard
Flex duct has a rough reputation among building science folks, and some of that reputation is earned — though not because the product itself is bad. The real issue is that flex duct has almost zero tolerance for sloppy installation. Rigid sheet metal will shrug off a few minor installation shortcuts without much penalty. Flex duct won’t. Installed with care, it performs perfectly well. Installed carelessly, it can strip 20% to 40% of your system’s designed airflow, and you’d never know it just by looking — unless you know exactly what to look for.
Two concepts drive all of this: friction rate and equivalent length. Every foot of ductwork, every bend, every joint adds resistance to the air trying to move through it. ACCA Manual D, the residential duct design standard the industry works from, gives us the math to quantify this. A typical system is engineered around a total effective length (TEL) budget, and each piece of the duct run eats into that budget. Stretched tight and running straight, a 6-inch flex duct sits around 0.08 to 0.10 inches of water column (iwc) of friction per 100 feet. Let that same duct sag, bunch, or kink, and that number shoots up fast.
Translate that into real terms and it looks like this: a sharp 90-degree kink in 6-inch flex can add resistance equal to 15 extra feet of straight duct or more. Let a run sag 30% and the inner liner folds in on itself, which can triple the friction loss across that stretch. And none of these losses stay isolated — they stack. A single run with two bad kinks, a mid-span sag, and a few extra feet of slack can easily carry 4 to 5 times the resistance it was designed for. Your blower motor has to fight through all of that added resistance, static pressure climbs, airflow to that room falls off, and the system starts short-cycling or straining to reach setpoint. For most homeowners, that shows up as rooms that never feel even, utility bills that creep up, and equipment that runs nonstop without ever fully catching up — right when you’re leaning on it hardest during a summer heat wave.
None of this requires a complicated fix. It just takes care at install time and the right support materials used the same way, every single time.
Eight Flex Duct Installation Mistakes You Need to Avoid
Mistake 1: Leaving Extra Slack Instead of Pulling It Taut
This is the mistake I run into more than any other, and ironically it’s also the simplest to correct. Installers frequently cut flex with an extra 2 to 4 feet “just in case” and then leave that slack sitting in the run. Every additional foot adds friction. Worse, the slack itself sags and bellies, which crumples the inner liner. The rule here is straightforward: measure the true path from collar to register boot, allow no more than an extra 10% for minor direction changes, and cut to that number. Then stretch the duct fully taut before you fasten it down. Fully extended 6-inch flex holds a smooth, round interior. A loose, sagging piece of the same duct turns elliptical and wrinkled inside, which can cut effective airflow area by 30% or more.
Mistake 2: Kinking the Duct at Sharp 90-Degree Turns
A tight 90-degree kink in flex duct adds resistance equivalent to 15 feet or more of straight run — that’s straight from ACCA Manual D’s equivalent length tables, and I’ve seen poorly formed bends perform even worse than the tables suggest, because the inner liner collapses on the inside edge of the turn. The fix is holding a bend radius of at least one full duct diameter — for 6-inch flex, that means a 6-inch inside radius at minimum, with 1.5 times the diameter as the better target. When a hard 90-degree turn is unavoidable, install a rigid elbow fitting at the collar and let the flex pick up from there. Your airflow budget will thank you for it.
Mistake 3: Skimping on Support Straps — Why the Code Minimum Actually Matters
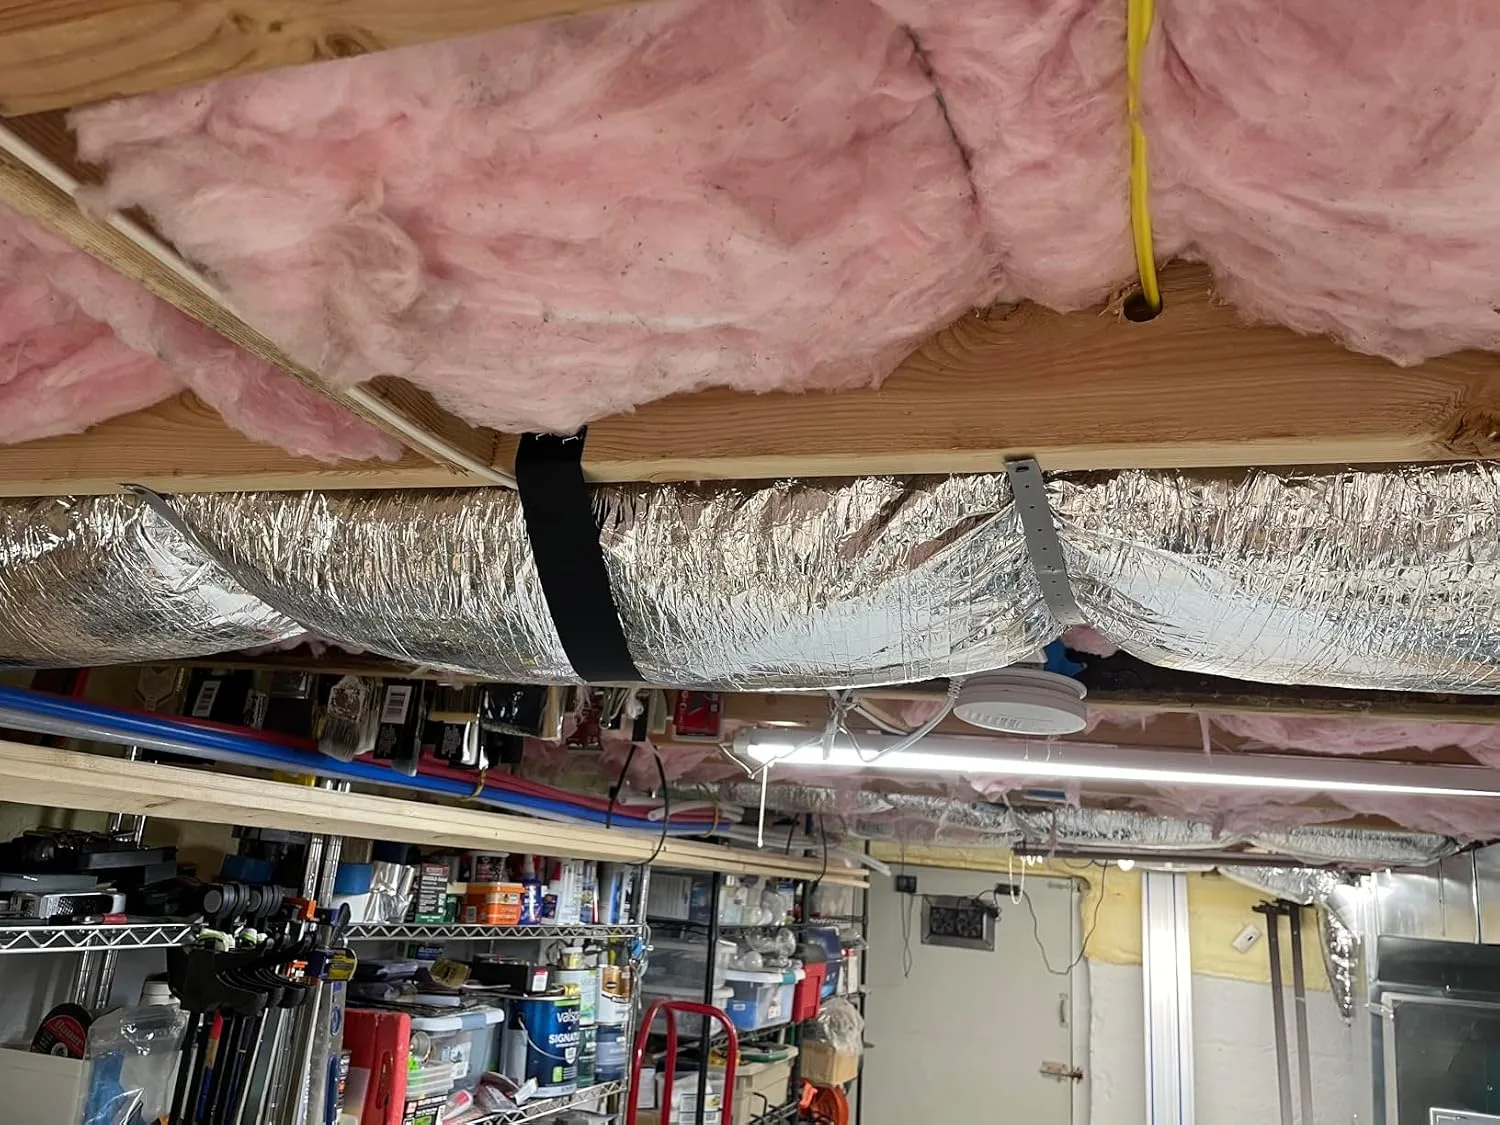
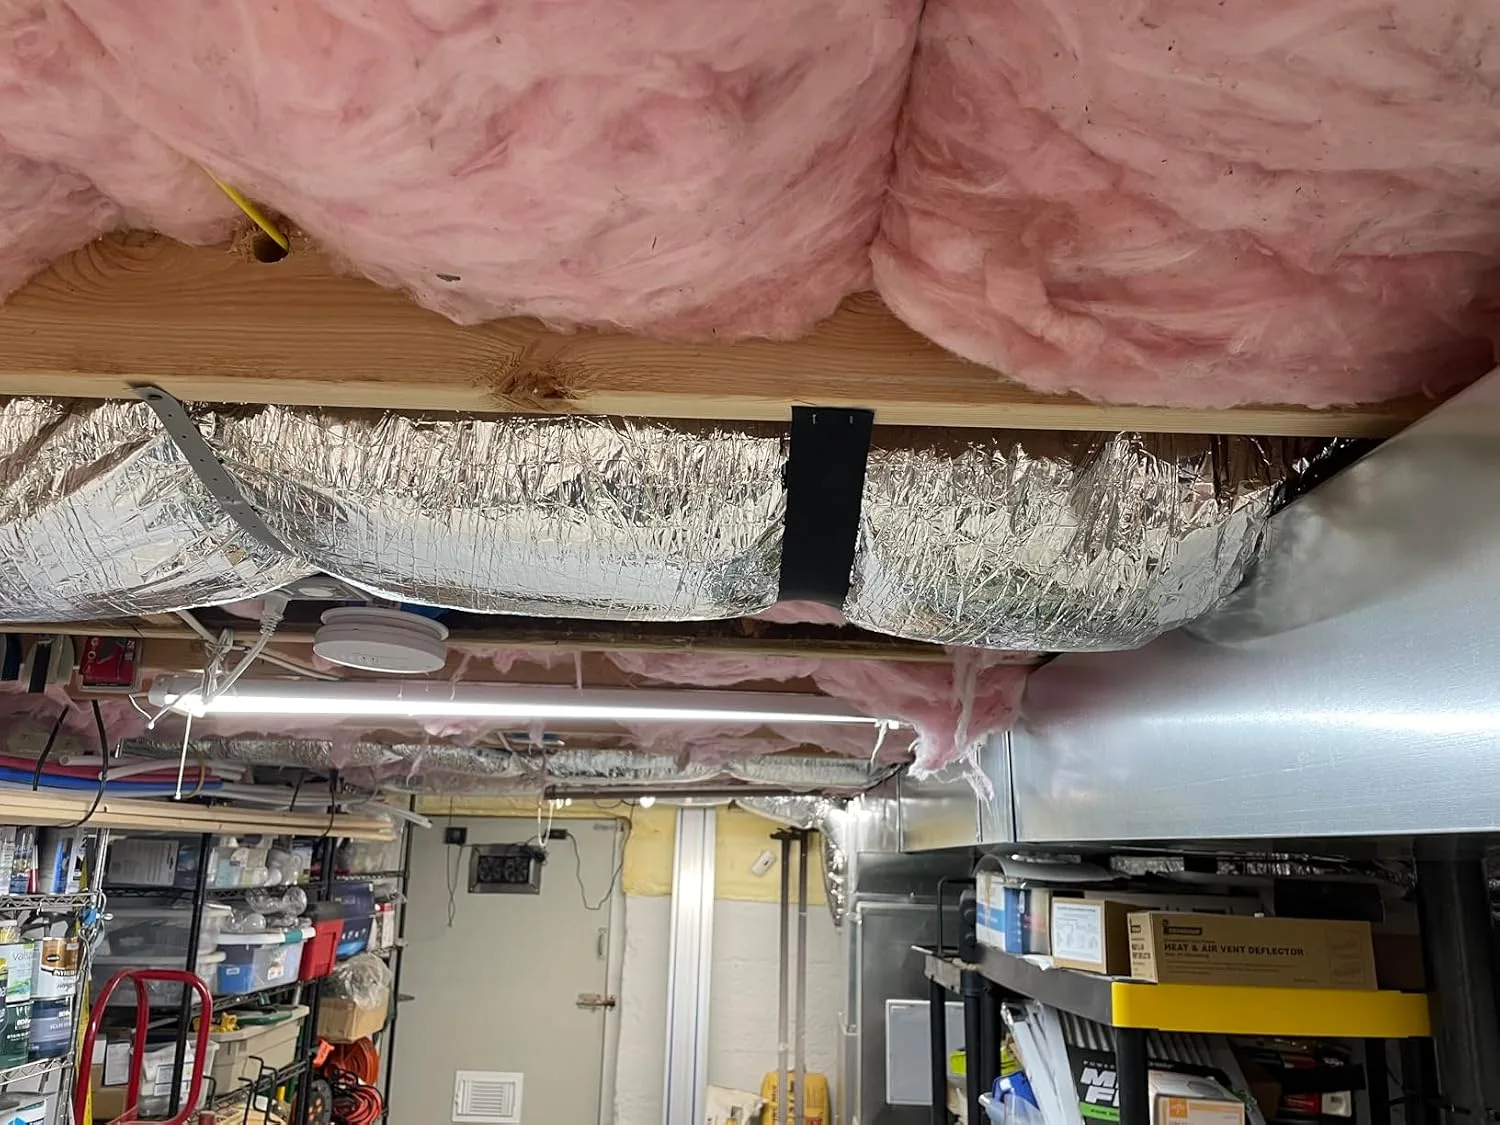
The 2021 International Mechanical Code calls for support every 4 feet at most, and within 2 feet of any connection. A lot of installers treat that as red tape rather than a real functional requirement, and that’s exactly how you end up with the sagging bellies I described earlier. But spacing isn’t the whole story — the width and quality of the strap itself matters almost as much. Thin wire or narrow straps dig into the outer jacket and can pinch the duct right at the support, creating a localized choke point. Use a wide, flat strap that spreads the load around the duct’s circumference and holds the line straight without squeezing it.
Mistake 4: Letting the Inner Liner Bunch Up Inside the Insulation
This is the mistake nobody can spot after the fact, which is exactly why it’s so damaging. Flex duct is built in three layers — an inner wire-reinforced liner, a fiberglass batt insulation wrap, and an outer vapor barrier jacket. When installers grab the outer jacket to drag the whole assembly into position, the inner liner often gets dragged along unevenly and bunches up inside the insulation while the outer jacket looks perfectly smooth. Do it right instead: separate the inner liner from the insulation at both ends, pull the liner straight and taut first, then slide the insulation over it before securing the outer jacket. A bunched liner can shrink effective diameter by 20 to 40%, and short of cutting the duct open, there’s no way to catch it after installation.
Mistake 5: Connections That Aren’t Actually Sealed
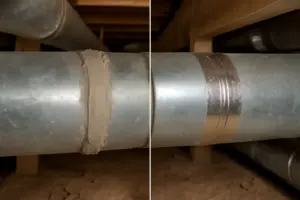
Leaky joints at collars and register boots are everywhere, and they’re expensive. Here’s the correct sequence: pull the inner liner over the collar fitting and cinch it down with a draw band (a metal zip-tie), then coat the entire joint in mastic — not duct tape. Duct tape gives out in attic heat within 3 to 5 years. After that, pull the outer insulation jacket over the joint, secure it with a second draw band, and finish with foil tape over the insulation layer. Skip even one of these steps and you’re pumping conditioned air straight into your attic while your system works overtime to make up the difference. I go deeper on this in my post on duct sealing techniques that actually hold up.
Mistake 6: Squeezing Flex Duct Into Spaces Too Tight for It
I’ve come across 6-inch flex duct crammed through a 5-inch gap between framing members just to reach a register on the far side of a wall. Insulated 6-inch flex typically measures 9.5 to 10 inches on the outside, so squeezing that outer layer down means squeezing the inner liner right along with it. If you have to pass through a framing cavity or a tight chase, switch to rigid sheet metal for that stretch and transition back to flex afterward. Flex duct should never be forced to fit a space that’s too small — the answer there is rigid duct or a smaller diameter run, not compression.
Mistake 7: Choosing Flex Duct Too Small for the CFM It Needs to Carry
Picking flex size based on “that’s what was already there” or whatever happens to be on the truck sets you up for noisy, high-velocity runs and rooms that never get enough air. A 6-inch flex duct generally moves 100 to 115 CFM at a reasonable velocity, while 4-inch flex tops out around 50 to 60 CFM. Before you pick a size, you need the target CFM for that specific run, which comes out of a Manual J load calculation paired with Manual D duct design. Don’t eyeball it when you’re adding a run, and never use the same duct size for a 10-foot run to a small bedroom that you’d use for a 45-foot run to a master suite.
Mistake 8: Using Flex Where a Rigid Trunk Line Belongs
Flex duct is meant for the final stretch connecting a trunk line to a register boot — not for carrying your whole house’s air supply. I’ve seen flex runs stretching 40 to 50 feet from the air handler out to a distant bedroom. At that distance, even a flawless flex installation carries real friction loss, and layer in any of the mistakes above and you’ve got a genuine problem. Good rule of thumb: any run past 25 feet deserves a rigid trunk with just a short flex tail at the end, and any run feeding multiple branches should be rigid, period. Flex is a finishing piece, not your main distribution system.
The Strap That Finally Stopped My Flex Duct From Sagging Into the Insulation
Flex duct left without support doesn’t just look bad — it sags, kinks, and eventually pinches itself shut over time, choking airflow with nothing visible to tip you off. Since switching to proper strapping hardware, I haven’t found another crushed section buried under a blanket of attic insulation.
Where it earns its keep
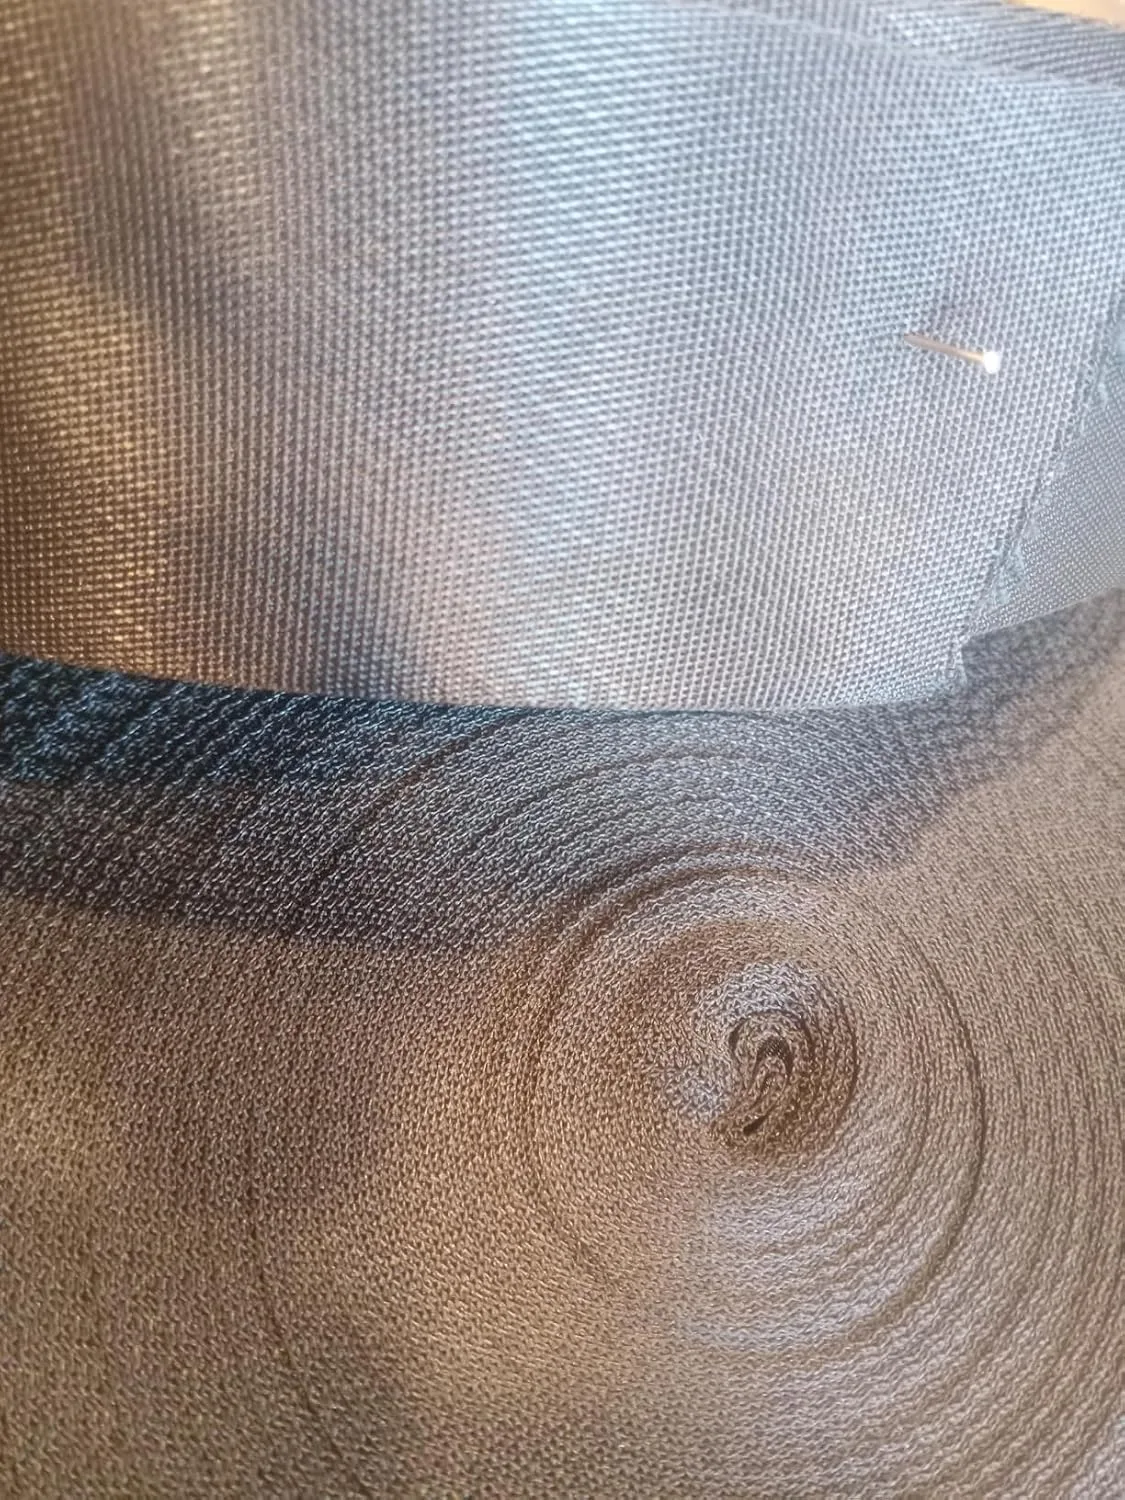
- The tight weave keeps the strap from biting into or pinching the duct jacket — something I dealt with constantly using the cheap elastic straps I used to run
- A full 100-foot roll gives you enough length to hit the 4-foot code spacing all the way through a job without stopping mid-project to grab more
- Nylon construction holds up in scorching attic temperatures without breaking down or leaving gunk on the duct like older fabric strap materials tend to
Where it falls short
- You’ll need to grab fasteners separately — this is strap material only, not a full strap-and-clip kit, so plan on an extra stop at the supply house
- It simply takes more time than slapping zip ties on every few feet, and crews trying to move fast often skip proper strapping entirely — which is exactly how you end up with the problems this post is about
I’ll admit I questioned whether proper strapping would actually move the needle on airflow until I measured the difference in static pressure across a poorly supported run—it was stunning. Don’t make that same call. Get 100Ft HVAC Duct Strap, Tight-Weave Nylon Duct Support Webbing and install it right.
About This Article

Written by Dana Sorensen. Homeowner turned building-science obsessive. I help other homeowners understand attic insulation, ventilation, and air quality so they can stay comfortable year-round without overspending on energy bills. More about this site.
Scope and limits. Dana is a homeowner who studies building science, not an HVAC contractor or licensed tradesperson. Anything involving combustion appliances, gas lines, or electrical work belongs with a licensed contractor.
Verify this against a primary source
Specifics change, and your situation may differ from the one described here. These are the authorities worth checking directly:
- ENERGY STAR — recommended insulation R-values by climate zone
- U.S. Department of Energy — air sealing and insulation guidance
- EPA Indoor Air Quality — ventilation and indoor air quality standards