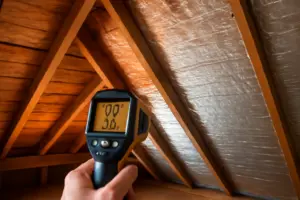
Almost every homeowner assumes that piling on more insulation is what finally warms up a cold house — thicker R-value, warmer rooms. That assumption is wrong, and a client in South Minneapolis found that out the expensive way last Tuesday. He’d just handed over $3,200 to have a contractor blow R-60 cellulose across his attic floor, fully expecting the chill in his master bedroom to disappear. Instead, the bedroom stayed cold and his energy bill barely moved. When I climbed up into that attic with a thermal camera on a 15-degree January night, I found the same story I’ve uncovered in dozens of other houses: the new insulation had been laid straight over dozens of unsealed gaps, holes, and penetrations — what building scientists call attic bypasses — funneling warm conditioned air out of his living space and into the unconditioned attic, insulation or no insulation.
He’d tackled the upgrade in reverse order, and he’s hardly the only one. This is one of the most common energy-efficiency missteps I run into in residential work: insulation goes in before anyone seals off the pathways letting conditioned air leak into the attic. It’s a lot like pouring water into a bucket with a hole in the bottom — adding more doesn’t fix a thing.
What follows walks through exactly what attic bypasses are, why they quietly wreck both comfort and your heating bill, and how to track them down and seal them before another inch of insulation goes in. Get the order right — seal first, insulate second — and you can shave 10-20% off your heating and cooling costs, completely separate from any R-value increase.
The Real Issue: How Attic Bypasses Undercut Insulation’s Job
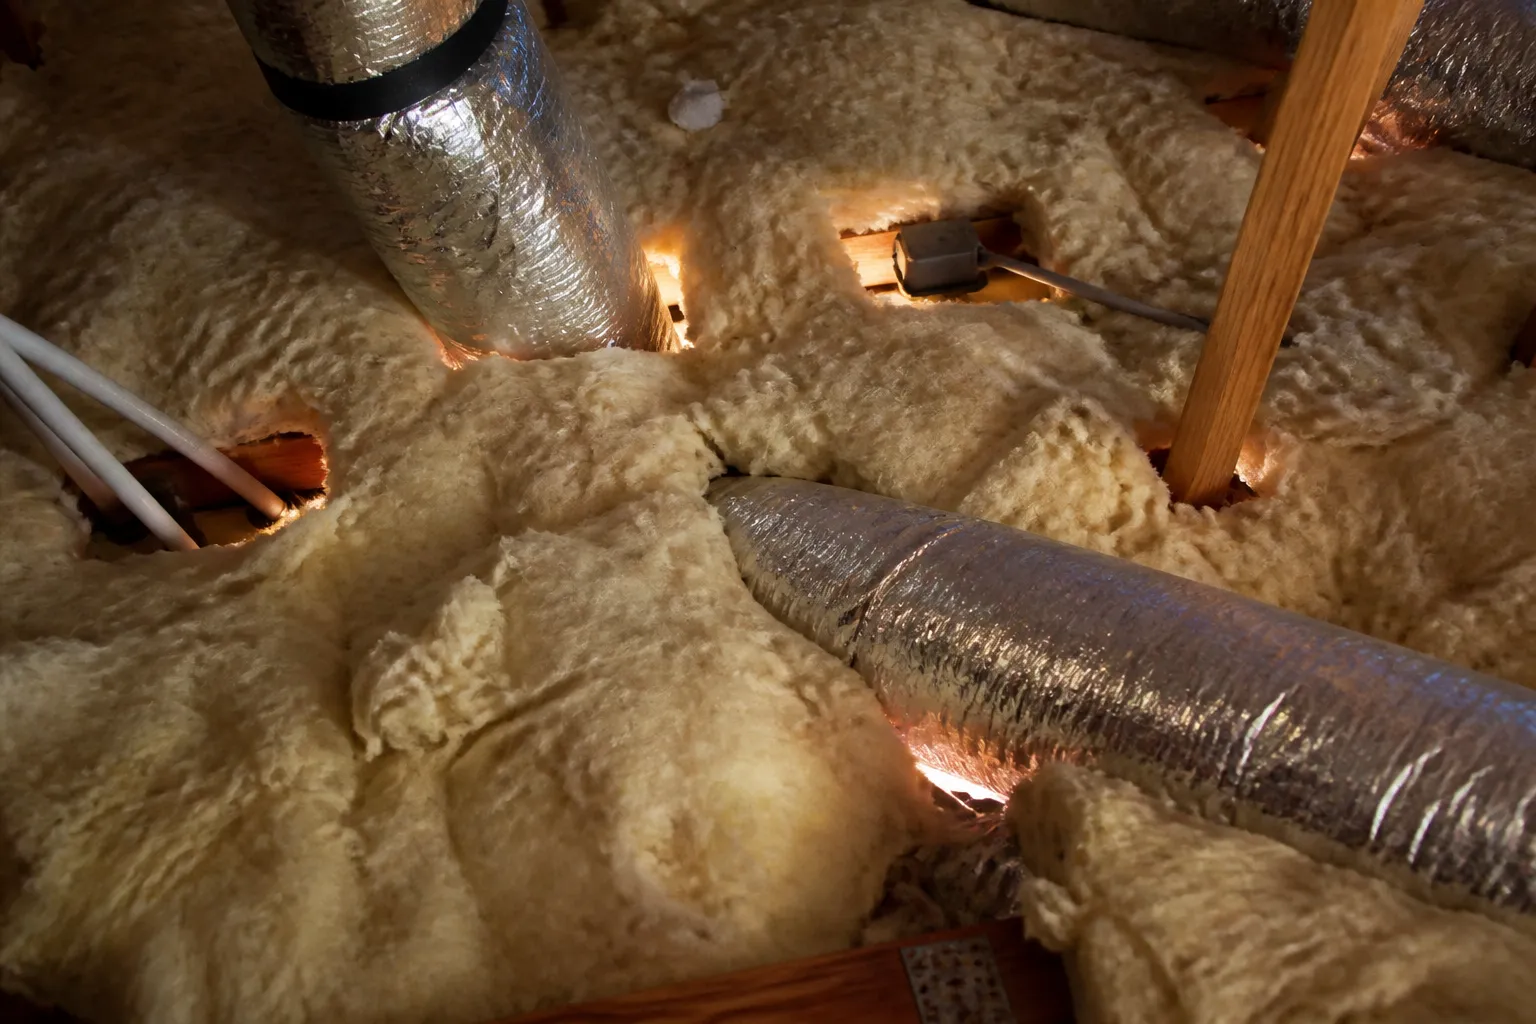
An attic bypass is any gap, opening, or penetration that lets air travel directly from your conditioned living space, up through the ceiling, and into the unconditioned attic above. That includes gaps along interior wall top plates, openings around recessed light fixtures, gaps circling plumbing vent stacks, unsealed electrical boxes, HVAC chases, dropped-ceiling cavities, and even the attic access hatch itself.
Here’s the key distinction: bypasses don’t behave like ordinary conductive heat loss. Insulation is designed to slow conducted heat — the gradual crawl of thermal energy through solid material. Bypasses move heat a different way, convectively: actual warm air travels bodily out of your living space and into the attic, carrying its heat along for the ride. That moving air slips through or around insulation as if it weren’t even there.
Picture it this way: R-60 insulation does a great job slowing conducted heat transfer through the material itself. But if warm air is bypassing beneath it through an open gap, that insulation stops absolutely nothing. You could install R-100 up there and the result wouldn’t change.
This is exactly why a house heats and cools the way a chimney behaves — what building scientists call the stack effect. Warm air rises naturally in winter, and your home acts like a tall vertical shaft: heated conditioned air climbs through every bypass near the roofline and escapes into the attic, while cold outside air gets pulled in through gaps lower down at the same time — basement rim joists, poorly sealed windows, cracks in the foundation. The larger the temperature gap between indoors and outdoors, the more forceful this stack effect becomes.
Here’s a number worth sitting with: a single one-inch opening acting as an attic bypass can leak roughly as much air over an entire heating season as leaving a standard window cracked open around the clock for three straight months. Multiply that across the 10, 20, or 30 bypasses typically scattered through a given attic, and you’re effectively looking at several open windows all winter long — except none of them are visible.
Research out of the U.S. Department of Energy and the Building Science Institute backs this up: sealing air leaks before any insulation goes in can cut heating and cooling costs by 10-20% on its own, entirely apart from R-value improvements. Plenty of homeowners land in that savings range simply by sealing the very bypasses their contractor buried under insulation rather than fixed.
Why Sealing Gets Skipped and Insulation Goes in First Anyway
I’m not out to bash contractors — I work with plenty of good ones on a regular basis. But the economics of insulation work reward speed. Pulling back existing material, hunting down and sealing dozens of small gaps, and then putting everything back takes two to three times longer than just blowing new insulation over what’s already there. Viewed purely through a labor-cost lens, skipping the sealing step is an easy shortcut to take.
There’s also a perception problem on the homeowner’s end — insulation feels like “the upgrade.” It’s visible, it’s measurable (R-values are printed right on the bag), and it feels like tangible progress. Air sealing doesn’t offer that same satisfying payoff, even though in most homes it delivers more value per dollar.
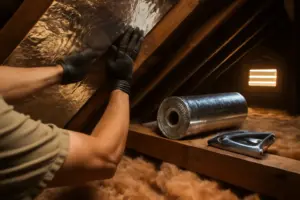
Building science standards lay out the correct sequence clearly: (1) pull back or remove whatever insulation is already sitting on the attic floor, (2) methodically track down and seal every bypass, (3) replace and top off the insulation.
The Foam Sealant That Ended My Guesswork Chasing Attic Air Leaks
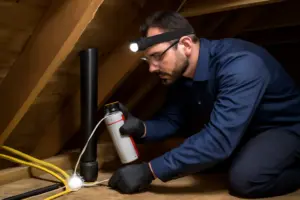
After watching insulation get blown over unsealed penetrations more times than I care to count, I learned the hard way that no R-value on earth corrects an air leak. Sealing comes first, insulating comes second — and that usually means getting into tight rim joists, pipe chases, and electrical boxes where a caulk gun simply can’t do the job.
What performs well
- Gets into uneven gaps and squeezed-together cavities that rigid caulk can’t reach — particularly around HVAC ductwork, wiring penetrations, and rim board joints, which is consistently where the worst leakage shows up.
- Its fireblock rating keeps it from turning into a fire hazard inside wall cavities — essential when you’re working inside an occupied attic where code compliance isn’t negotiable.
- Comes as a full kit with a dispensing gun and cleanup tool included, so you’re not scrambling mid-job or leaving gaps behind because you ran out of applicator tips.
Where it falls short
- Expands with real force — I’ve watched first-timers apply too much and end up with bulges that compress insulation or choke off airflow in tight spaces.
- Once it cures, removing it cleanly if you ever need to reopen that spot is nearly impossible, so plan your application carefully before you commit.
I’ll admit, my first can taught me a lesson about restraint—I filled a rim board gap so full it took me fifteen minutes to shave it flush with a utility knife. But that’s when I realized I’d finally found a tool that wouldn’t let sloppy sealing hide under insulation batts anymore. If you’re serious about fixing cold rooms, grab a Great Stuff PRO Gaps & Cracks Complete Kit—Fireblock Expanding Foam Sealant and seal before you insulate.
About This Article

Written by Dana Sorensen. Homeowner turned building-science obsessive. I help other homeowners understand attic insulation, ventilation, and air quality so they can stay comfortable year-round without overspending on energy bills. More about this site.
Scope and limits. Dana is a homeowner who studies building science, not an HVAC contractor or licensed tradesperson. Anything involving combustion appliances, gas lines, or electrical work belongs with a licensed contractor.
Verify this against a primary source
Specifics change, and your situation may differ from the one described here. These are the authorities worth checking directly:
- ENERGY STAR — recommended insulation R-values by climate zone
- U.S. Department of Energy — air sealing and insulation guidance
- EPA Indoor Air Quality — ventilation and indoor air quality standards