The first hard freeze of the season always exposes this same story. Homeowners who dropped $2,000 or more on fresh attic insulation start noticing their heating bills haven’t moved an inch, and they can’t figure out why. I’ve crawled into dozens of these attics chasing that exact complaint, and the culprit is nearly identical every single time. Insulation went down first, and nobody ever touched the air leaks underneath it. Getting the sequence right — sealing before insulating, not after — is the single decision that determines whether this project actually works. Skip that order and you’ve basically zipped your house into a winter coat while leaving every zipper open.
Twelve-plus years into this trade, I’ve torn open more than a few DIY insulation jobs layered right over untouched bypasses, gapped top plates, and recessed lights nobody bothered sealing. From above, the batts looked tidy and complete. From a performance standpoint, they were nearly useless. Miss that first step, and this is exactly what you end up with.
What follows is the full breakdown: why sequence matters this much, where the sneakiest leaks tend to hide, the hands-on approach to sealing them yourself, and the point where it’s smarter to bring in a pro like me. I’ll also point you toward the product that stays in my kit on every attic job. Let’s dig in.
Why Sequence — Sealing First, Insulating Second — Makes or Breaks This Job
Insulation’s entire purpose is slowing down heat transfer, and it accomplishes that through resistance, expressed as R-value. It’s genuinely good at that one job. What it isn’t good at is blocking moving air. Fiberglass batts, blown-in cellulose, even low-density spray foam — none of these materials stop airflow on their own. Air will always find the gap and push through it, no matter how thick the insulation layer piled on top happens to be.
Here’s the mechanism at work. Conditioned air inside your home holds moisture, and in cold months that air naturally wants to climb toward the attic — what’s known as stack effect. Wherever it finds an opening, it pushes through, dragging both heat and humidity along with it. Winter heating loss, year-round moisture damage, and reduced cooling efficiency in summer all trace back to this same movement. Insulation stacked over these gaps barely slows any of it down.
The moment insulation gets installed, locating those gaps turns into a much harder hunt. You’re now digging through loose-fill material, shifting batts aside, and guessing at where the leaks might be. I’ve burned three hours in a 130-degree attic in the middle of July hunting for bypasses that would’ve taken forty-five minutes to seal before any insulation went in. Seal first. No exceptions.
Where the Nastiest Air Leaks Hide (and How to Track Them Down)
Attic air leaks rarely announce themselves with an obvious hole. What you’re actually hunting for is a pattern of gaps clustered at construction transitions — the seams where one building assembly butts up against another.
Top Plates and Wall Cavities
The top plate marks the spot where your interior wall framing meets the attic floor, and in nearly every older home I’ve worked on, that seam has a gap — sometimes a quarter inch, sometimes a full inch or beyond. Wall cavities function like built-in chimneys: air rises through them unimpeded and empties straight into the attic above. ASHRAE data shows these bypasses make up a substantial share of a building’s total air leakage. If you want real, measurable performance gains, sealing this seam isn’t a nice-to-have — it’s mandatory.
Recessed Lights and Electrical Boxes
Older can lights are usually the worst offenders on this list. Their design leaves the top open on purpose, for heat dissipation, which means there’s a straight, unobstructed shot from your living space into the attic. I’ve clocked temperature swings of 15°F right at the rim of an unsealed can light. Electrical boxes cut through top plates run a close second — every wire penetration and junction box represents another potential bypass point.
Plumbing and HVAC Penetrations
Sealing air leaks isn’t part of a plumber’s or HVAC installer’s job description. They cut a hole sized to fit the pipe or duct, then walk away. What remains is a gap ringing every single penetration, running clean through the building envelope. Soil stacks, exhaust fan housings, supply plenums — all of it needs attention before insulation covers it up. From what I’ve seen on the job, a 3-inch plumbing stack surrounded by just a quarter-inch gap can leak roughly as much air as an inch-wide window crack left open all winter.
Closing These Gaps for Real: The Right Materials and Approach
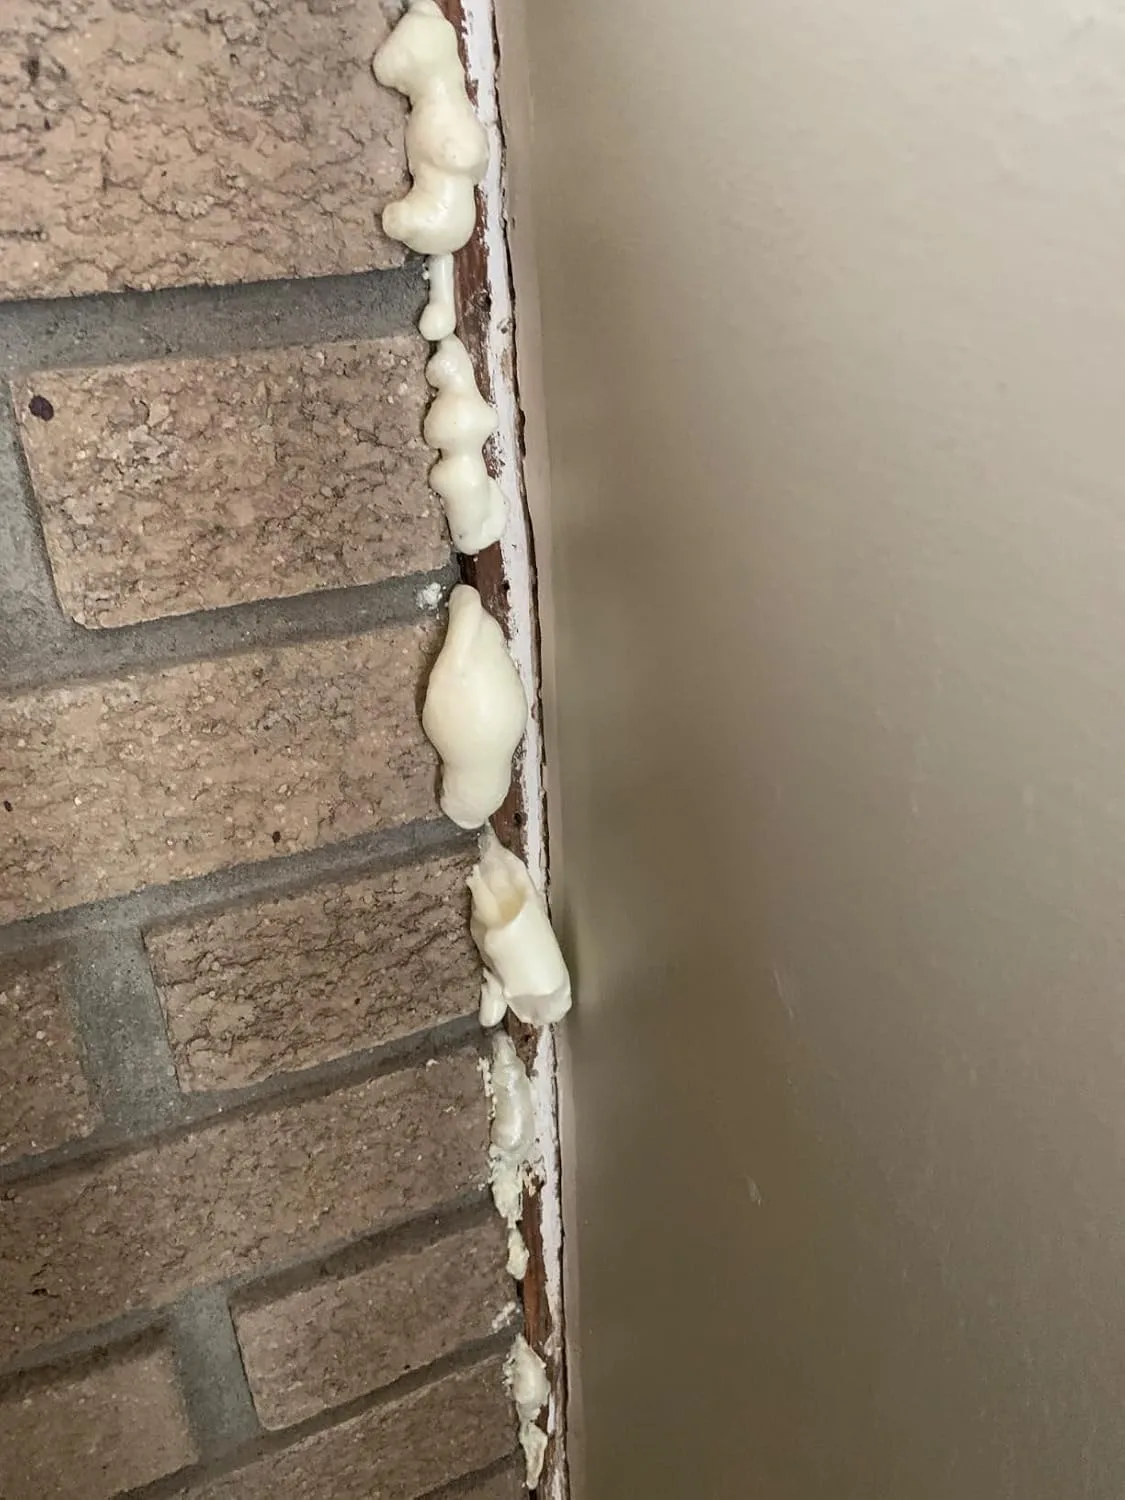
Which material you reach for comes down to gap size, plain and simple. Anything under half an inch calls for a solid foam sealant. Gaps stretching up to roughly 3 inches need foam paired with a rigid backer — drywall scraps or rigid foam board work fine. Once a gap exceeds 3 inches, you’re looking at a rigid cover held in place with caulk or foam along the edges.
Caulk earns its keep on small, static hairline cracks where there’s zero thermal movement to worry about. But for the bulk of attic sealing work, expanding foam wins — it moves faster and grips the odd, uneven surfaces you’ll run into up there far better than caulk ever will. I found that out the hard way on one of my earliest solo jobs, caulking an entire attic’s worth of top plate gaps by hand — nearly six hours of my life gone. The very next house, I switched to foam and knocked out the same scope of work in under two hours.
Sealing Recessed Lights the Safe Way
Before any foam touches a recessed light, confirm whether the fixture is IC-rated — IC meaning “insulation contact.” Non-IC cans require a full 3-inch buffer from insulation and can never be foamed or covered directly. For those fixtures, build a sealed enclosure out of rigid foam or drywall, caulk the seams, and keep that clearance intact inside the box. It’s more effort, yes, but it’s also spelled out in code under IRC Section R302.13 for a real reason — trap heat against a non-IC fixture and you’ve created a fire hazard.
The Foam That Actually Gets Into Tight Corners Before the Insulation Buries Them
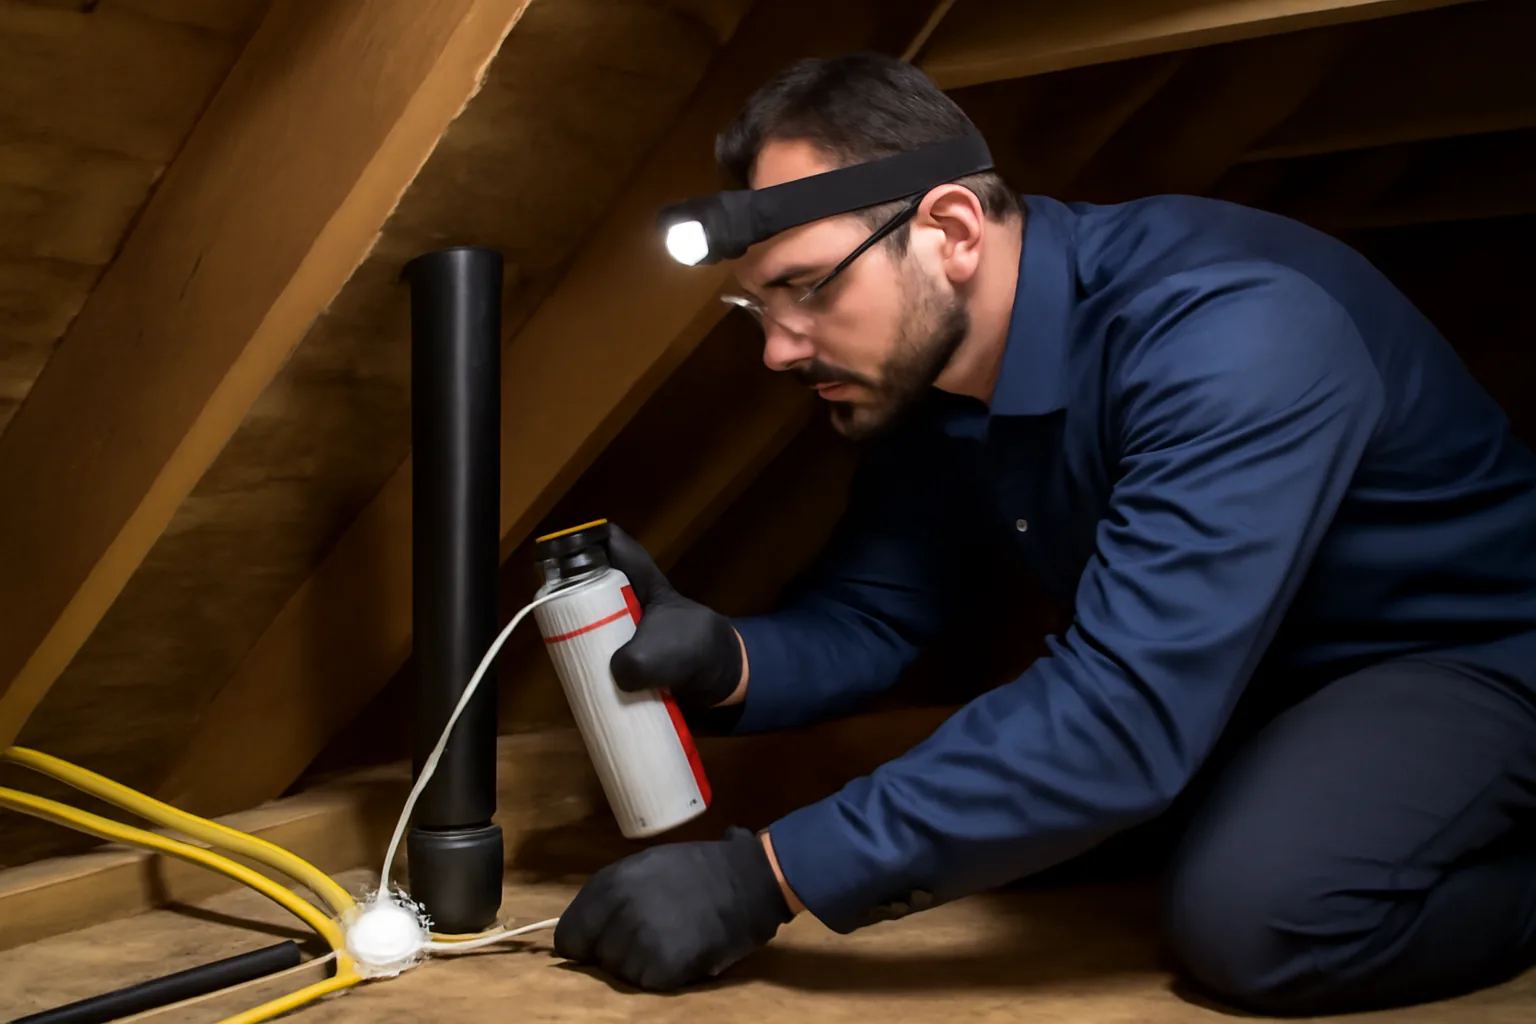
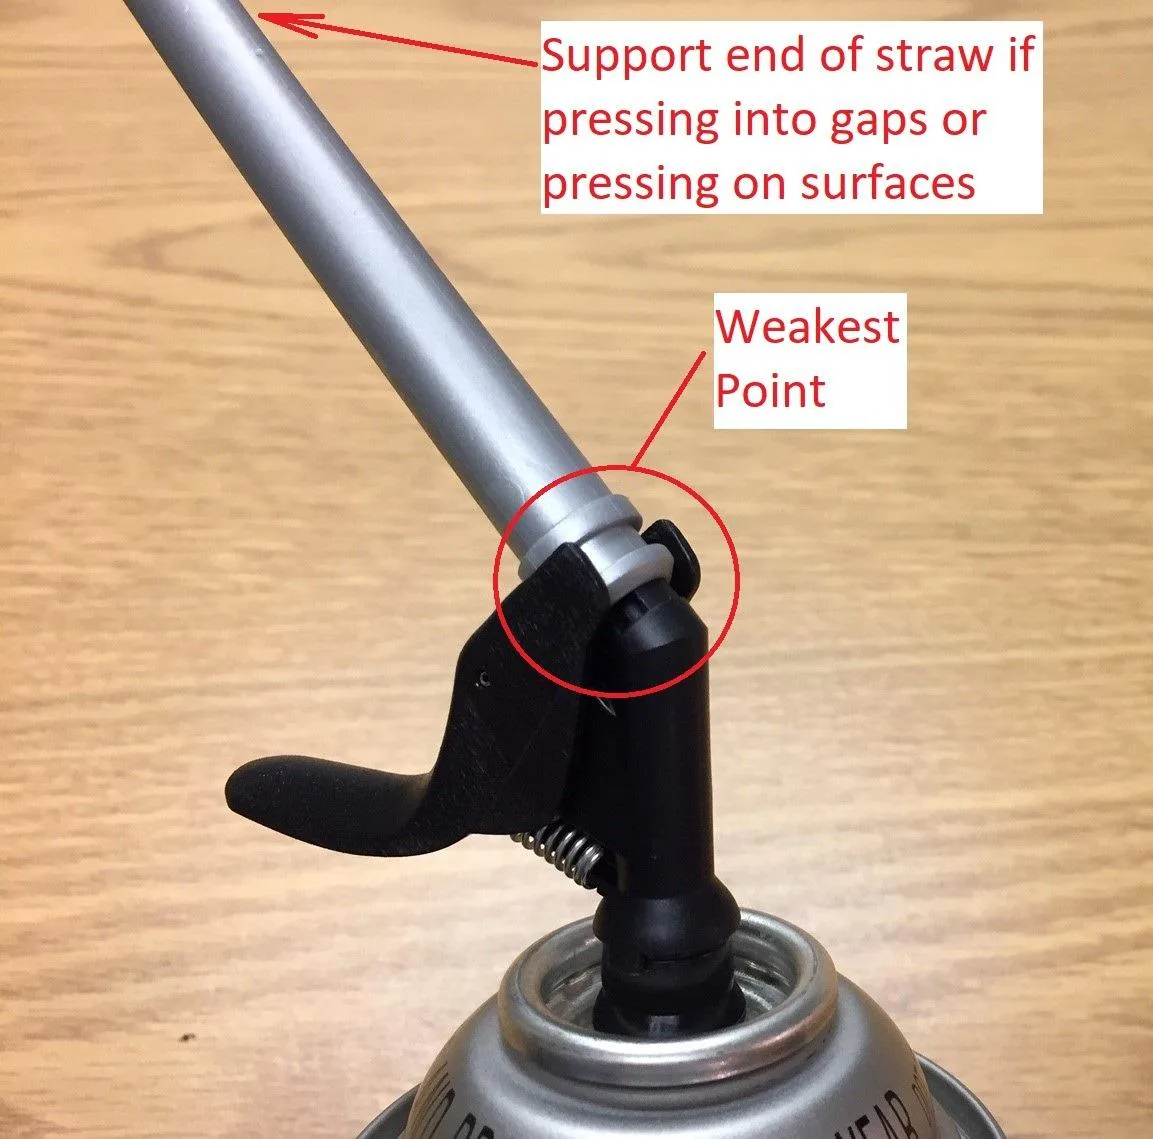
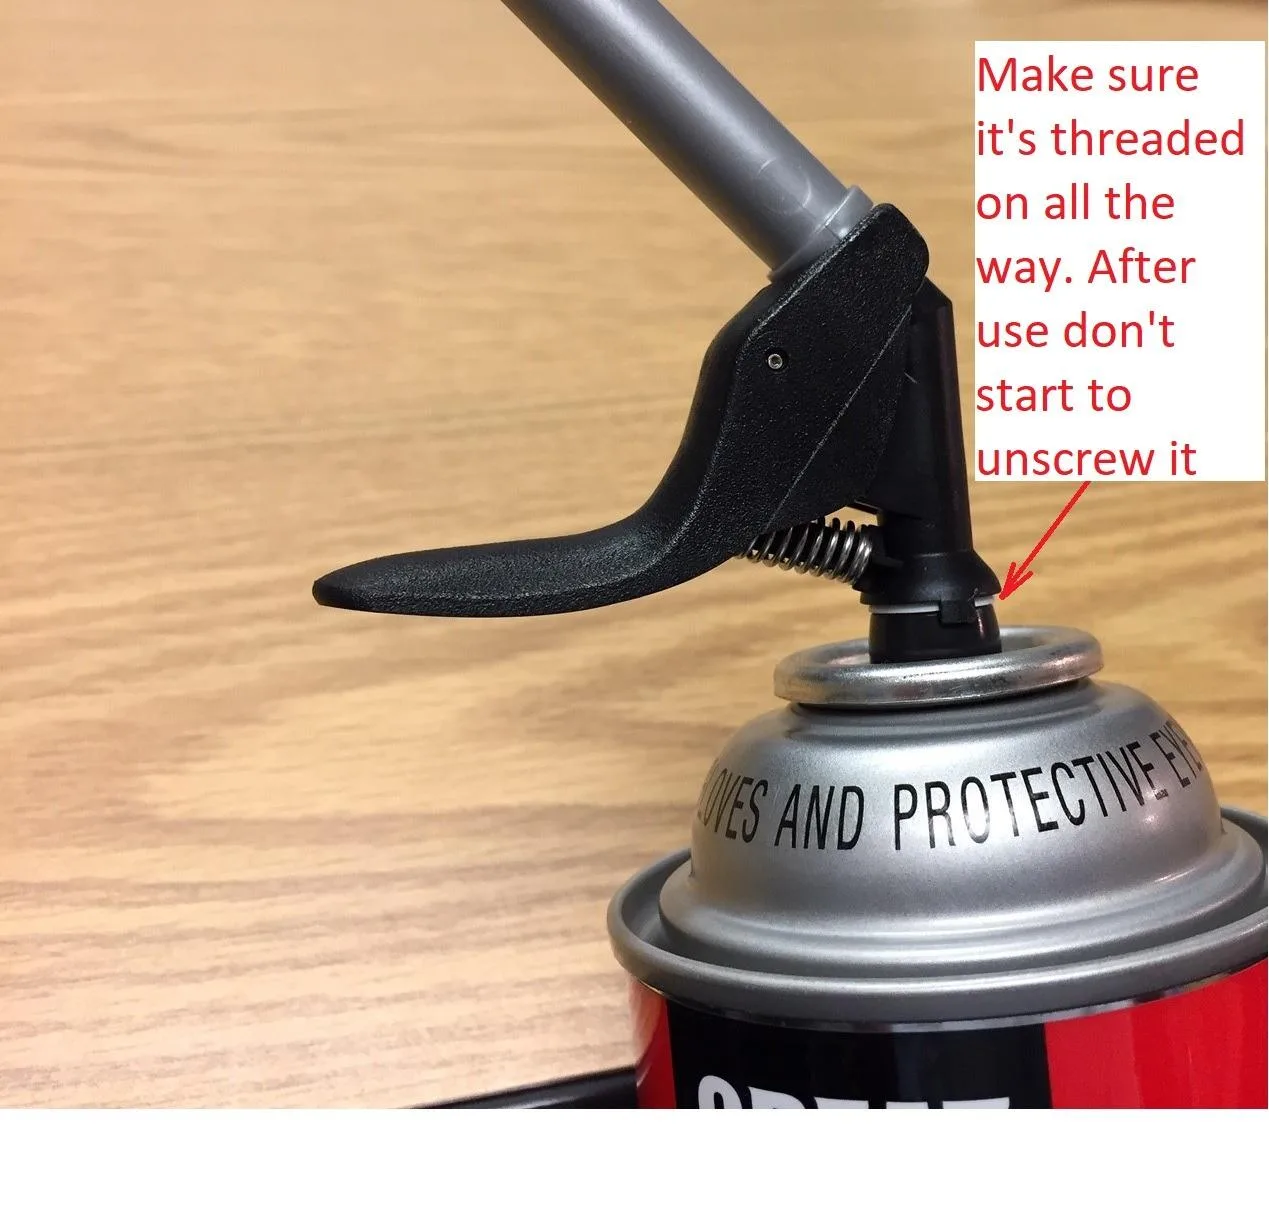
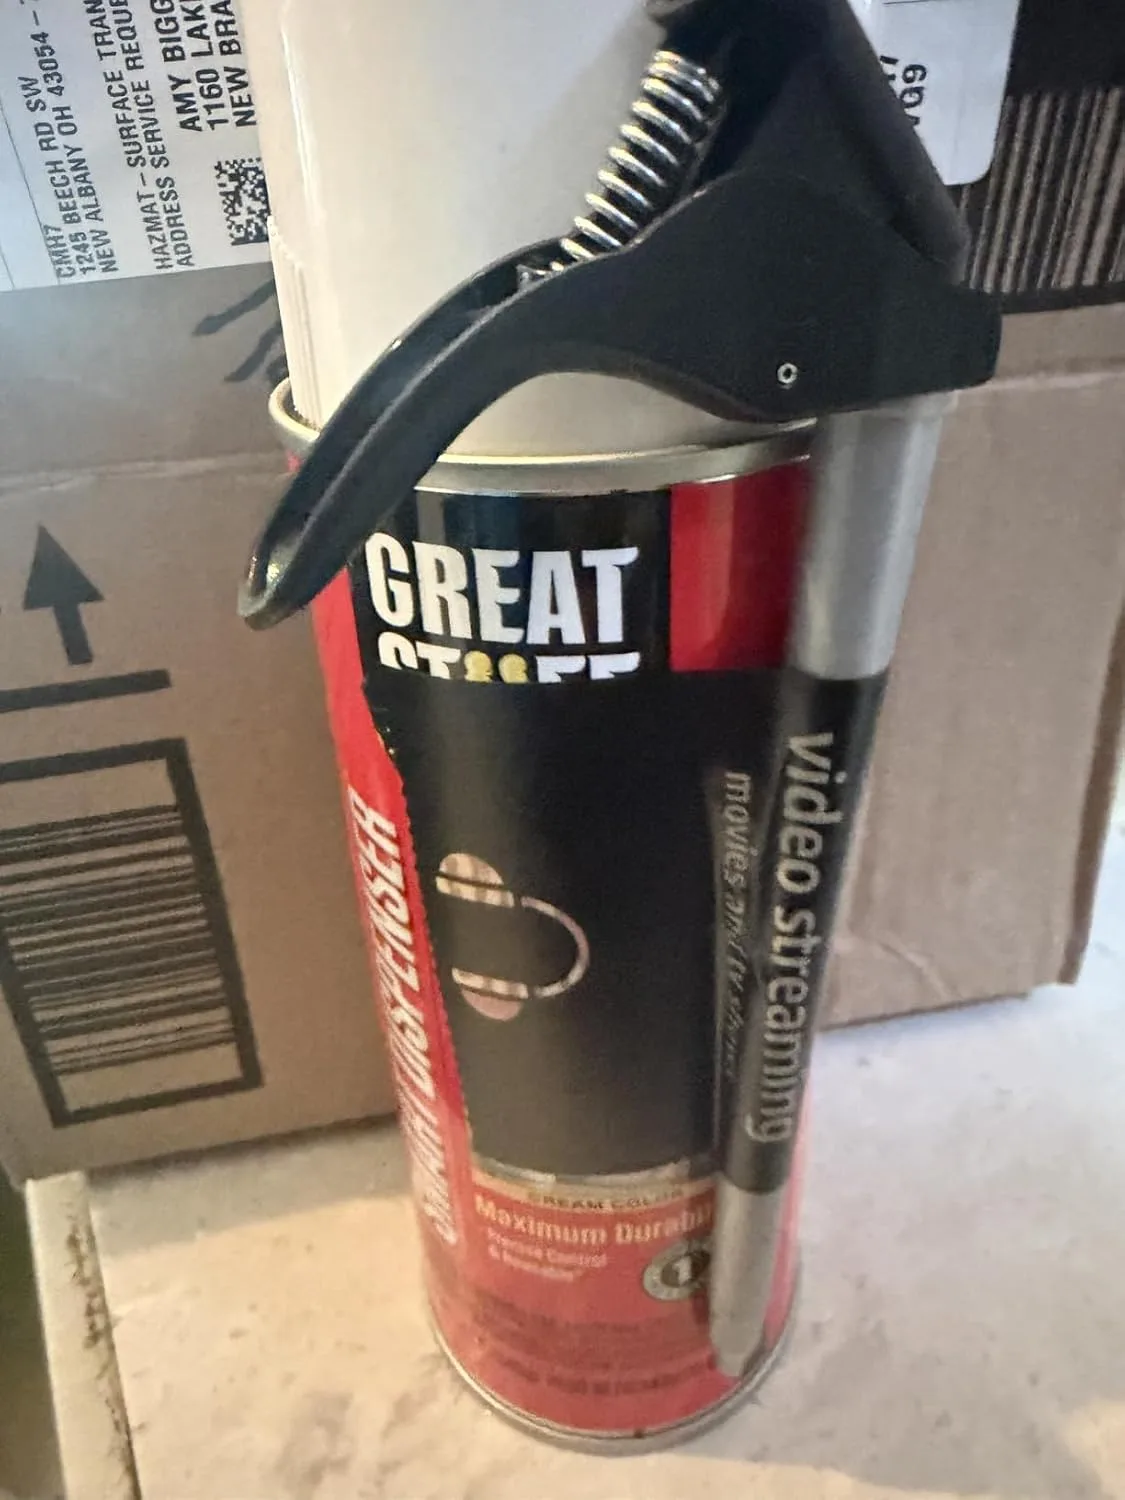
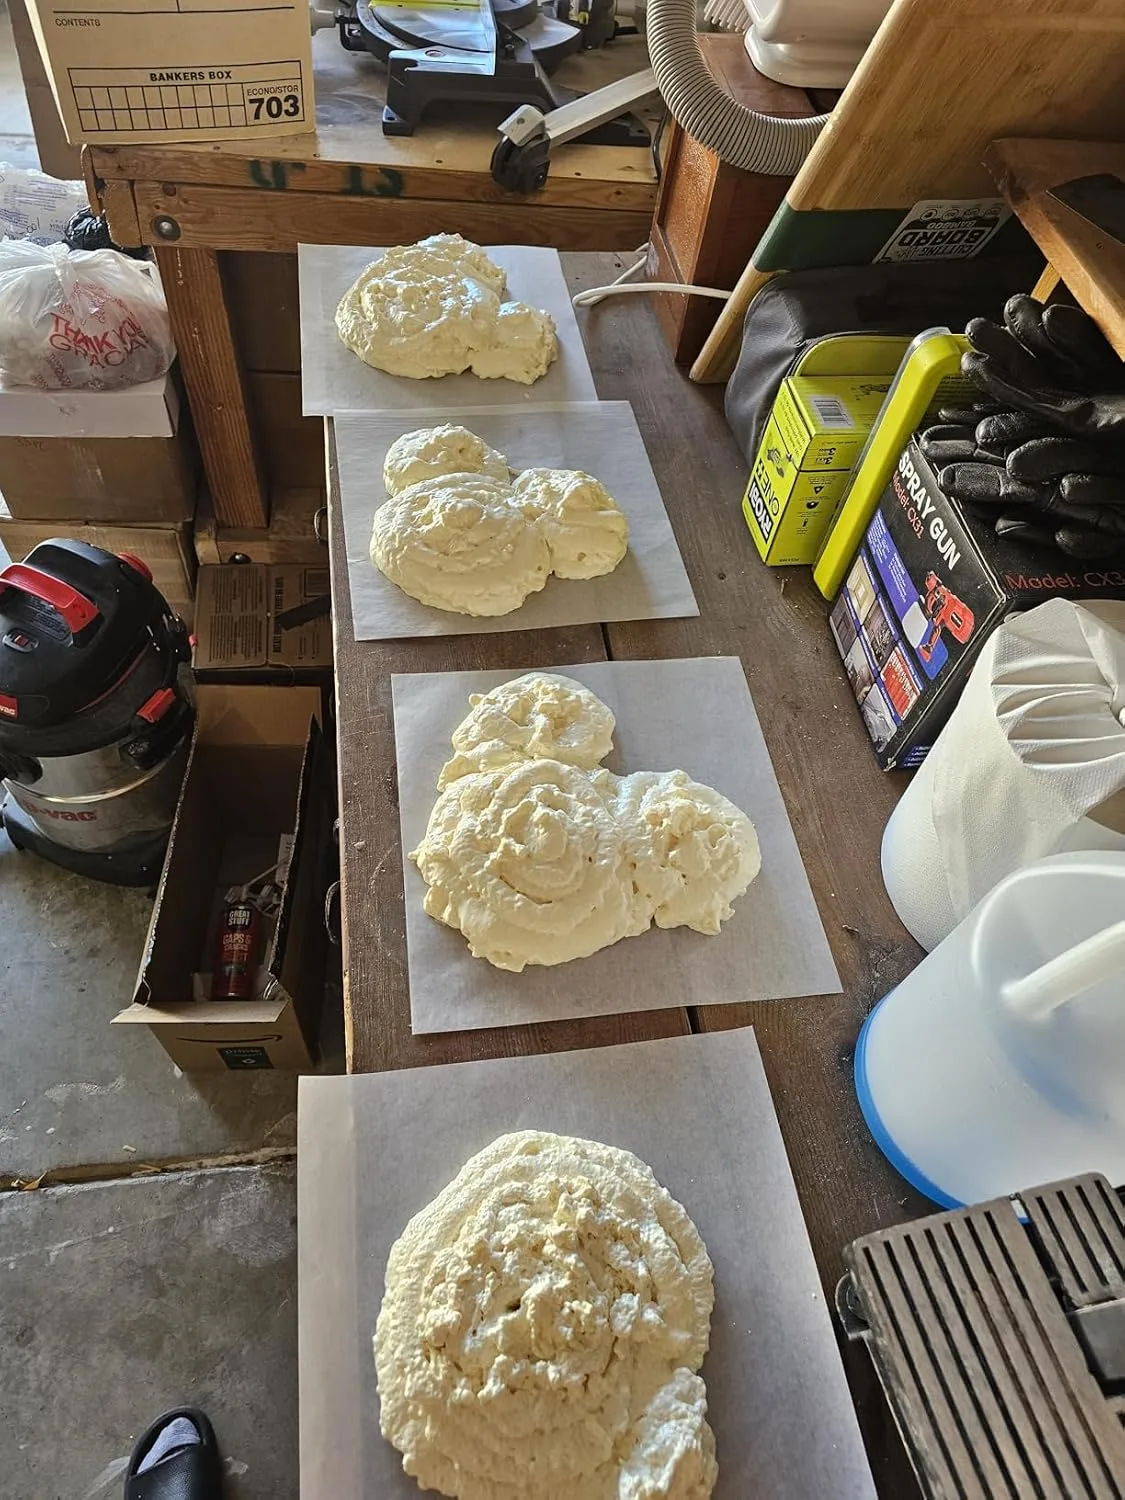
None of this air sealing matters if you can’t physically reach every gap, crack, and rim joist detail before insulation swallows the whole attic. The Smart Dispenser is what lets me get precise in those cramped spots where you can barely squeeze a hand through.
Where it earns its keep
- That precision tip reaches into narrow spots around electrical boxes and rim joists without dumping excess foam into cavities you can’t even see
- Dispensing with one hand while wedged into an attic corner beats wrestling a standard can and applicator gun every time you’re already twisted into an awkward position
- Overspray stays minimal, which means less dried foam to chip away before insulation goes down — your schedule and your labor both benefit
Where it falls short
- Per ounce, it runs pricier than standard Great Stuff cans — noticeable once you’re sealing a whole attic and burning through several cans
- Skip cleaning the tip between uses and the dispenser can clog — easy to forget when you’re moving fast through a real attic job
I’ll admit the first time I used one I thought I was overpaying for a gimmick, but after my third attic where I actually sealed the rim joist properly instead of leaving finger-width gaps because the standard applicator wouldn’t fit, it paid for itself in energy performance alone. Great Stuff 99108824 Smart Dispenser Gaps & Cracks, Cream, 12 Ounce

About This Article

Written by Dana Sorensen. Homeowner turned building-science obsessive. I help other homeowners understand attic insulation, ventilation, and air quality so they can stay comfortable year-round without overspending on energy bills. More about this site.
Scope and limits. Dana is a homeowner who studies building science, not an HVAC contractor or licensed tradesperson. Anything involving combustion appliances, gas lines, or electrical work belongs with a licensed contractor.
Verify this against a primary source
Specifics change, and your situation may differ from the one described here. These are the authorities worth checking directly:
- ENERGY STAR — recommended insulation R-values by climate zone
- U.S. Department of Energy — air sealing and insulation guidance
- EPA Indoor Air Quality — ventilation and indoor air quality standards