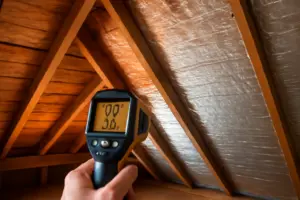
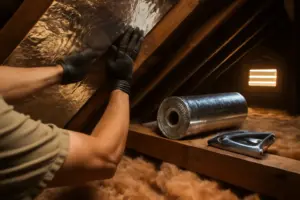
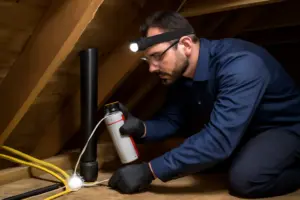
My own basement gave me this lesson years before I ever thought to write about it. I’d walk across my hardwood floors on a January morning and swear the boards were colder than the driveway outside, even though the furnace ran constantly and the basement below felt perfectly warm. By that point I’d already swapped in a new furnace, packed the attic with fresh insulation, and put in upgraded windows — and none of it touched the problem. The heating bills stayed brutal. Frustrated, I finally grabbed my thermal camera one Saturday and worked my way around the basement perimeter, and there it was: a solid ribbon of blue tracing the entire foundation line. Every bay of my rim joist — no exceptions — sat bare, unsealed, and wide open to the outdoors. That’s a 12-inch strip of exposed framing circling the whole house, leaking air at every seam it touched. After hundreds of energy audits and blower door tests in other people’s homes, I can tell you my house wasn’t unusual — I’d put the number at over 70% of older homes carrying this exact flaw. Fixing mine took a single Saturday and ran under $300 in materials. The very next bill showed it, and those ice-cold floors simply stopped happening. That’s insulating rim joists band board how to in practice, not theory — and that’s the walkthrough I want to give you.
Rim Joist 101: Why This Spot Leaks More Air Than Almost Anything Else in Your House
Let’s cover the basics first, since most homeowners have never encountered the phrase “rim joist” despite it being one of the most energy-critical parts of the whole structure. When a house gets framed, the floor joists — those horizontal boards holding up the first floor — need a resting point along the outer edges. That resting point is the rim joist, also called the band board or band joist. It rests directly on the foundation wall, tracing the house’s perimeter and capping off every parallel floor joist behind it. Most homes use a single length of 2×10 or 2×12 lumber for this job.
Here’s where it gets tricky: this board sits precisely at the boundary between your conditioned living space and the world outside. It’s structural lumber, not an insulator, and not an air barrier either. In homes built before modern energy codes existed, that board is almost always left completely naked — no foam, no fiberglass, nothing at all.
Now factor in the physics. Framing lumber only offers about R-1 of resistance per inch, so a 1.5-inch rim joist gets you roughly R-1.5 standing between your living room and a 15°F January afternoon. Your exterior walls, by comparison, typically carry R-13 to R-21. That gap alone tells you why this narrow band acts as such a severe thermal bridge. But conductive heat loss is really the smaller of the two issues here — the bigger culprit is air leakage.
This zone is packed with gaps from top to bottom. There’s the seam where the sill plate meets the foundation. There’s another where the rim joist meets the sill plate. And there’s a gap at the end of every single floor joist where it butts against the rim. Once a house has settled even a little — which describes nearly every older home — those gaps only widen. Blower door testing, which depressurizes a house to 50 Pascals and measures how much air moves through it in cubic feet per minute, consistently traces 15% to 30% of a home’s total air leakage back to this one narrow band. I’ve personally recorded homes where the share was even higher than that.
That draft creeping along your baseboards near exterior walls each winter isn’t in your head, and it’s not sneaking in through the windows. In the vast majority of cases, it’s rim joist air working its way through the floor system and up into the wall cavity above. There’s a moisture angle too: when warm indoor air meets that cold framing, condensation forms, and over time that invites mold and rot — particularly in cases where someone tucked fiberglass batts into the cavity without sealing the air leaks first. More on that shortly.
You really can’t overstate the rim joist air sealing importance here. Dollar for dollar, it’s the highest-payoff insulation project available in most older houses, and yet it’s the one that gets bypassed constantly — either contractors never look there, or homeowners never think to ask. If you’re only tackling one air-sealing job this year, make it this one.
The Foam Applicator That Finally Made My Rim Joist Seals Come Out Right
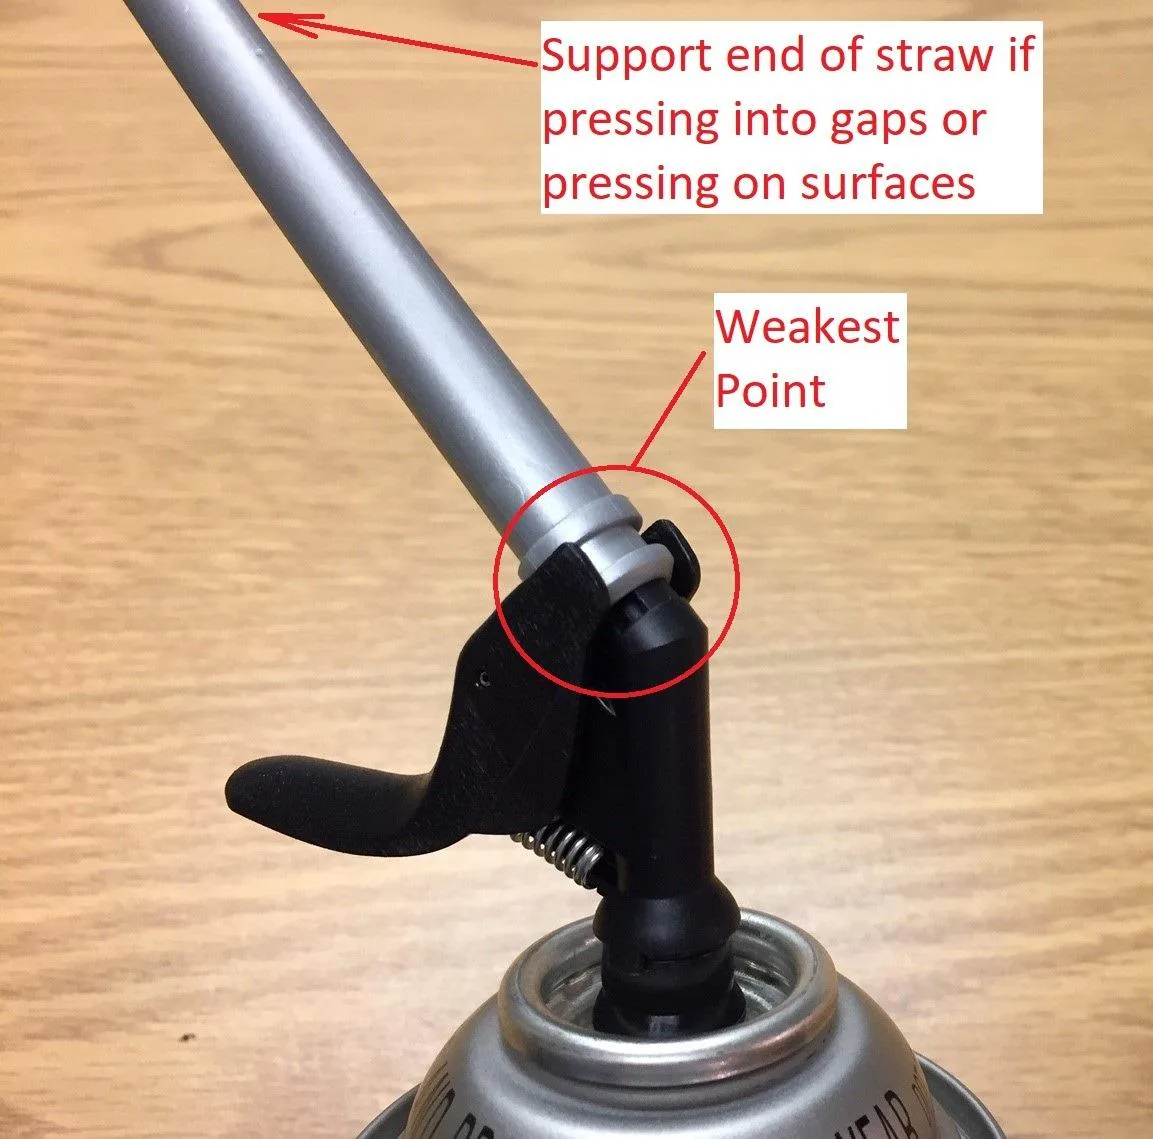
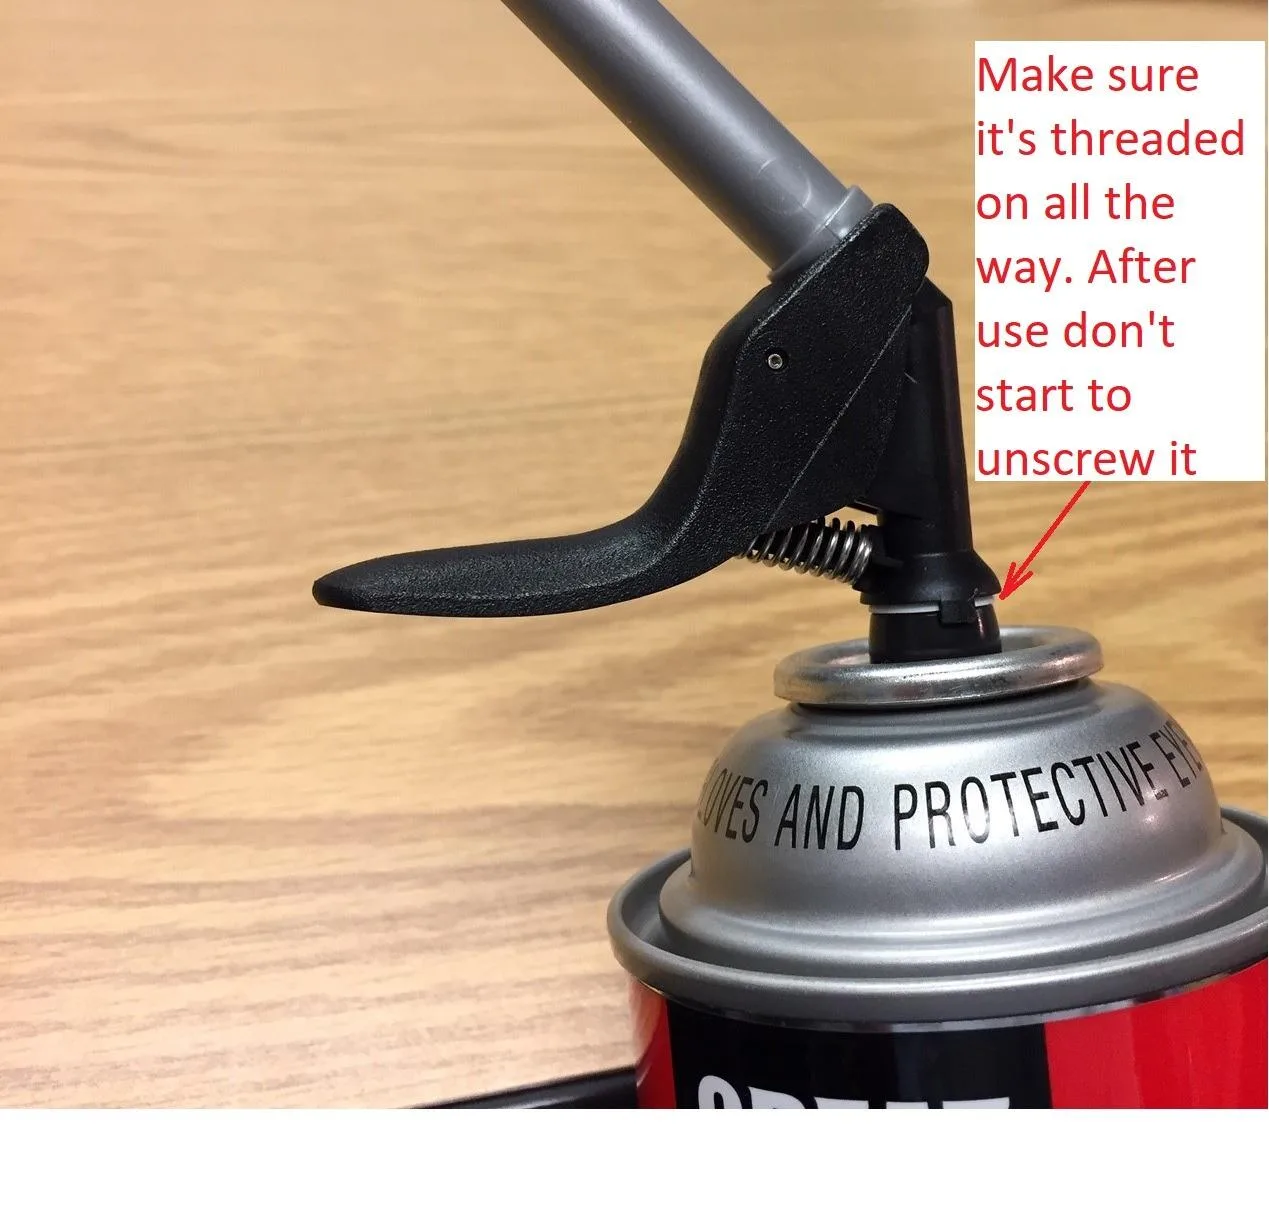
Sealing a rim joist correctly is all about precision — you’re chasing irregular gaps between the rim board and foundation, wedged into cramped basement corners where a standard caulk gun can’t reach or control the bead flow. A solid expanding foam dispenser is what separates a genuinely airtight seal from a pile of wasted cans that over-expand or leave hollow spots behind.
Where it earns its keep
- Its smart trigger mechanism lets you run it one-handed — essential when you’re braced against a foundation ledge and trying to control how fast foam comes out so it doesn’t blow past a narrow gap.
- Pair it with 12-ounce cans and this nozzle, and you’ll typically finish an entire rim joist run using just one or two cans — no mid-job can-swapping, and a steadier bead with less waste.
- The fine-tip design cuts out the sloppy overspray you’d get from a basic straw applicator, which counts for a lot when you’re working inches from finished basement drywall or exposed wiring.
Where it falls short
- You’re paying more per application than a plain can would cost, though most people make that back in saved product within the first two or three jobs.
- Skip purging the nozzle after use and the foam sets up hard inside it, clogging the whole thing — budget time for cleanup, or expect to keep replacing dispensers.
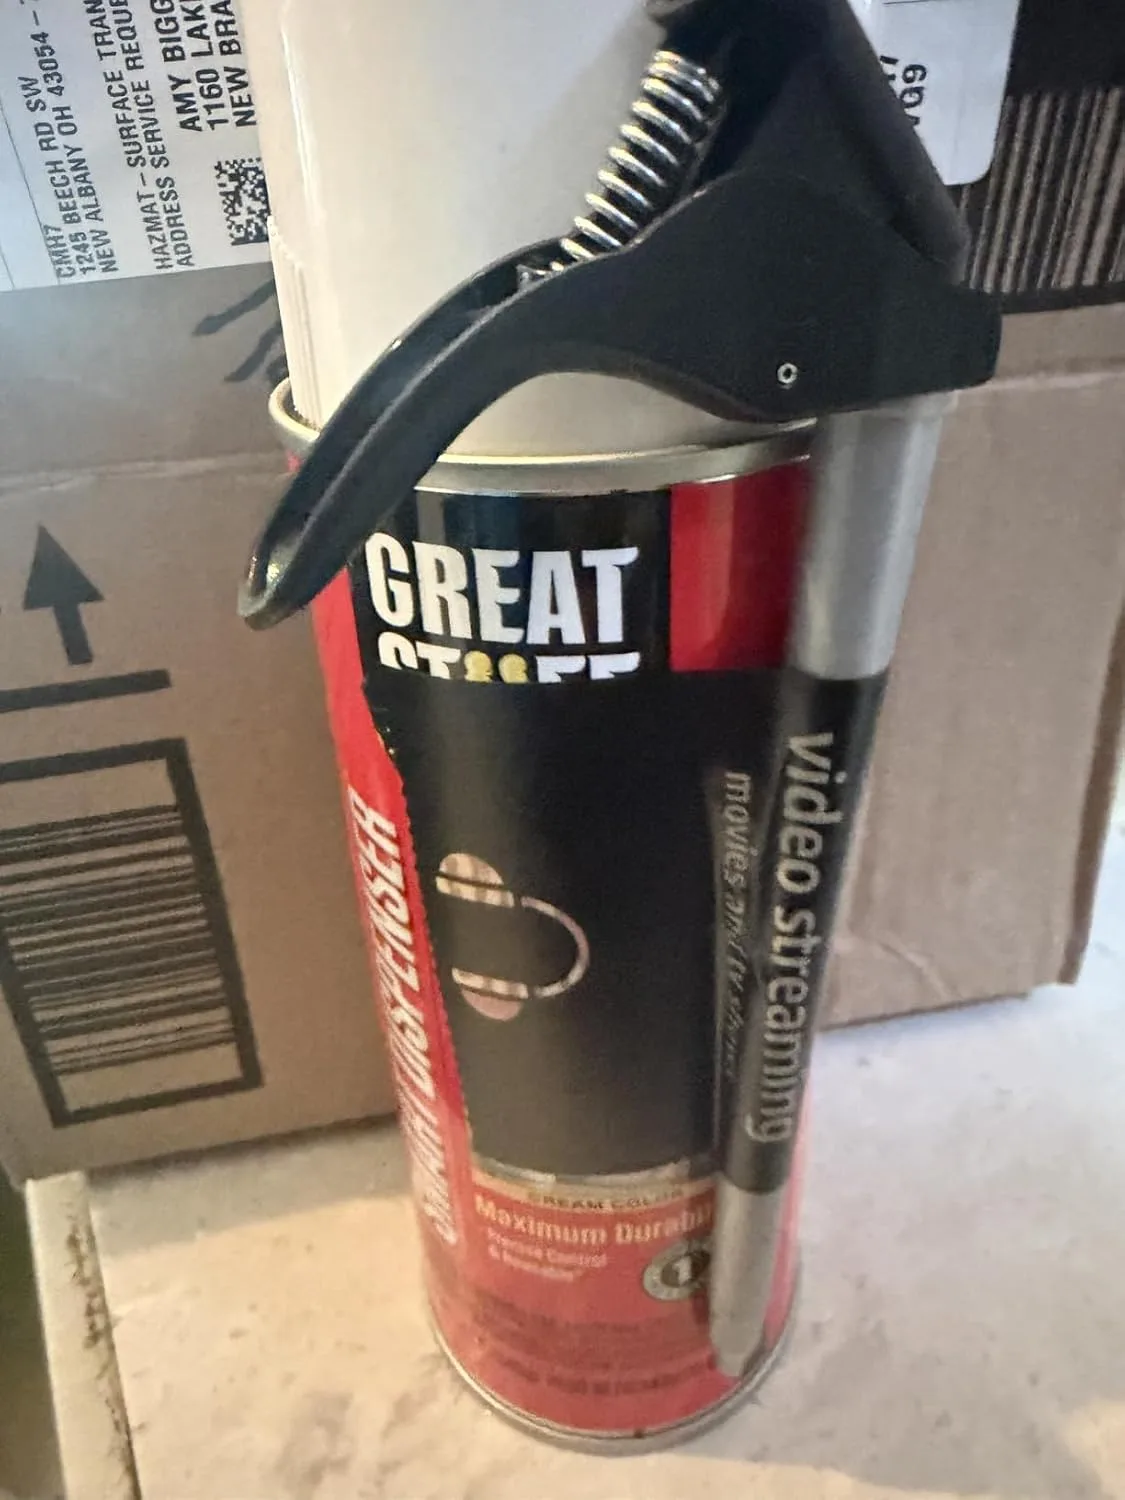
I remember my first rim joist seal-up without one of these: I burned through three standard cans, made a mess along the top of the foundation, and still had thin spots where air could whistle through. I won’t do that again. Great Stuff 99108824 Smart Dispenser Gaps & Cracks, 12 oz has become part of every rim joist job I bid now.
What a Cold Rim Joist Actually Does to the Rest of the House
A cold rim joist doesn’t stay a rim joist problem. It’s the weak point that touches your floors, your air, your framing, and your utility bill all at once. Here’s the chain of cause and effect, in the order homeowners usually notice it.
1. It makes the floor above cold — not just the basement
The rim joist (also called the band joist) is the perimeter board that caps the ends of your floor joists, sitting right on top of the foundation wall. On most homes built before insulation codes tightened up, it’s bare framing lumber with maybe an inch of gap-filled fiberglass — effectively uninsulated. Cold from outside conducts directly through that wood into the floor joists, and from there into the subfloor above. That’s the mechanism behind a very specific complaint: the middle of the room is fine, but the perimeter along an exterior wall is noticeably colder underfoot. It’s not your imagination and it’s not the vents — it’s conduction through solid wood with nothing stopping it.
2. It feeds the stack effect and makes the whole house feel drafty
Warm air leaks out at the top of the house — attic bypasses, can lights, exterior wall top plates — and that air has to be replaced from somewhere. The rim joist band, running the entire perimeter of the basement or crawlspace, is one of the largest connected leakage paths at the bottom of the envelope. Cold outdoor air gets pulled in through the sill plate and rim joist gaps and washes across the basement ceiling and floor above. This is why a house can feel drafty in rooms nowhere near the rim joist — you’re feeling the tail end of a convective loop that starts at a leaky perimeter two floors down.
3. It condenses moisture and rots the framing that carries your floor
This is the consequence that actually costs money. Warm, humid indoor air migrating toward that cold rim joist hits its dew point and condenses on the wood. A rim joist that stays damp through a heating season grows mold, and given enough seasons, rots. That matters structurally — the rim joist carries the floor load and ties the floor framing to the foundation. It’s not decorative trim; it’s load path. Worse, standard fiberglass batts stuffed into rim joist bays don’t stop this — they’re air-permeable, so indoor moisture passes right through the batt and condenses on the cold wood behind it, hidden from view until someone pulls the insulation and finds black staining or soft wood.
4. It gets misdiagnosed as a furnace or window problem
Homeowners chase the wrong fix constantly here — new thermostat, furnace tune-up, window replacement — because the symptom shows up as “this room is always cold,” not “my rim joist is uninsulated.” Quick diagnostic: on a cold day, run your hand or an infrared thermometer along the floor where it meets an exterior wall, then compare to a reading in the middle of the room. A 5–10°F difference at the perimeter points straight at the rim joist and band area, not the equipment.
- Small area, outsized leakage: the rim joist band is a thin strip around the house perimeter, but it accounts for a disproportionate share of total envelope air leakage — and because it’s usually exposed in an unfinished basement, it’s one of the cheapest linear feet of envelope you can fix.
- Frozen pipes: in cold climates, supply lines routed along an uninsulated rim joist are a genuine freeze risk during a hard cold snap — one more reason this isn’t a cosmetic comfort issue.
All of this is exactly why the fix described earlier in this article — sealing and insulating the rim joist properly, with a material that stops both air movement and vapor migration — matters more than its square footage suggests.
About This Article

Written by Dana Sorensen. Homeowner turned building-science obsessive. I help other homeowners understand attic insulation, ventilation, and air quality so they can stay comfortable year-round without overspending on energy bills. More about this site.
Scope and limits. Dana is a homeowner who studies building science, not an HVAC contractor or licensed tradesperson. Anything involving combustion appliances, gas lines, or electrical work belongs with a licensed contractor.
Verify this against a primary source
Specifics change, and your situation may differ from the one described here. These are the authorities worth checking directly:
- ENERGY STAR — recommended insulation R-values by climate zone
- U.S. Department of Energy — air sealing and insulation guidance
- EPA Indoor Air Quality — ventilation and indoor air quality standards