Nearly every homeowner who asks whether radiant barriers actually work assumes the answer lives inside the product itself — foil that’s either legitimately reflective or a shiny gimmick. It doesn’t. After more than a decade climbing into scorching attics, I got away with answering that question with a shrug and an anecdote for far too long, and that habit is exactly what this post is meant to fix. Last year I stopped guessing and built my own experiment: data loggers, infrared thermometers, and 90-day utility bill comparisons across four separate attics in Arizona and Nevada. What follows is the full methodology and the raw numbers, attic by attic, including one result that nearly turned me back into a skeptic.
The real push to turn this into a formal test, instead of relying on sales copy or client gripes, came from a conversation with a fed-up homeowner in Tucson. She’d paid for a radiant barrier install three years earlier, watched her bills barely shift, and had more or less decided the whole product category was a scam. Once I climbed into her attic with a thermal camera, the problem was obvious: the barrier had been draped flat on top of her existing insulation with no air gap at all, meaning it never had a real chance to reflect anything. That one visit convinced me installation quality was probably the real culprit behind most “does this even work” complaints — and the only way to know for certain was to design a controlled comparison across more than a single attic.
Four Attics, Ninety Days: How I Set Up the Experiment
I chose four attics specifically because each one isolated a different variable: two retrofit jobs (one installed correctly from day one, one that had to be redone after a botched attempt), a new-construction attic with radiant-barrier sheathing built into the roof deck, and a fourth where I zeroed in on ductwork rather than general attic air. Keeping all four in Arizona or Nevada meant climate wasn’t a moving target — every attic regularly saw summer roof-deck temperatures well north of 140°F.
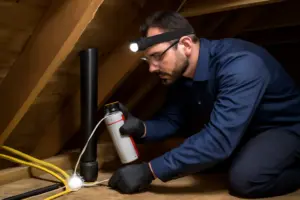
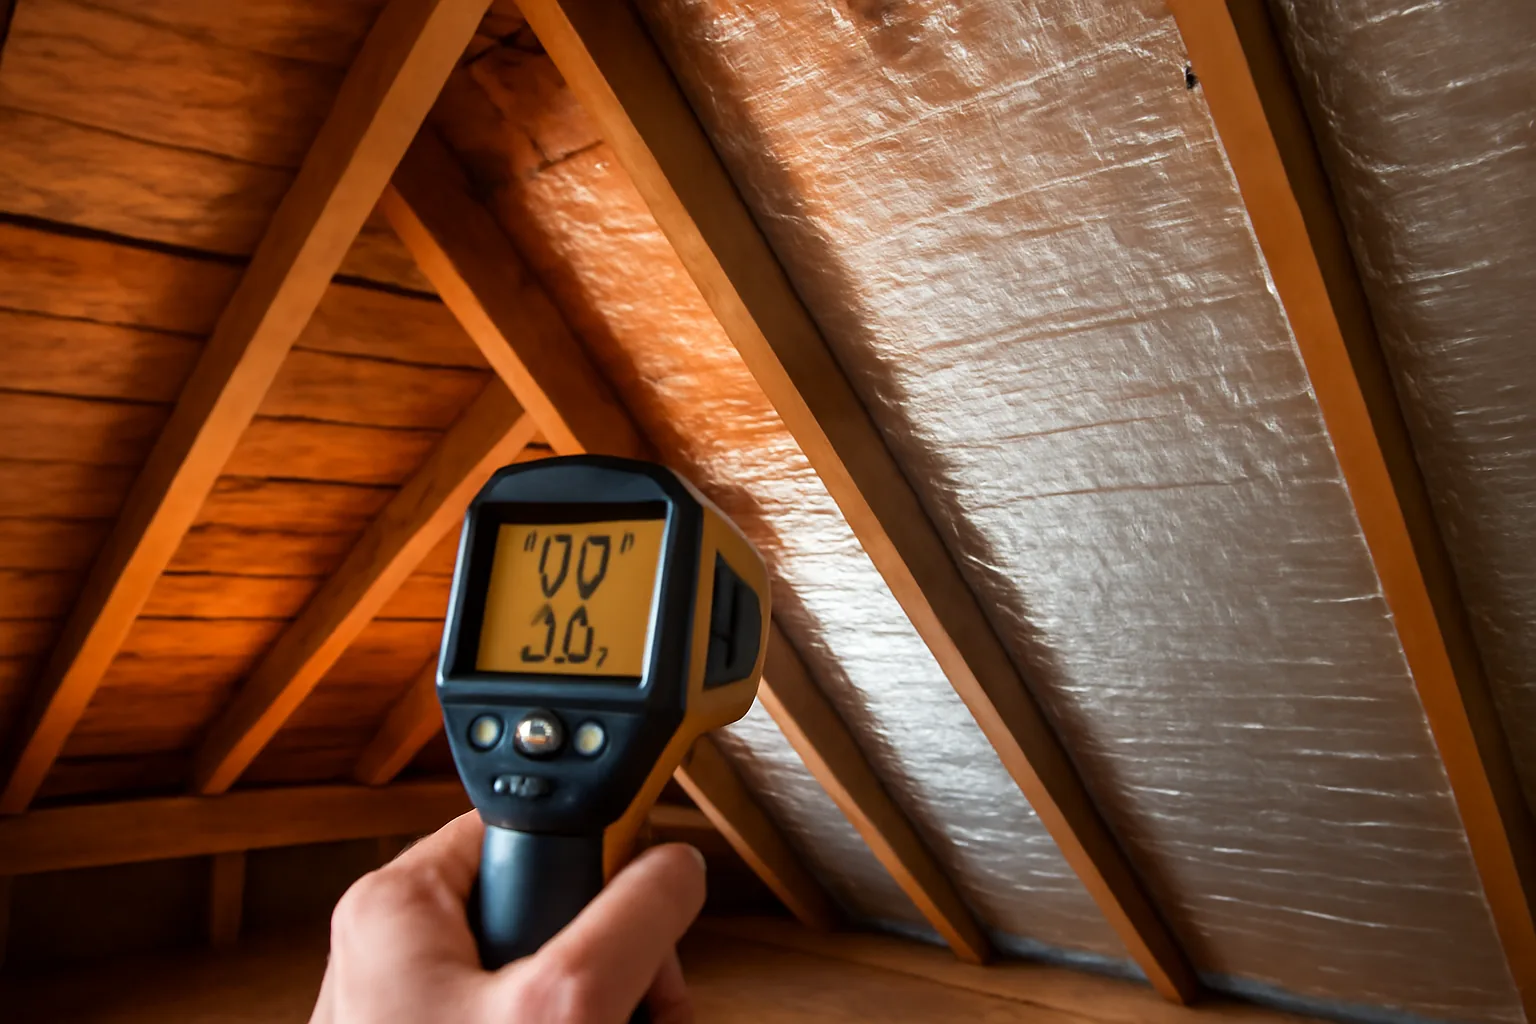
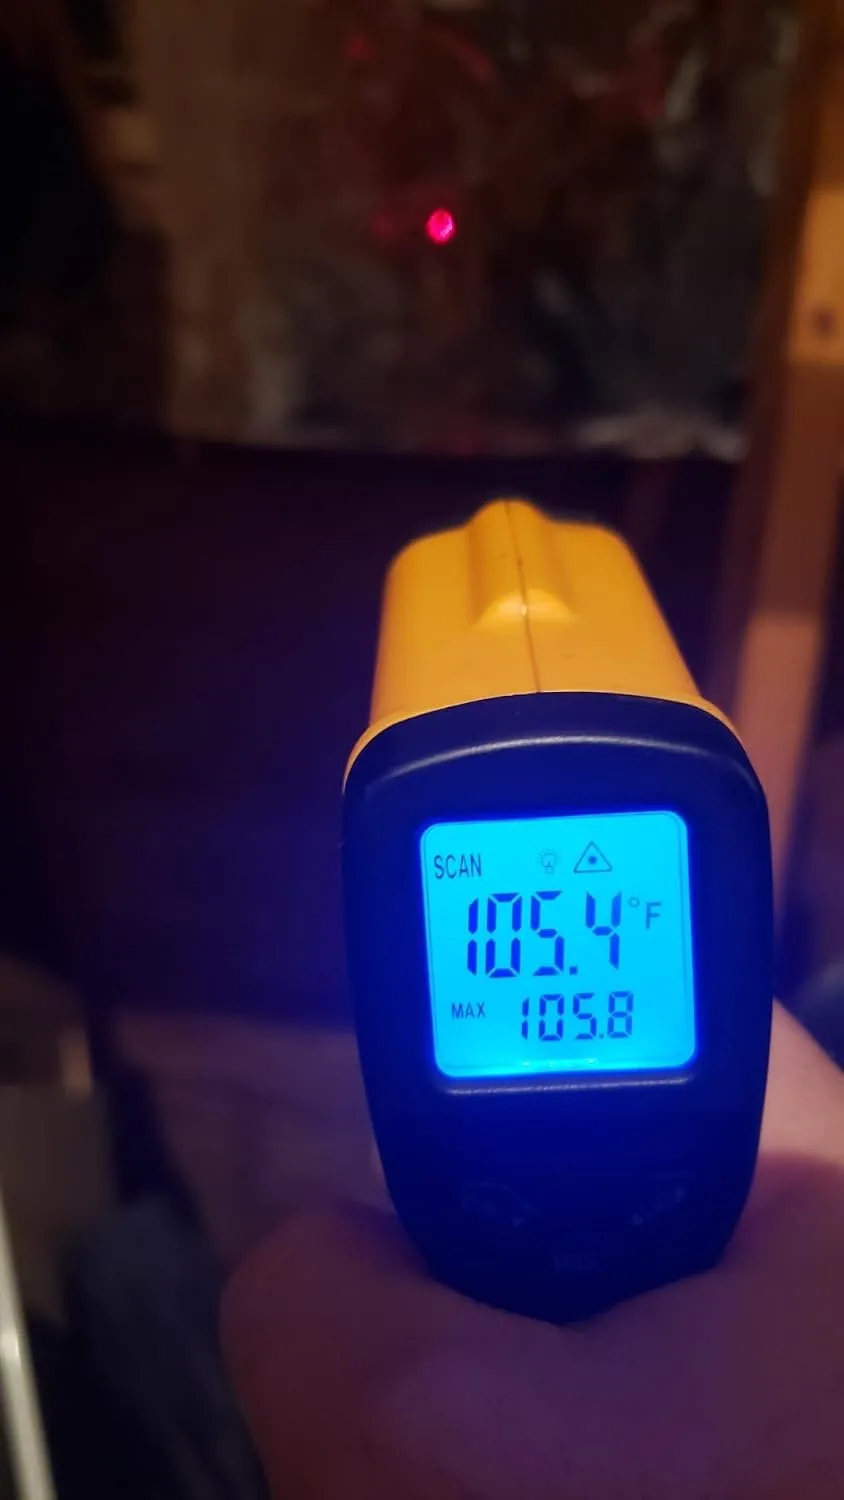
For instrumentation, I placed temperature/humidity data loggers at three points in each attic — near the roof deck, mid-attic at insulation height, and close to any ductwork — recording readings every 15 minutes across the full 90-day stretch. I backed those up with spot-checks from a handheld infrared thermometer on the roof deck, the barrier surface, and the top of the insulation, always timed for 2–3 p.m. local time to catch peak heat load. Where before-and-after data existed, I compared attic and duct-surface temperatures pre- and post-install. Where it didn’t, I measured the finished install against a matched control attic in a similarly-oriented home nearby. For utility costs, I pulled 90 days of billing history and normalized it against cooling degree days for that period, since comparing raw dollar figures across two different summers wouldn’t have meant much of anything.
Breaking Down the Results, Attic by Attic
Attic 1: Phoenix Ranch Home, Textbook Rafter Installation
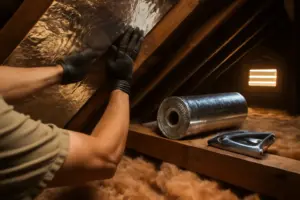
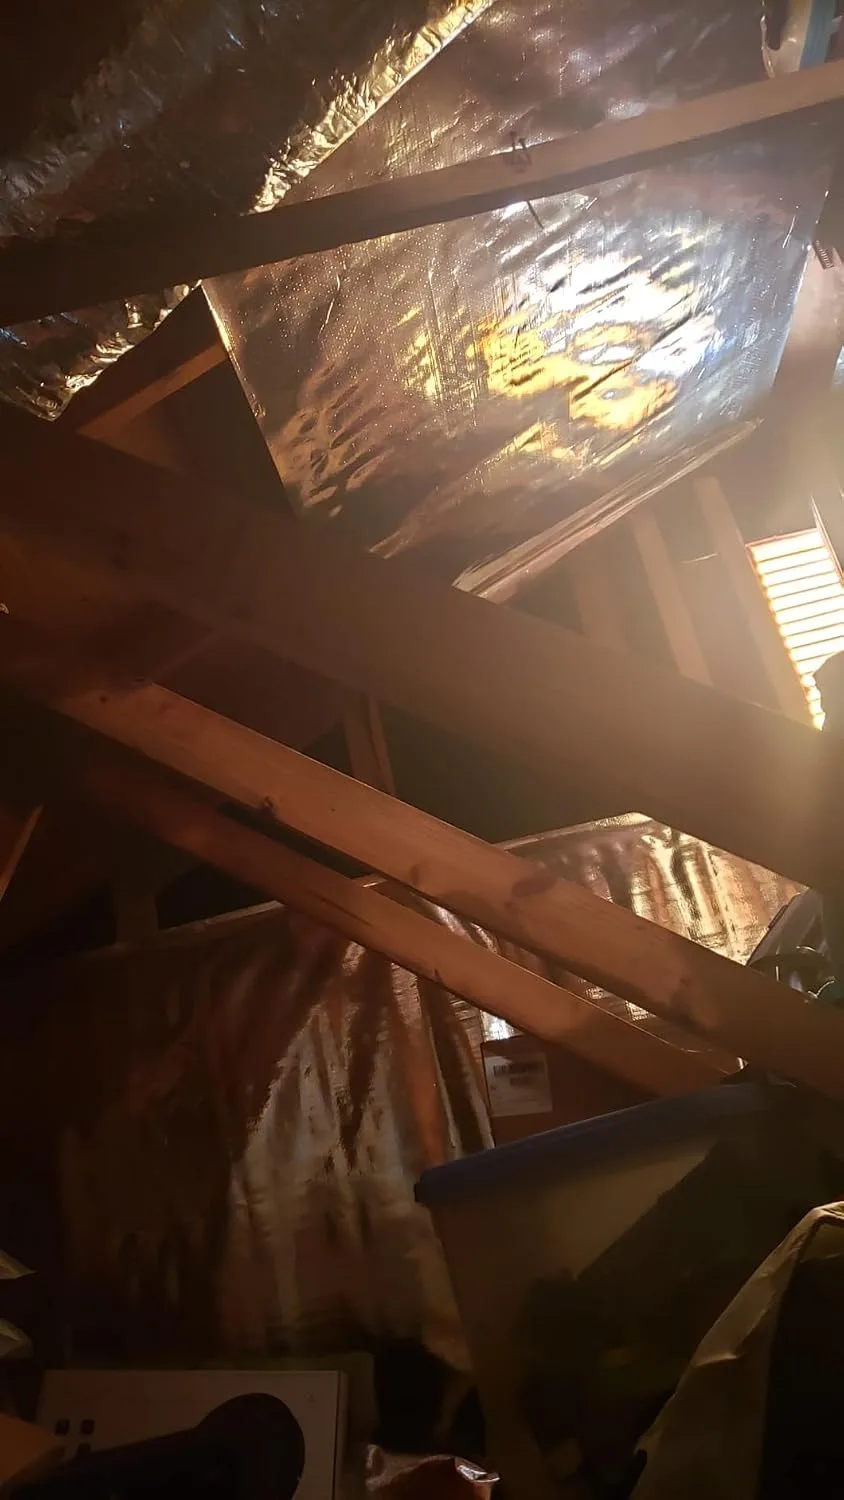
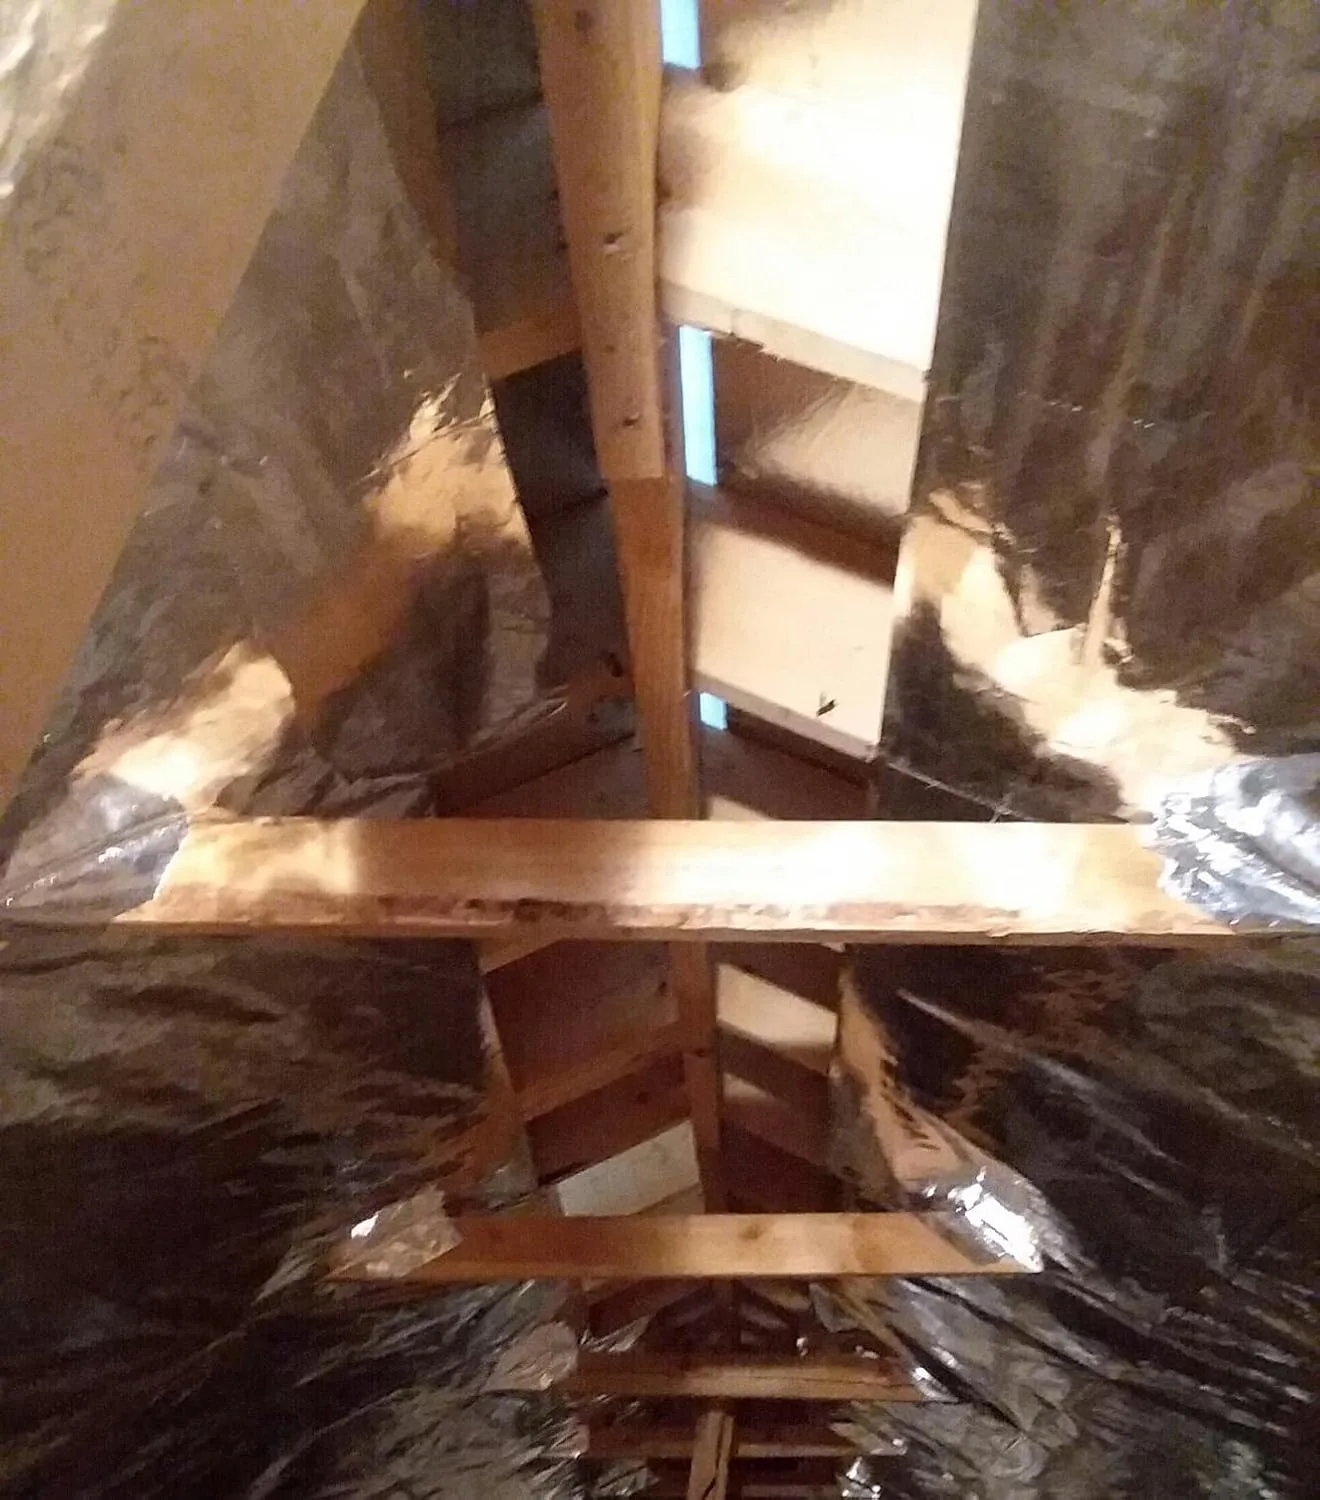
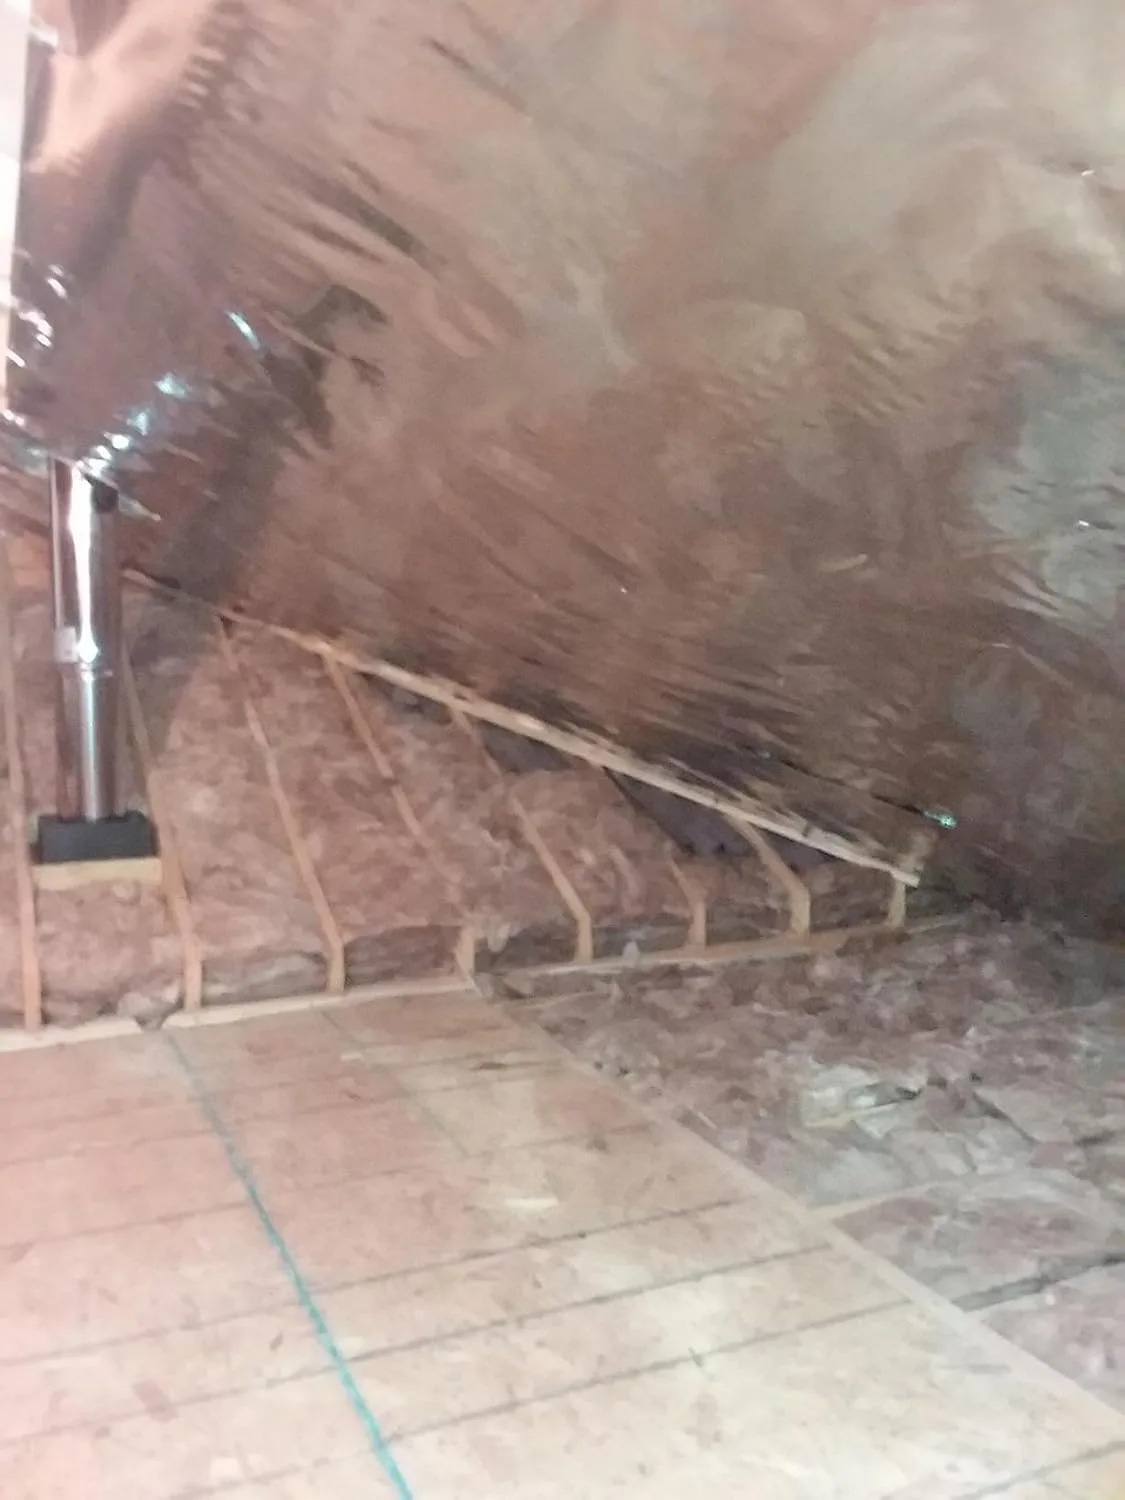
This attic already had R-30 blown insulation in place, with the barrier stapled to the underside of the rafters and a genuine 3–4 inch gap separating it from the roof deck — exactly the installation the manufacturer specifies. Peak attic air temperature fell from a pre-install average of 148°F down to 124°F, a 24-degree drop that lands squarely within what building science research typically cites for a properly installed barrier in a hot, sun-heavy climate. After normalizing for cooling degree days, energy costs over the 90-day window ran roughly 8% below the previous summer — right in the middle of the 5–10% savings range commonly reported for hot-climate installs.
Attic 2: The Tucson Two-Story That Started It All
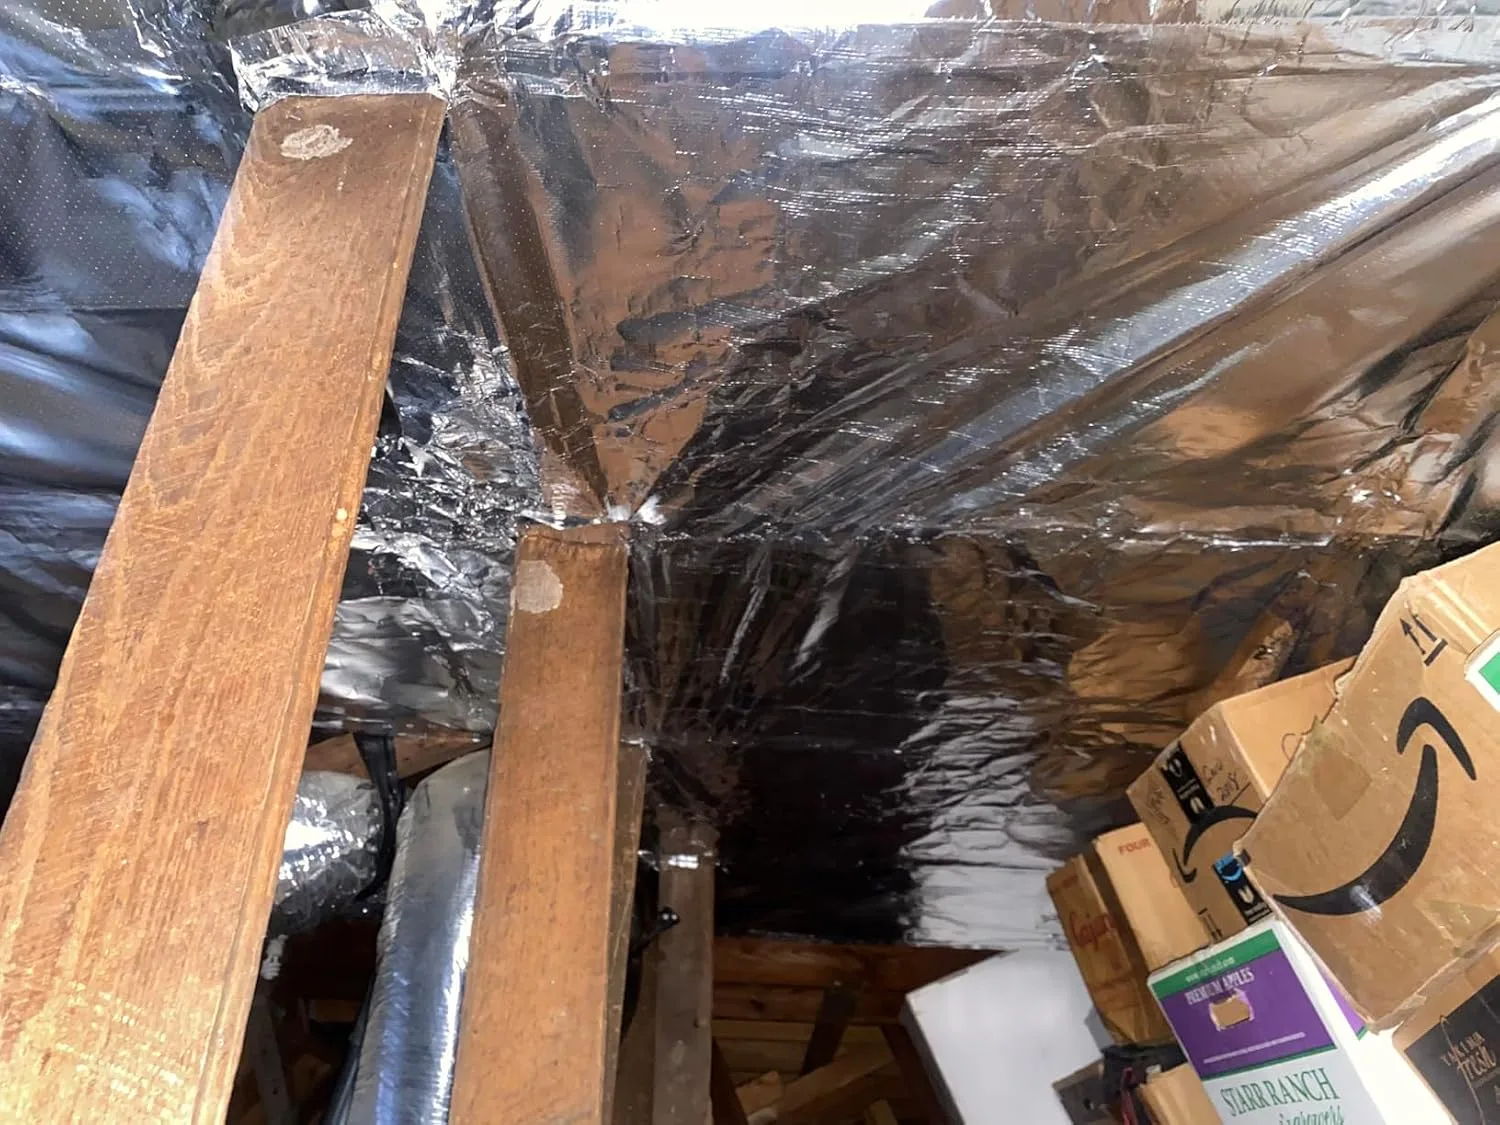
This is the same attic tied to the phone call that launched this entire project. In its original state — barrier laid flat over the insulation, reflective side facing up, no air gap whatsoever — my data loggers registered almost no measurable temperature difference from a nearby home with no radiant barrier installed at all. Once I pulled the barrier, restapled it to the rafters with proper airspace, and logged another full 90 days, peak attic temperatures dropped 18°F. Same material, same climate, same house — the only thing that changed was the air gap, and that single variable was the entire difference between a barrier doing nothing and one performing close to its rated specs.
Attic 3: New-Build Las Vegas Home With Factory Radiant Sheathing
This house came from the builder with radiant-barrier OSB roof sheathing already in place — the reflective foil laminated at the factory to the underside of the roof deck rather than stapled on afterward. I ran the comparison against a nearly identical floor plan next door built with standard OSB. Across the full test window, the radiant-barrier-sheathed attic stayed about 22°F cooler at peak. Since the air gap is guaranteed by design rather than left to an installer’s judgment, this was the most consistent, lowest-maintenance version of the technology I tested.
Attic 4: Mesa Retrofit Where Ductwork Was the Real Target
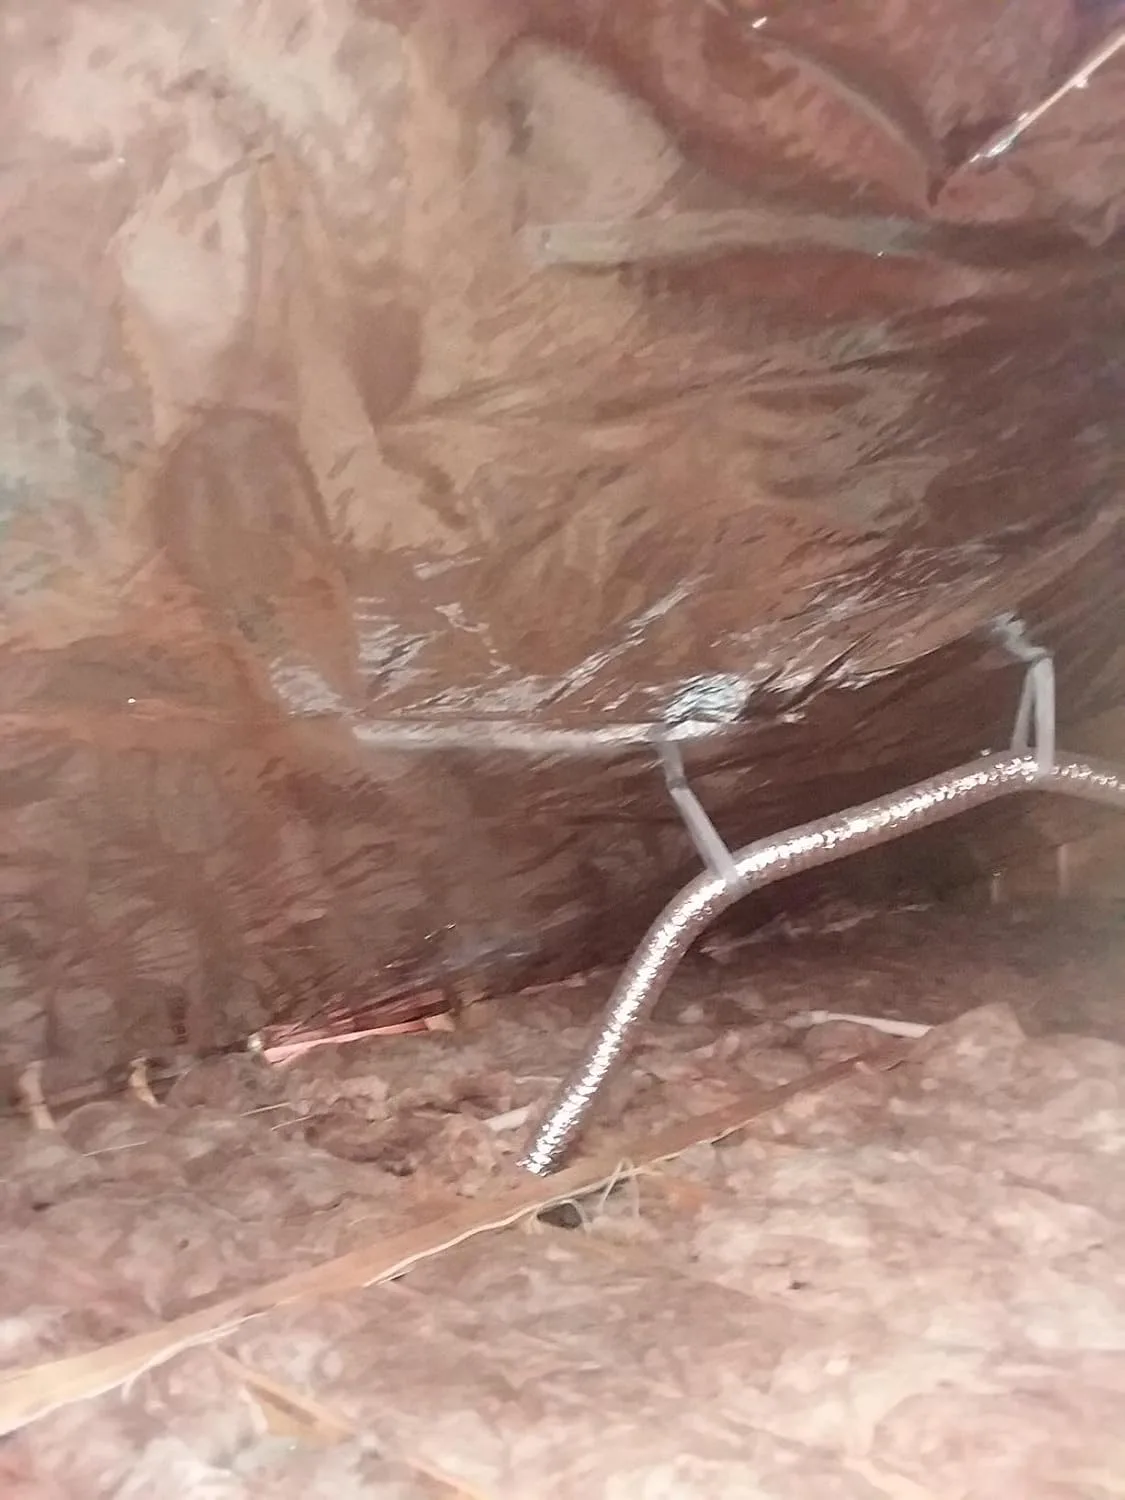
The home’s supply ductwork runs directly through this attic, so instead of only tracking ambient air temperature, I logged duct surface temperature as the primary metric. Before the barrier went in, duct surfaces were peaking at 135°F. After a correctly mounted rafter install, those same ducts topped out at 108°F under comparable outdoor conditions. For a house built this way, that’s the number that actually matters — every degree you strip from the air surrounding your ductwork is a degree your system isn’t fighting before conditioned air ever reaches a register.
What My Own Data Ended Up Proving
The same pattern held across all four attics: whenever the barrier had a real air gap and faced the correct direction, both the temperature drops and the utility savings landed inside the ranges building science research generally supports for hot climates. Whenever it didn’t — as with Attic 2’s original setup — the results were statistically indistinguishable from having no barrier at all. In my data, installation quality wasn’t a minor footnote; it was essentially the whole story. If you’ve already got a radiant barrier up there and you’re not seeing any benefit, the product itself isn’t the first thing I’d question — it’s whether there’s any actual daylight between the foil and whatever surface it’s touching.
The Product Behind Every Correctly-Installed Result Here
I used one single material across every correctly installed test attic so I wouldn’t be stacking a product variable on top of an installation variable. RadiantGUARD Xtreme is built for extreme-heat climates, and that mattered a great deal here — my data loggers sat through roof-deck temperatures above 150°F for three straight months, and I needed a reflective surface that would hold its performance for the entire test instead of degrading partway through.
Where it delivered
- Across all four 90-day windows, the reflective surface showed no visible oxidation, so the readings I logged in month one still lined up with what I measured in month three.
- It held up to being stapled solo without tearing �� something I relied on directly in Attic 2, where I had to pull and reinstall it myself partway through the test.
- It performed reliably with nothing more than a standard 1-inch rafter-cavity air gap, so I never had to build out extra dead space to get solid readings in Attic 1 or Attic 4.
Where it falls short
- The material is only ever as good as its installation — my own numbers showed that a top-tier product installed with a bad air gap performs exactly like no product at all.
- You need real instruments to confirm it’s doing anything. Eyeballing a shiny surface tells you nothing about whether it’s meaningfully cooling your attic, which is exactly why I ran data loggers instead of trusting a single thermal camera snapshot.
If you’ve already got a radiant barrier in your attic and you’re wondering whether it’s actually earning its keep, don’t guess — check the air gap first, then consider logging your own numbers the way I did. And if you’re installing fresh, RadiantGUARD® Radiant Barrier Xtreme Attic Insulation is the material I trusted through all four test attics.
About This Article

Written by Dana Sorensen. Homeowner turned building-science obsessive. I help other homeowners understand attic insulation, ventilation, and air quality so they can stay comfortable year-round without overspending on energy bills. More about this site.
Scope and limits. Dana is a homeowner who studies building science, not an HVAC contractor or licensed tradesperson. Anything involving combustion appliances, gas lines, or electrical work belongs with a licensed contractor.
Verify this against a primary source
Specifics change, and your situation may differ from the one described here. These are the authorities worth checking directly:
- ENERGY STAR — recommended insulation R-values by climate zone
- U.S. Department of Energy — air sealing and insulation guidance
- EPA Indoor Air Quality — ventilation and indoor air quality standards