I got a call last week from a homeowner in frustration. The master bedroom was running cold, the ceiling register was blowing unevenly — strong on one side, weak on the other — and there was a faint whistling noise every time the heat kicked on. He’d already had a handyman up in the attic who assured him the ductwork was “fine,” and he’d ordered a new register grille online, convinced the problem was the register itself.
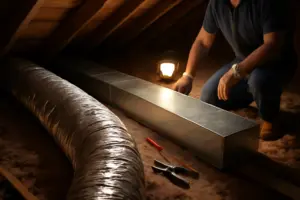
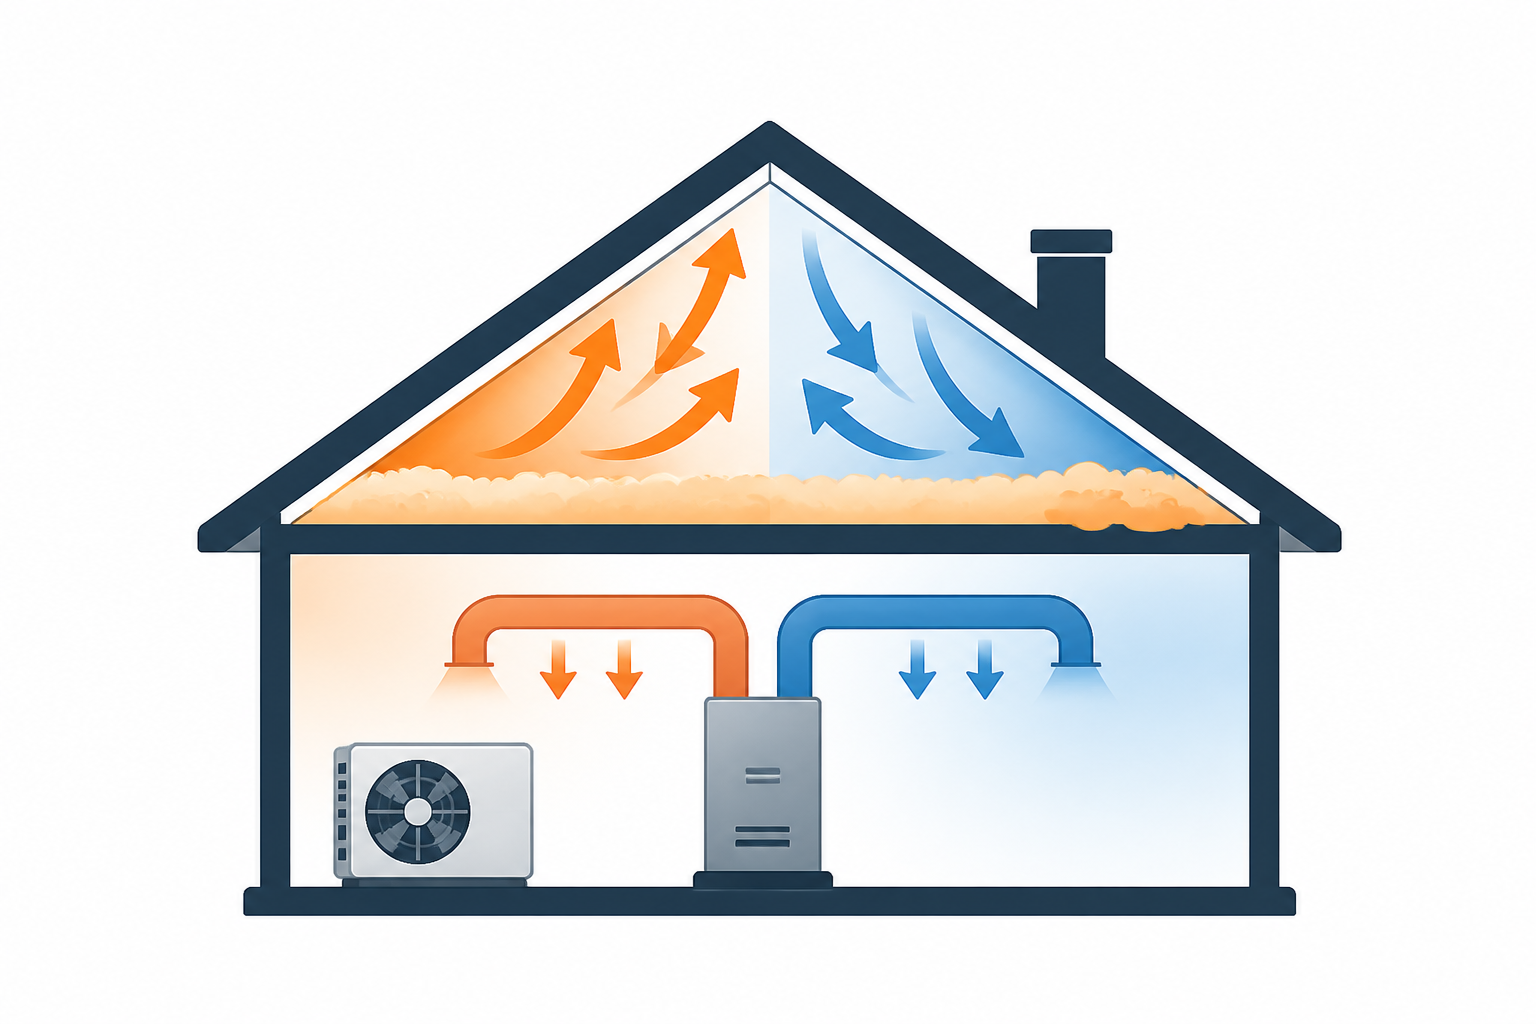
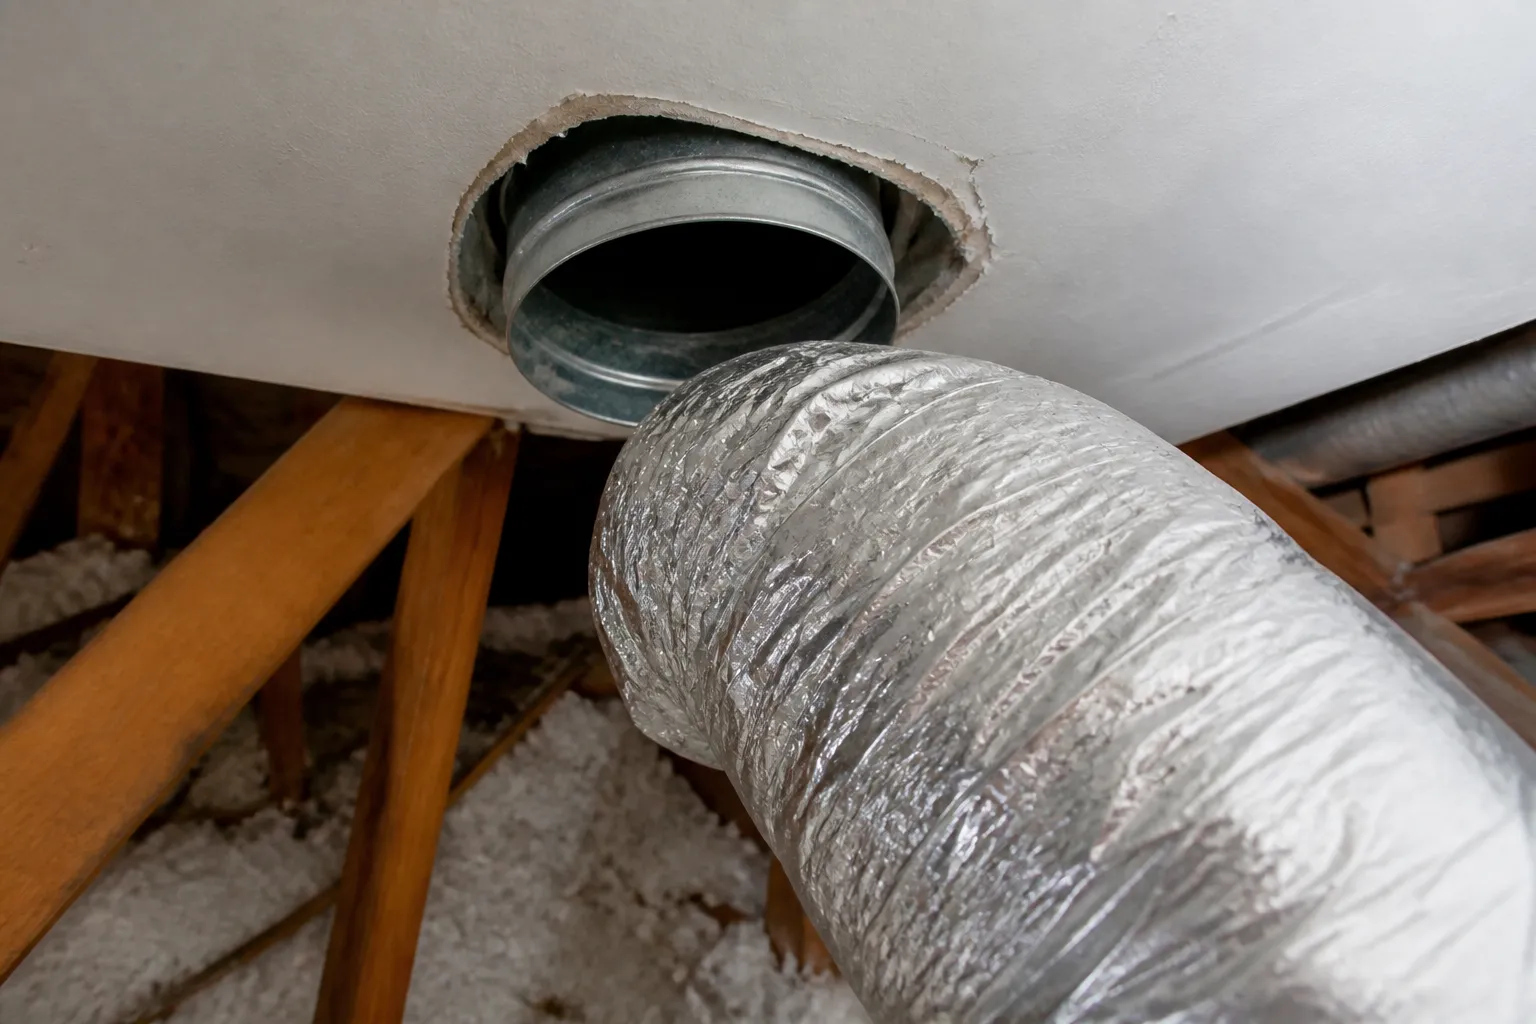
When I climbed into his attic with a flashlight, I saw it immediately: the flex duct run had sagged about three inches over a twelve-foot span, which pulled the duct boot completely out of square against the back of the drywall. There was a visible wedge-shaped gap running along two sides of the boot where it met the ceiling — and this gap was open directly to the attic. In winter, that means conditioned air is leaking out before it ever enters the room. In summer, the return-air boot is sucking 140-degree attic air and fiberglass fibers back into the system.
The real problem wasn’t the register. It wasn’t even primarily a sealing issue. It was support. The duct had no proper straps holding it in position, and it had settled under its own weight. No amount of caulk or mastic from below would fix an duct boot that was being pulled out of position from above.
This is one of the most common problems I find, and it’s almost always misdiagnosed. Let me walk you through what’s actually happening, why sealing a duct boot to drywall at a ceiling register alone won’t solve it, and the right way to fix it permanently.
Understanding the Problem: Two Issues, Two Different Causes
When a duct boot has sagged or tilted at an attic register, homeowners and even some technicians confuse two separate problems and think they’re the same thing. They’re not. Separating them is critical to understanding the real fix.
Problem 1: Uneven Airflow and Register Noise
When the flex duct approaches a boot in a crooked, sagging, or coiled condition, the air entering the boot doesn’t arrive evenly across its face. Instead, the airstream hits the side of the boot tilted away, exits at an angle, and sprays unevenly out through the register grille. You’ll see strong air on one side of the grille and weak air — or even backpressure — on the other. The room never heats or cools properly, the register makes noise, and the homeowner assumes the register vanes are blocked or the register itself is defective.
The reality: the last 2 to 3 feet of flex duct before any boot absolutely must be straight, fully extended, and pulled taut. Flex duct has an inner helix that creates friction, and when that duct is compressed, coiled, or sagging, the inner liner’s geometry changes and airflow is choked. A duct compressed to 70 or 80 percent of its full length can lose roughly a third of its rated capacity. That’s not a register problem. That’s an upstream airflow problem.
Problem 2: The Wedge Gap and Air Leak at the Drywall
When the boot is tilted or sagging, it no longer sits flat and square against the back of the drywall. There’s a gap — sometimes wedge-shaped, sometimes running along one or two edges — between the boot flange and the sheetrock. This gap opens directly into the attic cavity, and the consequences depend on whether it’s a supply or return run.
On a supply boot: Heated or cooled air leaks out into the attic before it reaches the room. You’ve already paid to condition that air, and now it’s gone. In winter, warm moist air hits cold roof sheathing and condenses, contributing to moisture accumulation, frost patterns, and ice damming — all of which show up visibly on the roof above the register. This is a recognized pattern in building science, and duct boots are a chronic source of it.
On a return boot: This is worse. A return run is under negative pressure — the system is pulling air toward it. An unsealed gap at the drywall means the system is actively drawing attic air into the return — air that’s 130 to 150 degrees in summer, loaded with loose fiberglass fibers, dust, insects, rodent droppings, and whatever else lives in the attic. That contaminated air gets mixed into the return stream and distributed throughout the house. The system also loses efficiency because it’s cooling attic air instead of room air. From an indoor air quality and efficiency standpoint, this is a serious problem.
These are two distinct faults. Fixing the airflow problem requires repositioning and supporting the duct. Fixing the leak requires both mechanical fastening and proper sealing. And fixing the root cause — why the duct tilted in the first place — requires correct support straps installed to specification.
The Solution: What I Recommend
The permanent fix for a sagging, tilted duct boot starts from above, not below. You cannot seal a tilted boot flat — it will just unseal itself as the duct settles further. The duct has to be physically repositioned and held there by proper support.
That’s why I specify the 148Ft HVAC Duct Strap, Tight-Weave Nylon Duct Support Webbing for flex duct runs that have sagged or need repositioning. Here’s why this product solves the problem where others don’t:
- Width and material: At 1.5 inches wide, this nylon webbing cradles the duct without compressing it. Wire, rope, zip ties, and coat hangers pinch the inner liner and choke airflow. I’ve cut open attic ducts that were strangled at the hanger points — the inner liner is visibly crushed. This webbing spreads the load across the duct’s circumference and actually supports it instead of crushing it.
- Durability and stretch resistance: The tight-weave nylon resists tearing from duct settling and from thermal expansion and contraction. Cheaper straps fray, separate, or stretch out over time, which means the duct gradually sags again. This material holds its tension for years.
- Length: At 148 feet, you have enough strap to support multiple runs without ordering several packages. Flex duct needs support every 4 feet maximum per manufacturer spec, so one roll covers a significant portion of an attic system.
- Cost and value: At $19.95, this is the most cost-effective option I’ve found for repositioning sagging ducts and keeping them in position long-term. It’s not expensive, and it solves the problem durably.
One honest limitation: You still need to get into the attic, pull insulation back, reposition the duct, install the straps, and seal the boot-to-drywall joint properly once it’s flat. This product is not a one-step fix. It’s a tool that allows you to hold the duct in the correct position while you do the rest of the repair. If your attic is over a vaulted ceiling, unreachable, or if multiple boots are affected, this is work for a professional. But if you have decent attic access and one or two boots causing trouble, this strap makes the job manageable.
Step-by-Step: Diagnosing and Fixing a Tilted Duct Boot
First: Confirm You Have the Problem (10 Minutes, No Attic Required)
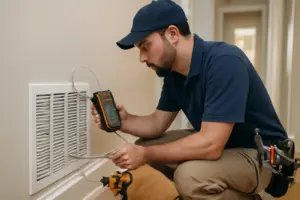
Start from the room side. You can get a reliable diagnosis in under ten minutes without climbing into the attic.
- Hand test: Run the system. Hold the back of your hand along the outer edge of the register trim, outside the grille. On a supply register, you should feel no air movement at the perimeter. If you feel air being pushed out around the edges, the boot is leaking. On a return, feel the air being drawn in at the edges — if it’s noticeably hotter (summer) or colder (winter) than the room air, you’re pulling attic air.
- Visual inspection: Look at the ceiling paint around the register from 6 feet away. Dust streaking or gray shadowing radiating outward from the register perimeter is a reliable tell. That pattern is fine dust filtering through a gap over months or years. It doesn’t happen with a properly sealed boot.
- Direct look: Turn off the system and carefully pull the register grille straight down — usually two screws hold it. Shine a flashlight into the boot. You should see a dark metal elbow that sits square and flush against the back of the drywall. If you see daylight, insulation color, or a visible gap, or if the boot is obviously cocked to one side, you’ve found your problem.
- Smoke test: With the system running, light an incense stick or use a smoke pencil at the register perimeter. If smoke is pulled in or pushed out at the edges, the boot is leaking.
Then: The Attic-Side Repair
This is the real fix. Go into the attic when it’s cool — early morning in summer is mandatory for safety. Bring a flashlight, a respirator, long sleeves, and give yourself room to work.
- Step 1 — Clear and assess: Pull insulation back 12 to 18 inches around the boot. Look at how the duct is supported or unsupported. Is it resting on ceiling joists? Is it coiled or kinked near the boot? Are there any straps, and if so, are they wire or rope (crushing the duct)? This tells you why the boot is tilted.
- Step 2 — Reposition the duct: Gently pull the flex duct taut and straight for the last 3 feet before the boot. The duct should be fully extended — no coils, no slack. Reposition the boot so it sits flat and square against the back of the drywall. If the boot won’t stay there, the duct is being pulled down by its own weight or by poor support farther back — go ahead and install straps first (see step 5 below), then come back to this step.
- Step 3 — Fasten the boot: The boot flange should be mechanically secured to the drywall or framing. Use drywall screws or fasteners rated for your surface. A surprising number of boots have never been fastened at all — they’re just held by the duct’s weight and the insulation around them. That’s why they migrate. Get at least four fasteners around the perimeter, and ensure the boot is sitting flat before you fasten.
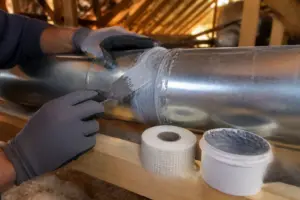
- Step 4 — Seal the boot-to-drywall joint: This is critical and it’s different from duct tape. Use duct mastic — a thick, brushable sealant rated for HVAC. Brush it on about 1/8 inch thick, carrying it onto both the boot flange and the drywall surface around the entire perimeter. If there are gaps wider than 1/4 inch, embed fiberglass mesh tape in the wet mastic first, then apply another coat over it. Mastic is the right choice here because the surfaces are dusty and irregular, and tape alone won’t bridge the gaps reliably.
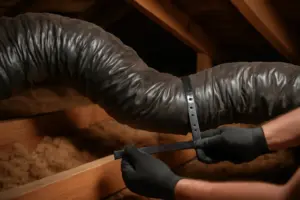
- Step 5 — Support the duct properly: Cut pieces of the 148Ft HVAC Duct Strap and install straps at 4-foot intervals along the entire flex run. Work backward from the boot — the last approach to the boot must be absolutely straight and taut. Strap the duct to the framing above, cradling it without compressing it. The duct should show minimal sag — no more than 1/2 inch per 4-foot span. Never strap a duct by pinching it with wire or rope. You’ll crush the inner liner and lose airflow.
- Step 6 — Seal the flex-to-boot collar: While you’re there, make sure the flex duct collar is sealed into the boot properly. The inner liner of the flex duct should be pulled over the collar and secured with a nylon draw band or panduit strap. Brush mastic over that joint. Then pull the insulation and outer vapor jacket back over and seal them with UL 181B-FX duct tape — the proper tape for flex duct, not standard duct tape. (See my flex duct installation mistakes post for detailed photos of this.)
- Step 7 — Insulate: Replace the insulation around the boot. Supply boots should be insulated on all sides. A bare metal boot will sweat in summer and accelerate corrosion.
Pro tip: Before you leave the attic, run the system and listen at the boot. Proper airflow is quiet. If you still hear turbulence or whistling, the duct may still be kinked or restricted somewhere farther back. Trace the entire run from the plenum.
From the Room Side: A Temporary Band-Aid
If you don’t have attic access or you’re waiting for a contractor, you can slow the air leak from below. Remove the register grille and run a bead of paintable acrylic latex caulk around the inside edge where the boot meets the drywall. Reinstall the grille. This helps and takes 15 minutes, but it only seals the visible inner edge — it doesn’t address the gap behind the drywall, and it does nothing about a boot that’s tilted. Be clear with yourself that this is a band-aid, not a real fix. The proper repair happens from above.
Why Your Duct Tilted in the First Place: The Support Problem
Understanding why the boot is tilted is more important than knowing how to seal it. The root cause is almost always inadequate or incorrect support.
- Support spacing: Flex duct requires support straps every 4 feet maximum, per manufacturer instructions and SMACNA (Sheet Metal and Air Conditioning Contractors’ National Association) standards. Many attics I inspect have supports 8, 10, or 12 feet apart — or no supports at all. That duct will sag under its own weight, and the boot will eventually pull out of square.
- Strap material matters: Wire, rope, zip ties, and coat hangers are common in older installs and DIY work. All of these crush the duct’s inner liner at the support point. I’ve cut open attic ducts at a hanger point and found the inner helix crushed, the airway narrowed by 40 to 50 percent. Over time, this leads to capacity loss, pressure imbalance, and — ironically — more duct sag because the system is working harder. The proper strap is at least 1.5 inches wide and spreads the load across the duct’s circumference.
- Compression matters: A duct that’s pinched into an hourglass shape at the hanger is being strangled. The strap should cradle the duct and support its weight, not cinch it tight. If you can’t slide a fingertip under the strap, it’s too tight.
- Duct placement: Flex duct resting directly on ceiling joists or sitting on top of insulation will settle, twist, and gradually work the boot out of position. The duct should be supported from above by straps that cradle it, not from below by joists or insulation.
- The approach to the boot: The final 2 to 3 feet of duct before any boot must be a straight, taut run. Extra flex left coiled or serpentined near the boot creates both an airflow problem and the reason boots migrate over time. Excess duct length gets straightened and pulled taut, and if the duct wasn’t supported properly to begin with, the resulting tension pulls the boot out of square.
Installing proper support straps from the start — or retrofitting them to a sagging run — is the foundation of the entire repair. The straps hold the duct in position. The fasteners and mastic seal the boot. Both are necessary.
Common Mistakes to Avoid
I see these errors repeatedly, and each one undermines the repair or creates new problems.
Mistake 1: Sealing Only, Without Repositioning
Homeowners and even some techs assume that caulking or taping the visible gap is the complete fix. It’s not. If the boot is tilted, it will unseal itself as the duct settles or as thermal cycles relax the seal. I’ve seen homeowners apply caulk multiple times over two or three years, each time wondering why the dust streaking comes back. The boot is still tilted. You must reposition it and hold it there with proper support.
Mistake 2: Using Wire, Rope, or Zip Ties for Support
These are cheap and fast, and they will crush a flex duct. I’ve measured 35 to 40 percent airflow loss at a pinch point. Over the life of the system, that adds up to hundreds of dollars in lost efficiency and reduced capacity. Proper webbing straps cost a few dollars per location. It’s worth it.
Mistake 3: Not Mechanically Fastening the Boot
The boot flange should be screwed or fastened to the drywall or framing. Many boots are just held in place by insulation and the duct’s weight — which means they move. A loose boot will always leak eventually, and no amount of sealing will fix it permanently if the boot is not mechanically secured.
Mistake 4: Over-Tightening the Support Strap
A strap that’s cinched tight will deform the duct and choke airflow as surely as wire. The strap should hold the duct in position, not squeeze it. You should be able to slide a fingertip under a properly installed strap.
Mistake 5: Using Standard Duct Tape on the Boot-to-Drywall Seal
Duct tape degrades over time, especially with thermal cycles. Duct mastic — the thick, brushable sealant — is the specified product for this joint because it remains flexible and adhesive for years. Tape is fine for flex-to-boot connections (and then only UL 181B-FX rated tape), but the boot-to-drywall joint needs mastic.
When to Call a Pro vs. DIY
If you have a single register with a tilted boot, modest attic access (walk-on insulation or joists, under 120°F), and basic comfort with tools, this repair is doable with the right materials. The HVAC duct straps, some mastic, and fasteners will cost under $50, and the work is straightforward.
Call a professional if:
- The boot is over a vaulted or two-story ceiling with no safe attic access.
- You’re working in summer heat over 130°F. Heat exhaustion is a real risk, and the discomfort will make you sloppy.
- More than two or three registers are affected. That suggests a design or sizing problem, not just one bad boot, and you want a pro to assess the whole system.
- You’re uncomfortable on joists or in tight attic spaces. A misstep puts your foot through the ceiling.
- A tech with a manometer (pressure gauge) can confirm whether the boot is the root cause or a symptom of a deeper system issue.
Safety note: Walk only on joists or on planks laid across them. Attic insulation will not support your weight. In summer, go early morning before the attic heats up. Wear a respirator around fiberglass. Bring more light than you think you need — a headlamp plus a work light. Never seal a duct near a flue or B-vent with mastic. Those require metal flashing and code-specified clearances.
Next Steps: Get It Done
If you’ve confirmed an uneven, noisy register with dust streaking around the edges, the root cause is almost certainly a tilted duct boot caused by inadequate support. Sealing alone won’t solve it. You need to reposition the duct, install proper support straps, and seal the boot-to-drywall joint with mastic.
Start with the 148Ft HVAC Duct Strap with tight-weave nylon webbing. At $19.95 for enough material to support multiple runs, it’s the most reliable and cost-effective way to hold a sagging duct in position while you complete the repair. Cut what you need, install it at 4-foot intervals from the plenum to the boot, and the duct will stay where you put it.
This is one of those repairs where understanding the root cause — why the duct tilted, not just that it did — makes all the difference between a temporary fix and a real one. Do it right from the attic side, and you won’t see this problem again in that register.
About This Article

Written by Dana Sorensen. Homeowner turned building-science obsessive. I help other homeowners understand attic insulation, ventilation, and air quality so they can stay comfortable year-round without overspending on energy bills. More about this site.
Scope and limits. Dana is a homeowner who studies building science, not an HVAC contractor or licensed tradesperson. Anything involving combustion appliances, gas lines, or electrical work belongs with a licensed contractor.
Verify this against a primary source
Specifics change, and your situation may differ from the one described here. These are the authorities worth checking directly:
- ENERGY STAR — recommended insulation R-values by climate zone
- U.S. Department of Energy — air sealing and insulation guidance
- EPA Indoor Air Quality — ventilation and indoor air quality standards