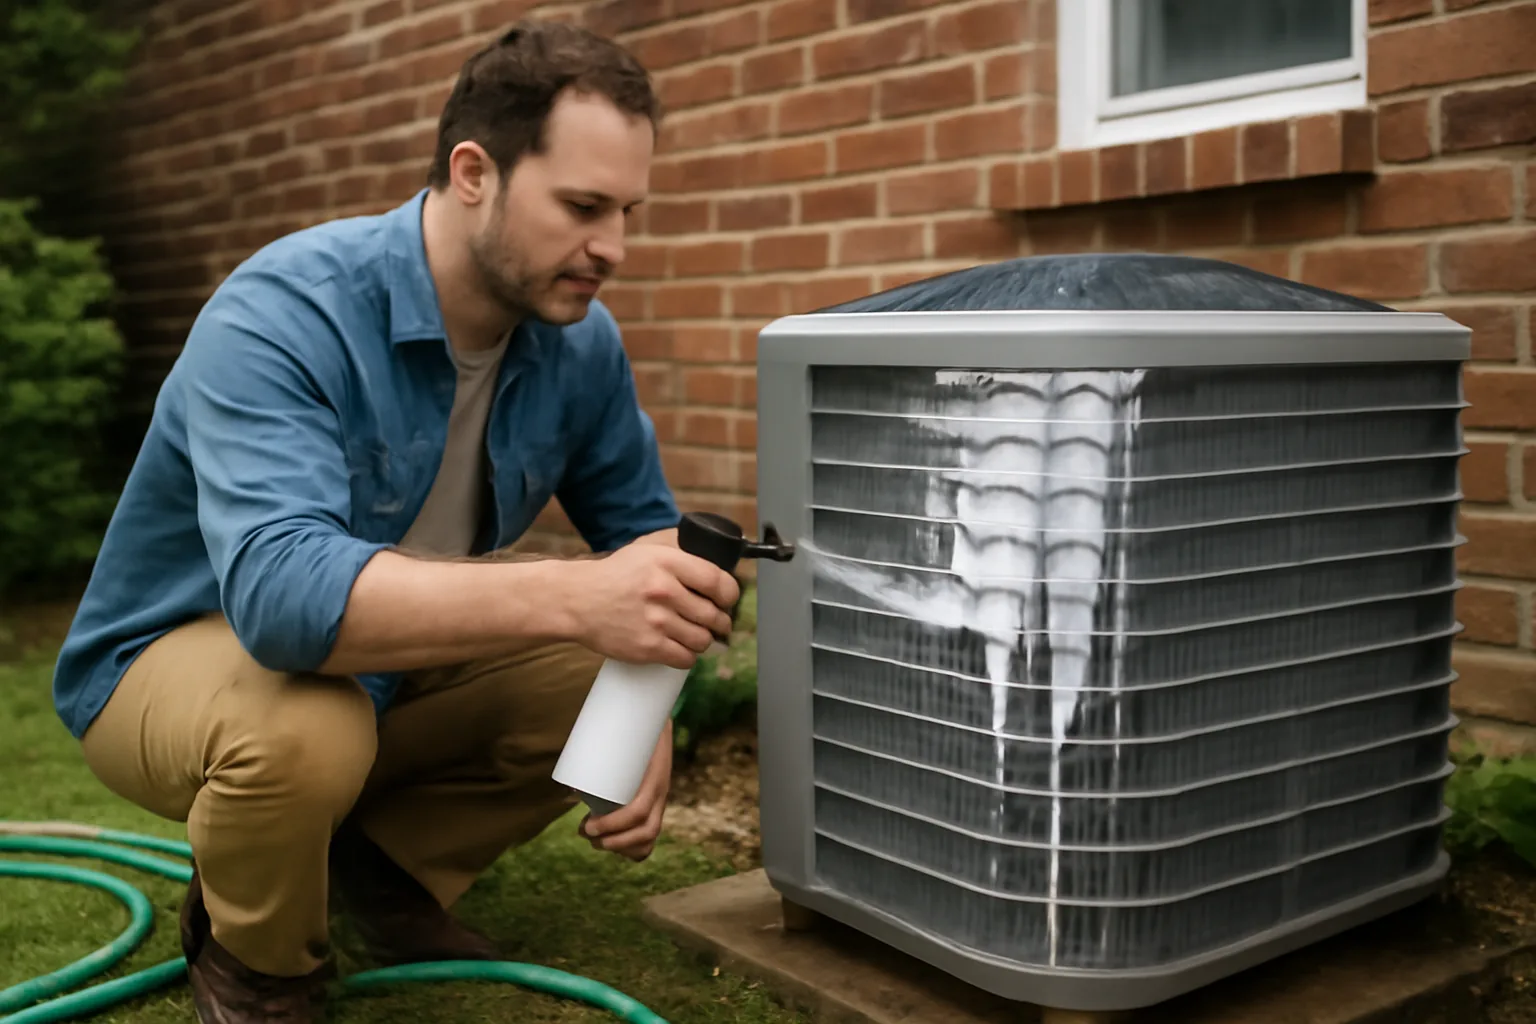
Why does the AC always seem to give out on the single hottest afternoon of the year? Because it wasn’t actually “giving out” — it was already struggling for weeks, and the heat just finished the job. Last June a homeowner near me found that out the expensive way: mid-50s, handy with tools, and still stuck with a $189 service call plus $45 in parts after his system quit cooling on the worst possible day. The culprit? A clogged drain line paired with a filthy evaporator coil — nothing more exotic than that. Both were fixable in under two hours by his own hand, no license required. That’s the whole reason I put this DIY HVAC tune up checklist together — because so many of the “breakdowns” I get called out for aren’t breakdowns at all. They’re routine maintenance someone kept putting off until it turned into a same-day emergency.
Over ten-plus years in HVAC and home performance work, I’ve had my hands inside hundreds of systems — Carrier, Lennox, Trane, Goodman, the whole lineup. What I’ve noticed, without exception, is that the line between a system that keeps humming and one that ends up dead in the driveway usually comes down to four or five unglamorous tasks. None of them demand an EPA 608 card or a $500 set of manifold gauges. What they demand is closer to $30 in supplies, one open Saturday afternoon, and the nerve to unscrew a panel.
Consider this post that nerve, borrowed. I’m going to lay out exactly what I do myself — and exactly what I tell my own clients to do between visits — to keep a central air system running clean and efficient all summer long. I’ll also draw a clear line where the DIY approach stops and a licensed tech needs to take over. On to it.
What Actually Belongs on a DIY HVAC Tune Up Checklist
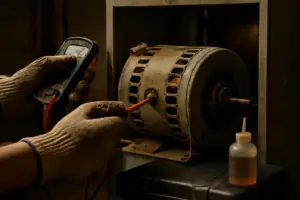
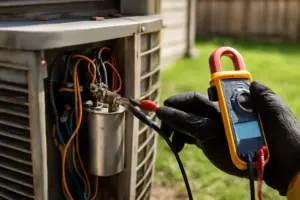
Before the steps, a quick clarification. A DIY tune-up and a professional seasonal service are not the same animal. A licensed tech verifies refrigerant charge, reads superheat and subcooling, checks electrical contacts with a multimeter, and load-tests capacitors. None of that is something you can safely attempt without real training and real equipment. That’s not me protecting turf — it’s just the truth of it.
What you *can* safely handle, though, is the set of tasks responsible for most breakdowns in the first place. From what I’ve seen firsthand, something like 60–70% of the no-cool calls that come my way in summer trace back to one of the items below. A neglected filter. A blocked coil. A clogged condensate line. Nothing exotic — just stuff that could’ve been caught weeks earlier by the homeowner.
Here’s the complete rundown I hand people. Each item gets its own detailed breakdown further down.
- Swap in a fresh filter or clean the existing one
- Flush and clear the condensate drain line
- Give the evaporator coil a proper cleaning
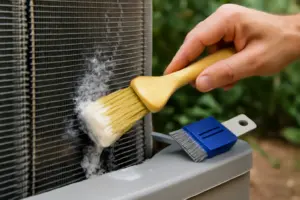
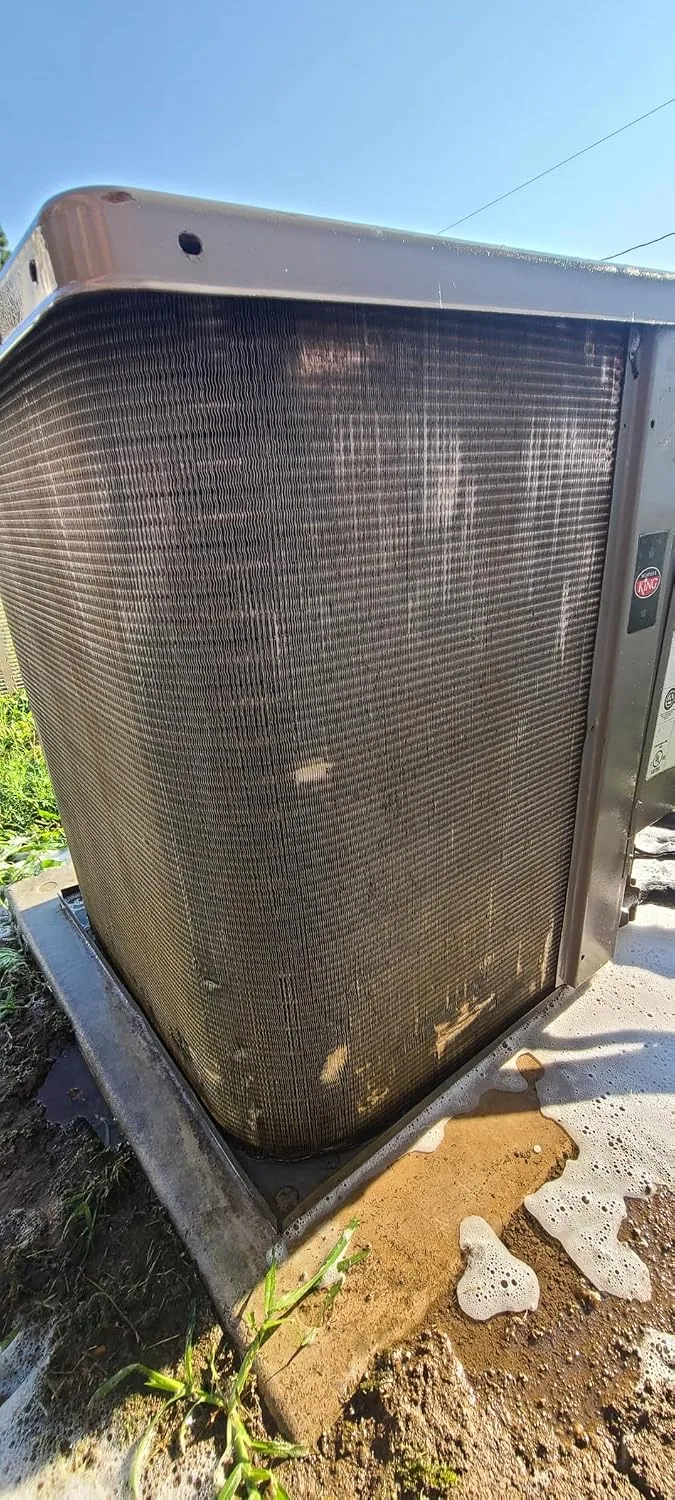
- Inspect and clean the outdoor condenser unit
- Make sure supply and return vents are unobstructed
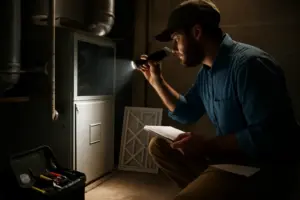
- Check the blower compartment for stray debris
- Run the system and log anything that seems off
Step 1: The Filter Comes Out First, No Exceptions
Whenever I’m on-site, the filter is the first thing I pull. Always. It’s not a trust issue with homeowners — it’s that a dirty filter throws off everything downstream of it. Restricted airflow forces the evaporator coil to run colder than it was designed to, and that’s how you get freeze-ups. A frozen coil then chokes off airflow even further. Before long you’re staring at what looks like a refrigerant leak, when really it’s a five-dollar filter causing all of it.
A standard 1-inch filter needs swapping every 30–60 days during the months your system runs hardest — lean toward the 30-day end if pets or allergies are in play. Thicker 4-inch media filters, the kind paired with Aprilaire or Honeywell cabinets, can stretch to 6–12 months. Pay attention to the MERV rating too: 8–11 is the sweet spot for most homes. Push past MERV 13 and you risk choking airflow unless your ductwork was actually sized to handle it.
Also — check that the airflow arrow on the filter points toward the blower, not away from it. I’ve found filters installed backward more times than I’d like to admit. It’s a small detail, but it matters more than people think.
Step 2: Don’t Ignore the Condensate Drain Line
This is the piece that trips people up most often once summer hits. The condensate drain line’s job is simple — it carries the moisture your system pulls out of the air toward a floor drain, utility sink, or an exit point outside. It’s a modest PVC pipe, typically 3/4 inch, and it’s basically an ideal environment for algae and mold once things get warm and humid. Once it clogs, water has nowhere to go but back into the drain pan. That triggers a float switch that shuts everything down — or in worse cases, the pan overflows and your ceiling pays the price.
My own routine every spring looks like this: pour roughly 1/4 cup of distilled white vinegar into the drain access port — usually a capped T-fitting near the air handler — let it sit for 30 minutes, then flush with warm water. For a clog that won’t budge, I hit the exterior drain outlet with a wet-dry shop vac for 30–60 seconds. Works every time. Some techs swear by bleach, but I’ve watched bleach eat away at PVC fittings over the long haul. Vinegar is milder and gets the job done just as well for regular upkeep.
Worth mentioning — some systems, especially older installs, simply don’t have a drain access port. If yours doesn’t, go through the air handler’s access panel, reach the drain pan directly, and wipe it down by hand with a rag and a diluted vinegar solution.
Step 3: Cleaning the Evaporator Coil Without Wrecking It
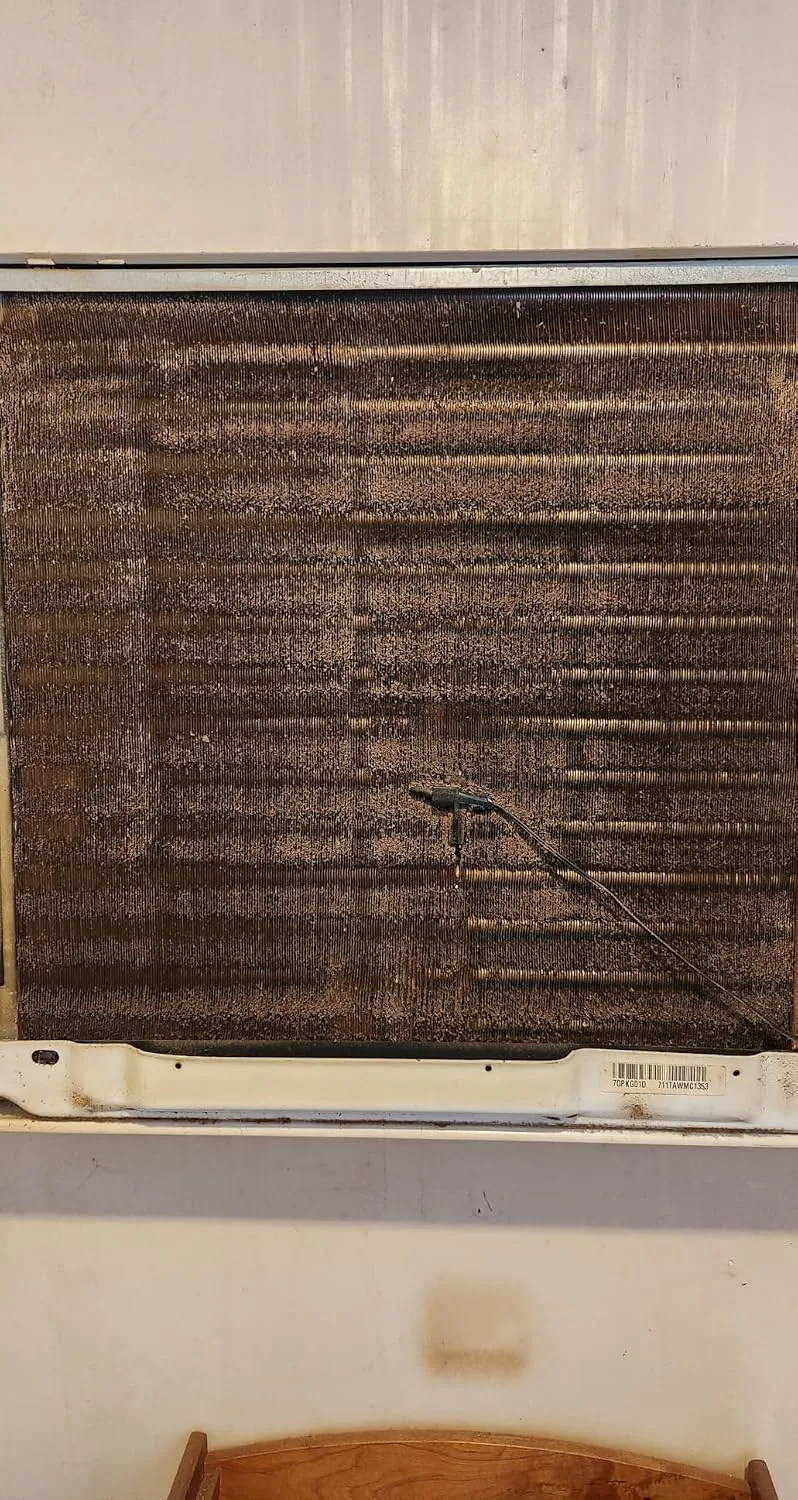
Tucked inside your air handler, the evaporator coil is where the cooling actually takes place — refrigerant evaporates through those fins and pulls the heat straight out of your indoor air. The catch is that every cubic foot of air moving across that coil deposits dust, pet dander, and skin cells along the way, and over time it builds into a layer of grime on the fins. Even a thin layer noticeably drags down heat transfer — I’ve clocked 15–20% losses in cooling capacity on coils that barely looked dirty at a glance.
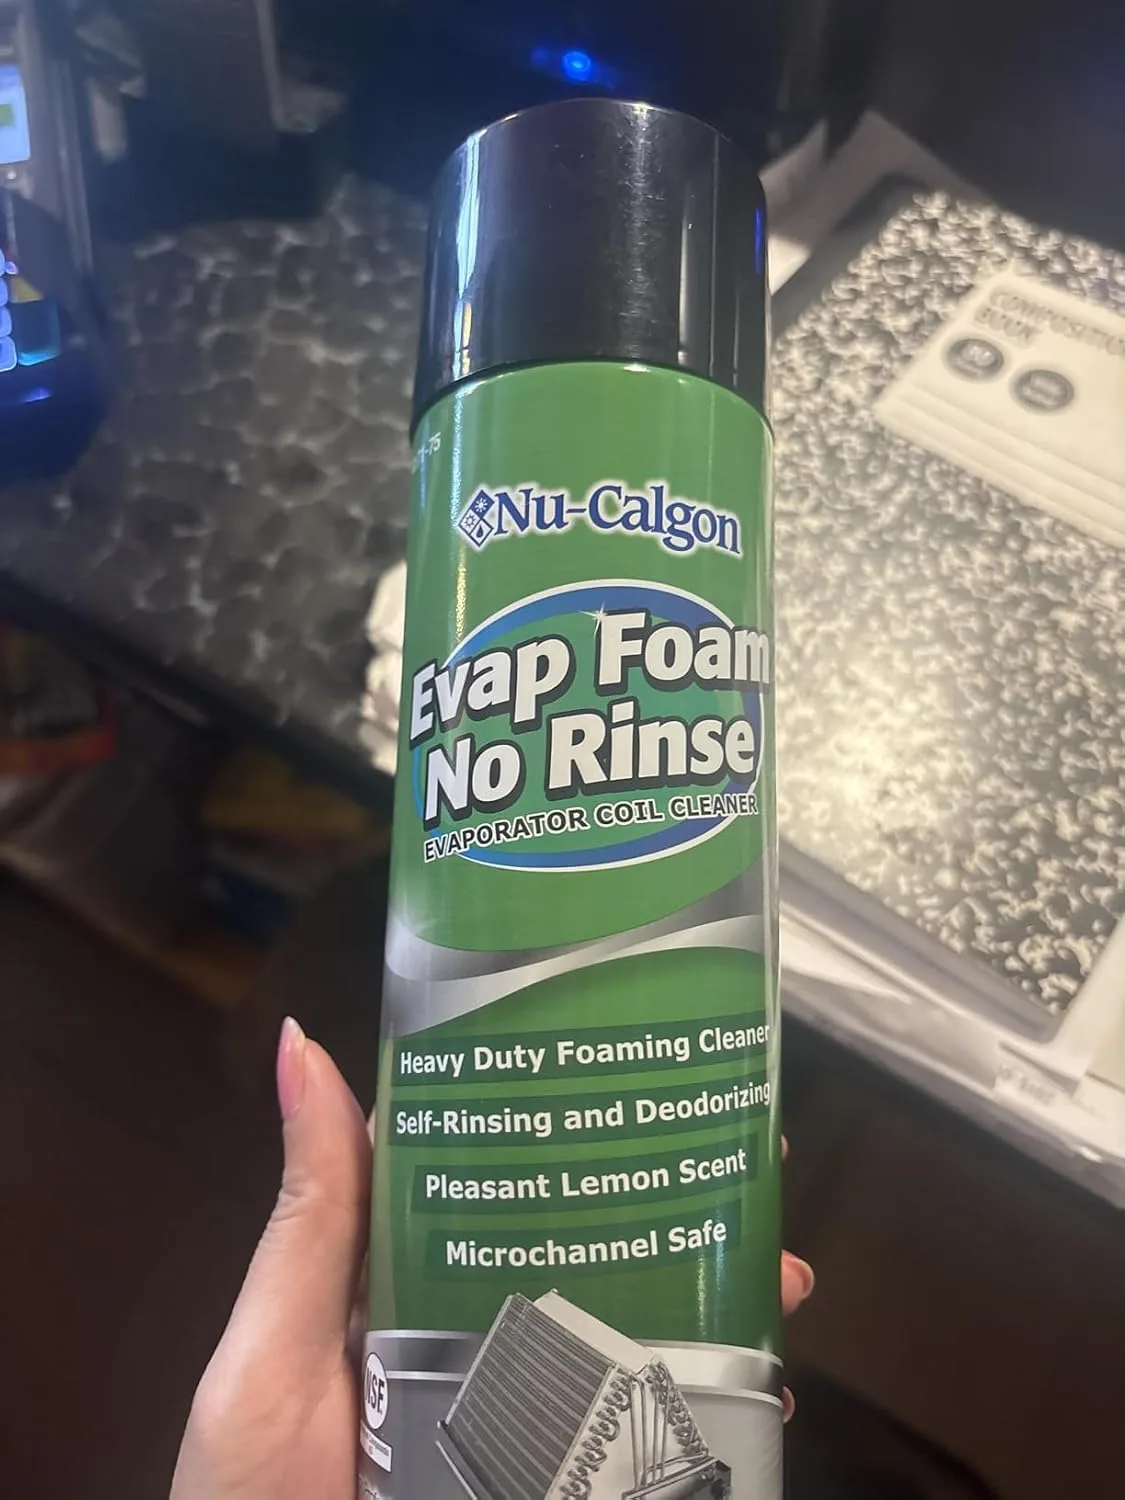
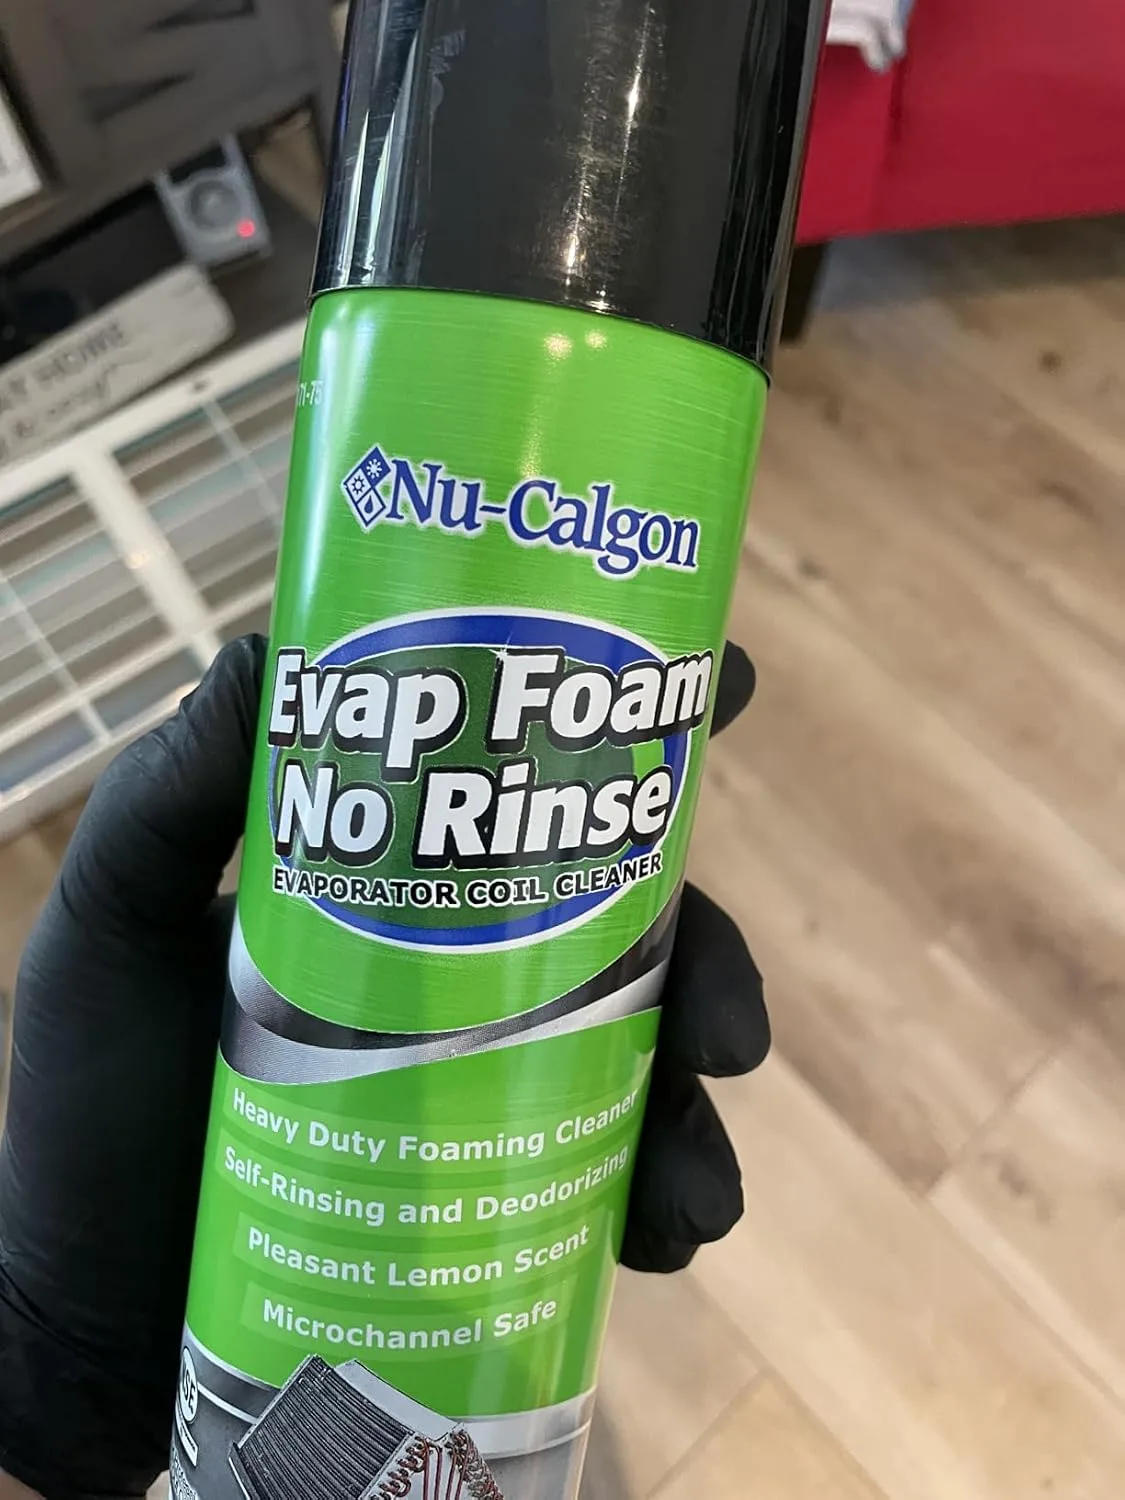
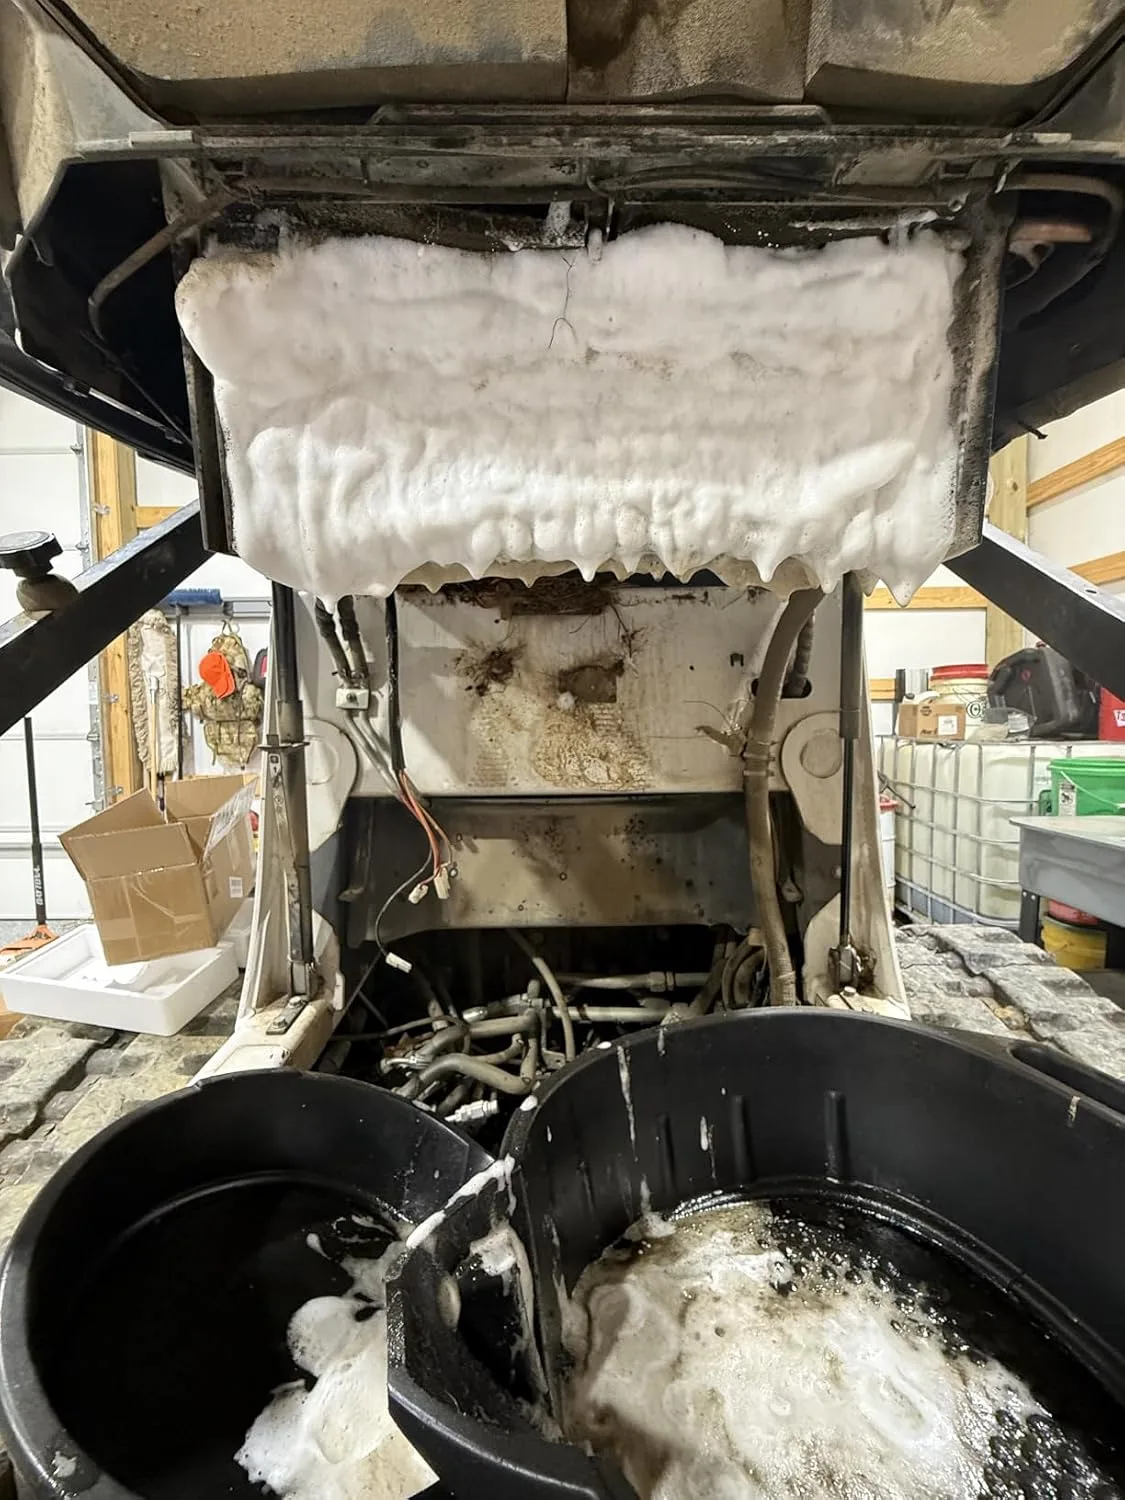
This is usually the step that scares off DIYers, but it’s simpler than it looks. Kill power at the thermostat and the breaker. Pop off the air handler’s access panel — typically two to four screws. Inside you’ll find the A-shaped or N-shaped coil assembly. Spray it down with a no-rinse foam coil cleaner, give it time to work, and the condensate that naturally drips off during operation will carry the residue away on its own.
Early on, I learned the hard way that coil cleaners aren’t interchangeable. I once used a cheap, acidic cleaner on an aluminum coil and watched the fins oxidize within a week — a $400 mistake I don’t intend to repeat. These days I stick to products I’ve personally run across multiple system types.
The No-Rinse Product That Keeps You From Tearing the Unit Apart
A grimy evaporator coil is the number one reason homeowners assume their AC is on its way out, when really it’s just suffocating under buildup. Most DIYers balk at the idea of disassembling the indoor unit — but a foam cleaner built for no-rinse use lets you handle this safely, without soaking your ductwork or turning your closet into a swamp.
Where it delivers
- Goes on as a foam that stays put on the coil fins with no rinse step required — a real advantage when the evaporator is perched above a furnace or wedged into a cramped attic
- Breaks apart caked-on dust and mold that’s actually strangling airflow and cooling capacity, usually within 15 minutes of contact
- Drains straight into the condensate pan without leaving behind residue that could clog the drain line — exactly the problem we’re trying to avoid
Where it comes up short
- Does nothing for a fully blocked drain line — that still needs to be cleared separately with a wet vac or a drain line brush
- Still requires you to safely reach the coil in the first place, meaning the system needs to be shut off and, often, a panel removed — this isn’t a pour-it-and-forget-it product
I’ll admit: the first time I used this on a really neglected coil, I wasn’t sure the foam was doing anything until I saw the murky runoff hit the drain pan. That’s when I knew it was actually working. Grab the Nu-Calgon 4171-75 Evap Foam No Rinse Evaporator Coil Cleaner and handle this 30-minute job yourself.
About This Article

Written by Dana Sorensen. Homeowner turned building-science obsessive. I help other homeowners understand attic insulation, ventilation, and air quality so they can stay comfortable year-round without overspending on energy bills. More about this site.
Scope and limits. Dana is a homeowner who studies building science, not an HVAC contractor or licensed tradesperson. Anything involving combustion appliances, gas lines, or electrical work belongs with a licensed contractor.
Verify this against a primary source
Specifics change, and your situation may differ from the one described here. These are the authorities worth checking directly:
- ENERGY STAR — recommended insulation R-values by climate zone
- U.S. Department of Energy — air sealing and insulation guidance
- EPA Indoor Air Quality — ventilation and indoor air quality standards