Early on, I chased a low-refrigerant diagnosis before checking anything else, and it taught me a lesson I never forgot: airflow problems mimic refrigerant problems almost perfectly, and jumping to conclusions costs homeowners real money. That lesson came rushing back last July when a homeowner named Ron — not his real name — called me in the thick of a heat wave. His indoor temperature had climbed to 81°F despite the thermostat sitting at 74°F, and a friend of his had already diagnosed it, over the phone no less, as low refrigerant. One outfit had already been through and quoted him $400 just to “top off the system” and head out. Rather than grabbing my gauges first, I asked a handful of questions and did a slow walk-around of his equipment. Ten minutes later, I’d found the real culprits: a filthy evaporator coil and a return duct joint that had separated — plenty of airflow restriction to produce every symptom he’d been dealing with. Refrigerant had nothing to do with it. Ron kept his $400, and skipped the temporary fix that would’ve had him dialing for service again within months. That’s the whole reason learning the signs your AC is low on refrigerant matters so much for homeowners — you want that knowledge before a technician ever sets foot on your property. Every trade has people willing to take the easy road, HVAC included, and knowing what to look for is what keeps you from becoming an easy mark.
How Refrigerant Actually Works — and Why a Low Charge Is Always a Symptom, Not the Disease
Before diving into diagnostics, let’s kill a misconception I run into on nearly every job: refrigerant isn’t something your system burns through. Picture your AC as a closed loop — refrigerant, whether it’s older R-22 or the R-410A found in anything installed since the mid-2000s, cycles endlessly between the indoor coil and the outdoor condenser. It shifts between liquid and vapor states as it moves heat, but nothing about that process consumes it the way an engine consumes fuel. So when a system shows up low, something is escaping somewhere — period. That’s not a small technicality; it reshapes the entire troubleshooting approach.
Here’s the mechanical reality of what’s happening under the hood. At the evaporator coil — the indoor coil tucked inside your air handler or furnace cabinet — refrigerant pulls heat out of your home’s air, then hauls it outdoors to be dumped through the condenser coil. The amount of refrigerant circulating, the charge, is calibrated to a very specific number by the manufacturer. Drop below that number and the system loses its heat-absorbing capacity. Suction pressure falls, the evaporator coil turns colder than it should, and a chain reaction of symptoms kicks in that can easily be mistaken for a handful of unrelated problems.
This is the crux of the whole AC not cooling low refrigerant symptoms discussion: warm air from the vents, ice building on the lines, a system that never shuts off — all of these can just as easily trace back to a dirty filter, a clogged evaporator coil, a dying blower motor, blocked registers, or ductwork that’s leaking. Low refrigerant is only one entry on a longer list of suspects. That’s exactly why I push homeowners to eliminate the easy stuff first — several of these checks cost nothing and take only a few minutes.
One more note on refrigerant types before moving on: equipment built before roughly 2010 typically runs on R-22, commonly known as Freon. The EPA halted new R-22 production in the U.S. on January 1, 2020. Existing supplies still circulate, but expect to pay somewhere between $50 and $150 per pound depending on where you live. If an older R-22 system is leaking and needs several pounds refilled, the bill can climb high enough that replacing the whole unit starts to look like the smarter move. Systems using R-410A, today’s standard, are generally more predictable to service on the refrigerant side, though even that refrigerant is slated to be phased down in favor of lower-GWP options down the road. Figure out which refrigerant your equipment uses before you’re mid-conversation with a technician.
A DIY Checklist: How Homeowners Can Spot Low Refrigerant Without Gauges
You don’t need a set of manifold gauges to collect useful information. What you actually need is a reliable way to check temperature, a rough sense of what “normal” looks like, and a willingness to get hands-on with your equipment. Below is the same walkthrough I use with homeowners when we’re trying to figure out whether low refrigerant is really the culprit.
1. Compare Supply and Return Air Temperatures
Of everything a homeowner can measure, this tells you the most. The gap between the temperature of the air returning to your system and the air leaving through the vents is what techs call Delta T, and it’s a strong indicator of overall performance. A system that’s charged correctly and running well should show a spread of roughly 15°F to 20°F. Take the reading from the supply register nearest the air handler — that location gives you the cleanest number before the air has a chance to blend with the room.
A clean filter paired with a Delta T sitting at only 8°F to 12°F signals trouble. That could point to low refrigerant, but a dirty evaporator coil or restricted airflow produces the same result. On the flip side, a Delta T climbing past roughly 22°F often means an airflow issue — not enough air passing across the coil. Neither extreme should be ignored.
2. Feel the Suction Line Outside
Head outside to your condenser and locate the two copper lines running into it. The smaller one is the liquid line (usually 3/8″ across), and the larger, foam-wrapped one is the suction line (typically 7/8″ to 1-1/8″ on most home systems). After the unit’s been running 15 to 20 minutes, that suction line should feel distinctly cold and should be sweating — visible condensation on the foam insulation. Warm or room-temperature insulation is a warning sign of a low charge. And if you spot ice building up on the suction line near the outdoor unit, that’s textbook low-charge behavior — the evaporator has gotten too cold and frost is traveling down the copper.
3. Look for Bubbles in the Sight Glass
A number of older systems, especially those paired with certain metering devices, include a sight glass mounted on the liquid line — essentially a small viewing window built into the copper. A correctly charged system shows a steady, clear column of liquid refrigerant with no bubbling. Foam or bubbles moving through that window are a textbook indicator of low charge. Plenty of systems, especially newer residential ones, skip the sight glass entirely, so this check won’t apply everywhere — but if you’ve got one, it’s worth a look.
4. The AC Won’t Stop Running — and Still Can’t Hit Setpoint
Take a mild day — nothing brutal, maybe 85°F outside — your air conditioner should have no trouble reaching your setpoint and shutting itself off. If instead it’s running nonstop and your indoor temperature is parked 5°F to 8°F above what you’ve dialed in, that’s a capacity issue. A low refrigerant charge cripples the system’s heat-moving ability, so it keeps running without making progress. Keep in mind, though, that an oversized AC unit creates its own version of this exact runtime problem — so context still matters here.
My Go-To Tool for Running These Checks
The Gadget That Confirmed Ron Didn’t Need a Recharge
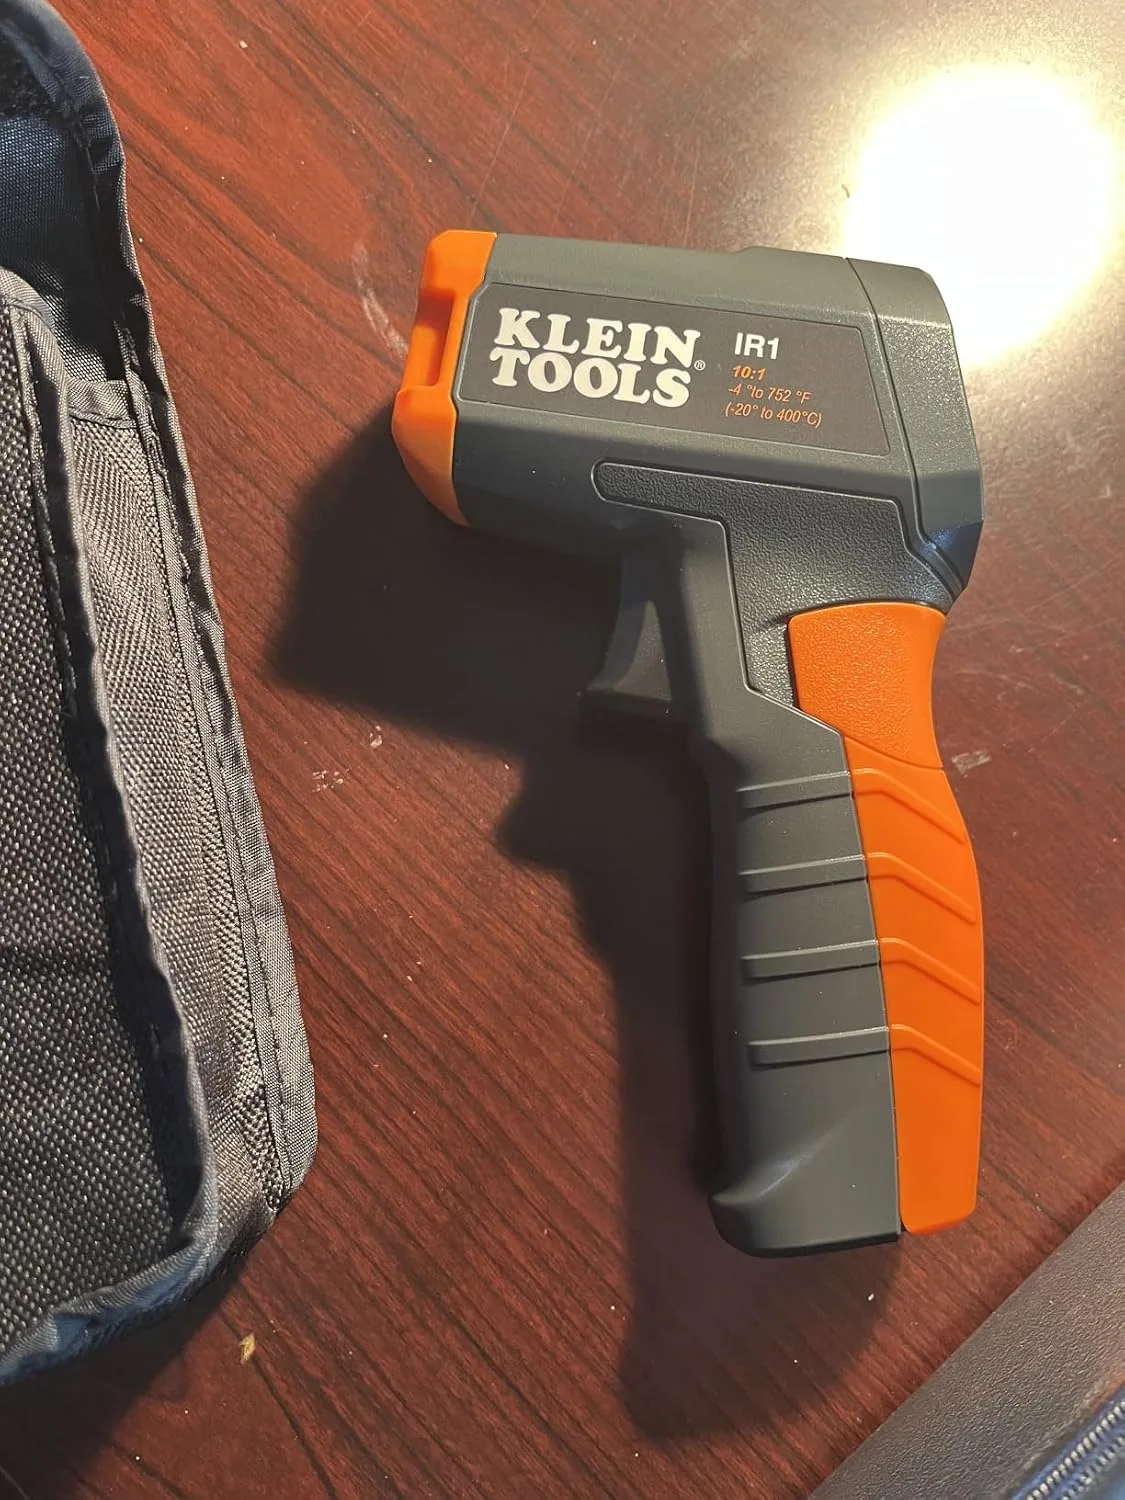
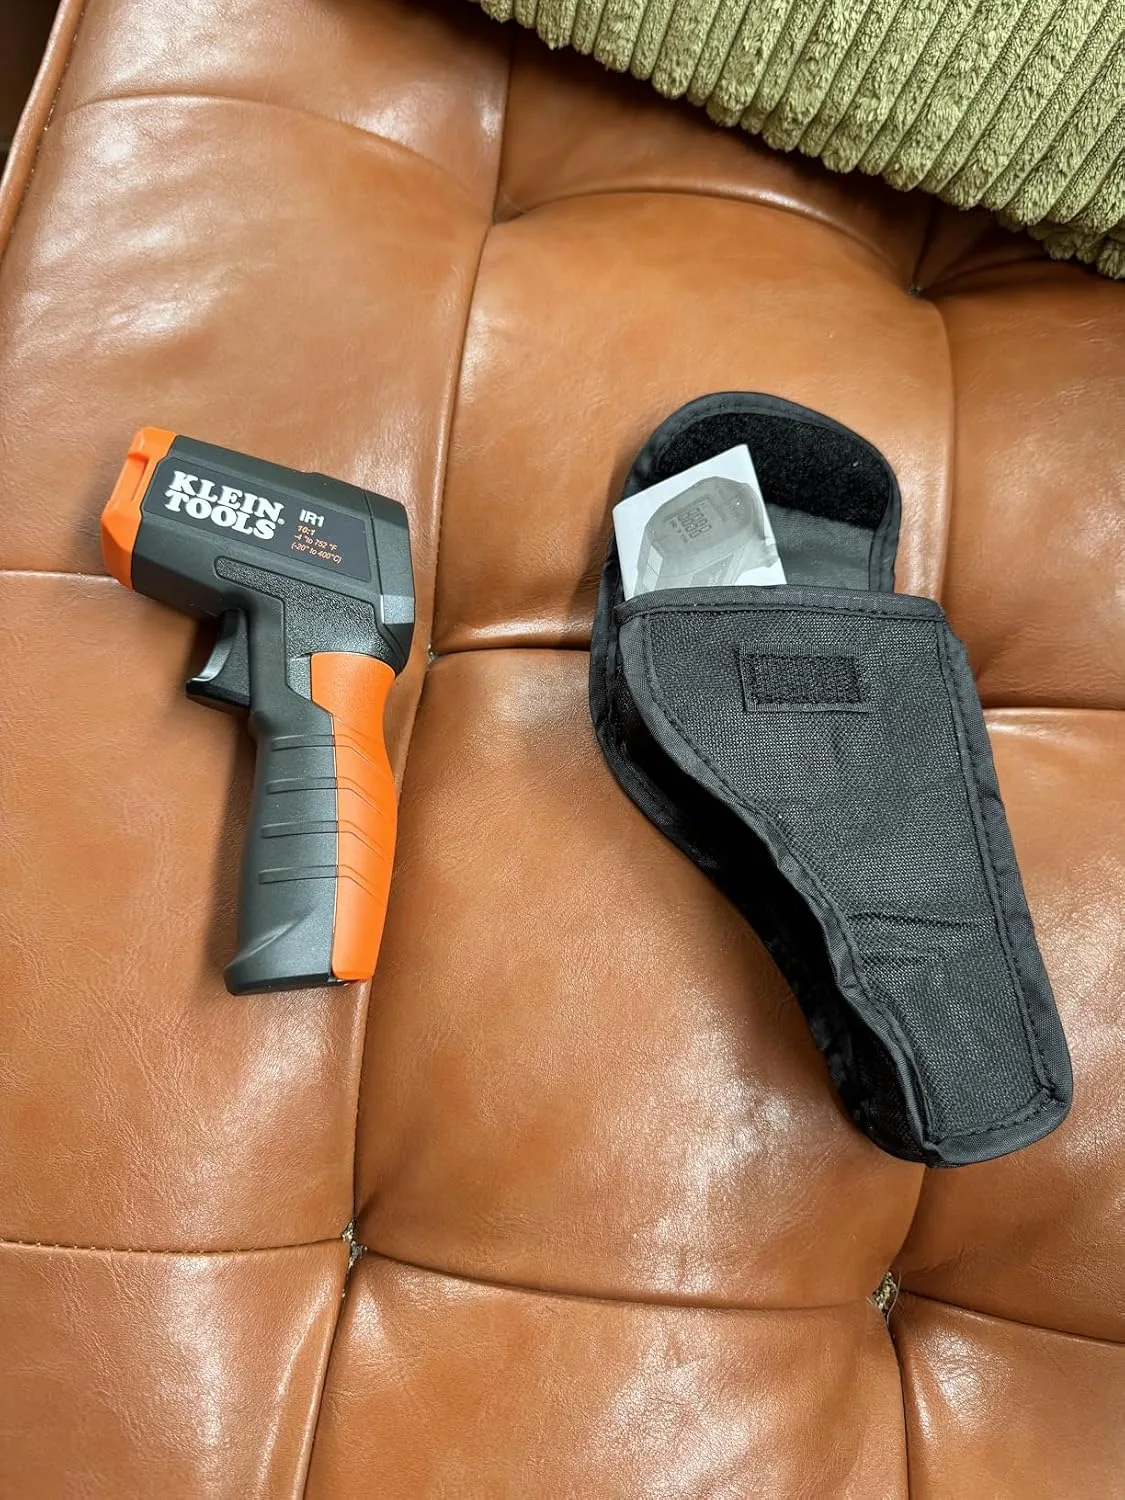
Standing next to a condenser while a homeowner is already sold on a $400 top-off, you need something quick and objective to cut through the assumptions. An infrared thermometer does exactly that — it hands you the real coil temperature on the spot, which tells a far more accurate story than anything the thermostat display can offer.
Where it earns its keep
- Gives you the evaporator coil’s temperature in seconds, so you can tell right away whether the system is genuinely running cold (low charge) or whether something else is choking off airflow
- Puts a real number in front of homeowners that explains why their AC isn’t actually broken — I’ve used this exact reading more than once to steer someone away from a needless service call
- The laser point keeps you reading the coil itself rather than the warmer air around it, so the data stays accurate every time
Where it falls short
- It won’t hand you a root cause by itself — you still need a baseline for normal coil temps and have to weigh that against indoor humidity and airflow
- Needs a clear sightline to the coil; if your evaporator is tucked deep inside a furnace cabinet, the reading you get may not be reliable
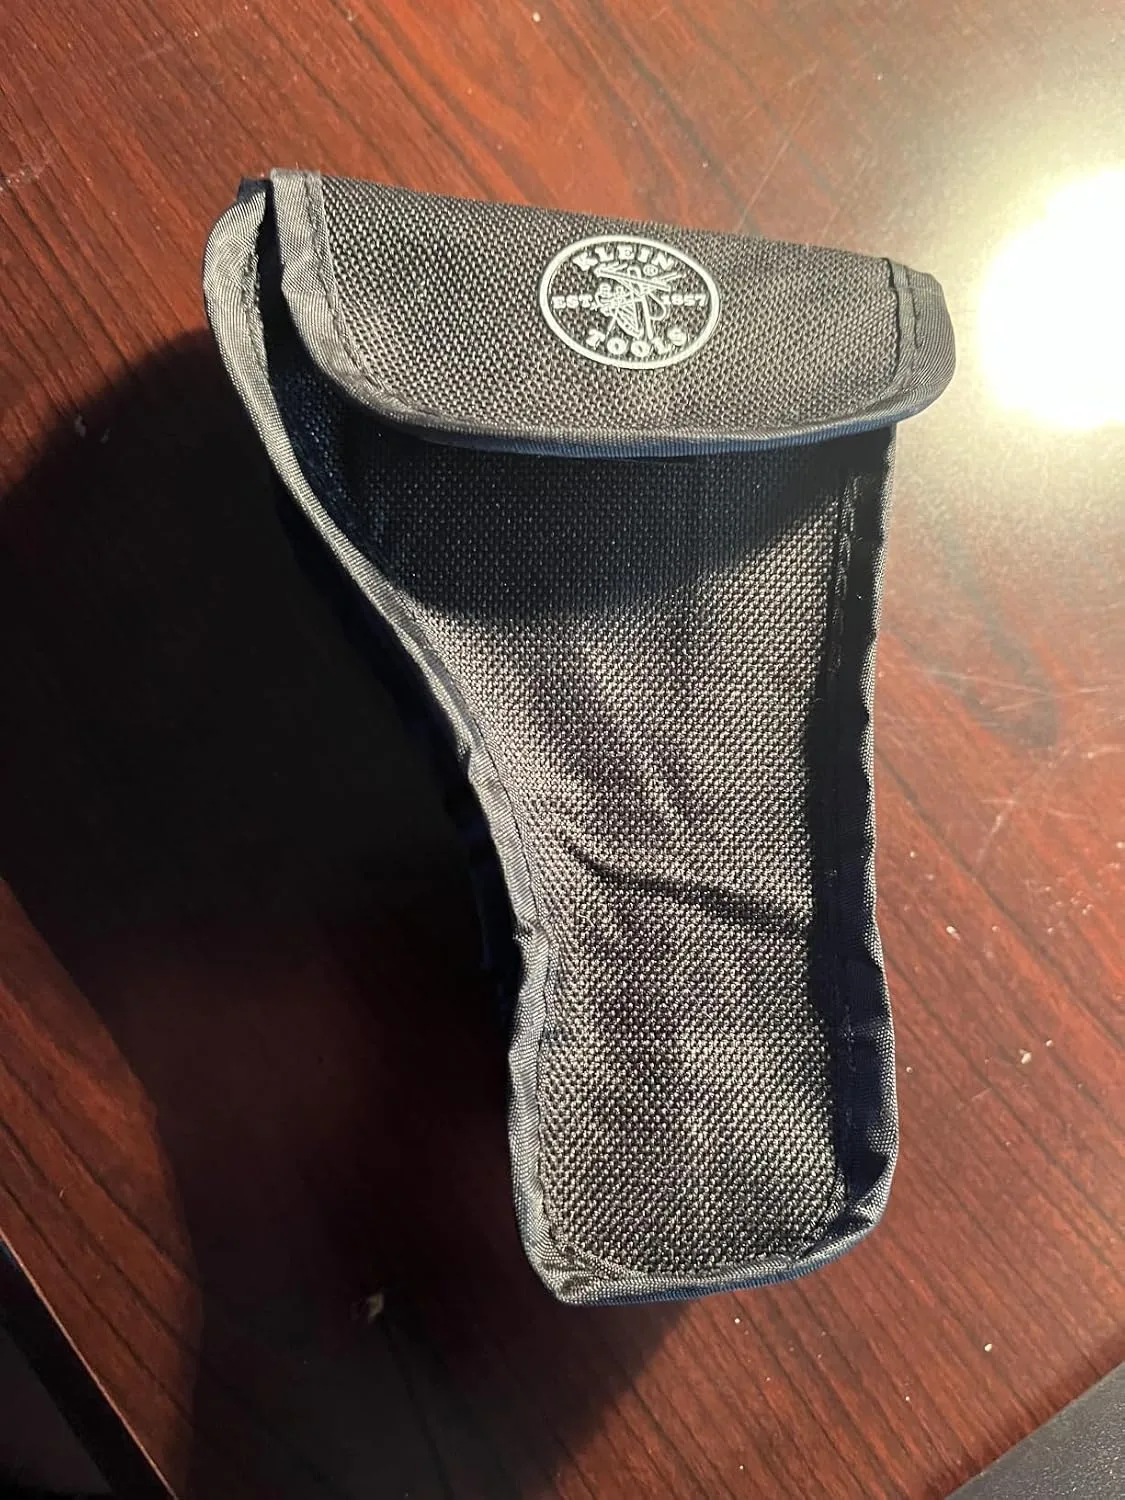
The first time I used this approach with Ron, I almost second-guessed myself when the coil read 48°F instead of the 35°F I’d expect on a truly low-refrigerant system—but that reading pointed me straight to the real culprit: a clogged filter dropping his airflow. Get the Klein Tools IR1 Infrared Thermometer and stop letting guesswork drive your AC decisions.
About This Article

Written by Dana Sorensen. Homeowner turned building-science obsessive. I help other homeowners understand attic insulation, ventilation, and air quality so they can stay comfortable year-round without overspending on energy bills. More about this site.
Scope and limits. Dana is a homeowner who studies building science, not an HVAC contractor or licensed tradesperson. Anything involving combustion appliances, gas lines, or electrical work belongs with a licensed contractor.
Verify this against a primary source
Specifics change, and your situation may differ from the one described here. These are the authorities worth checking directly:
- ENERGY STAR — recommended insulation R-values by climate zone
- U.S. Department of Energy — air sealing and insulation guidance
- EPA Indoor Air Quality — ventilation and indoor air quality standards