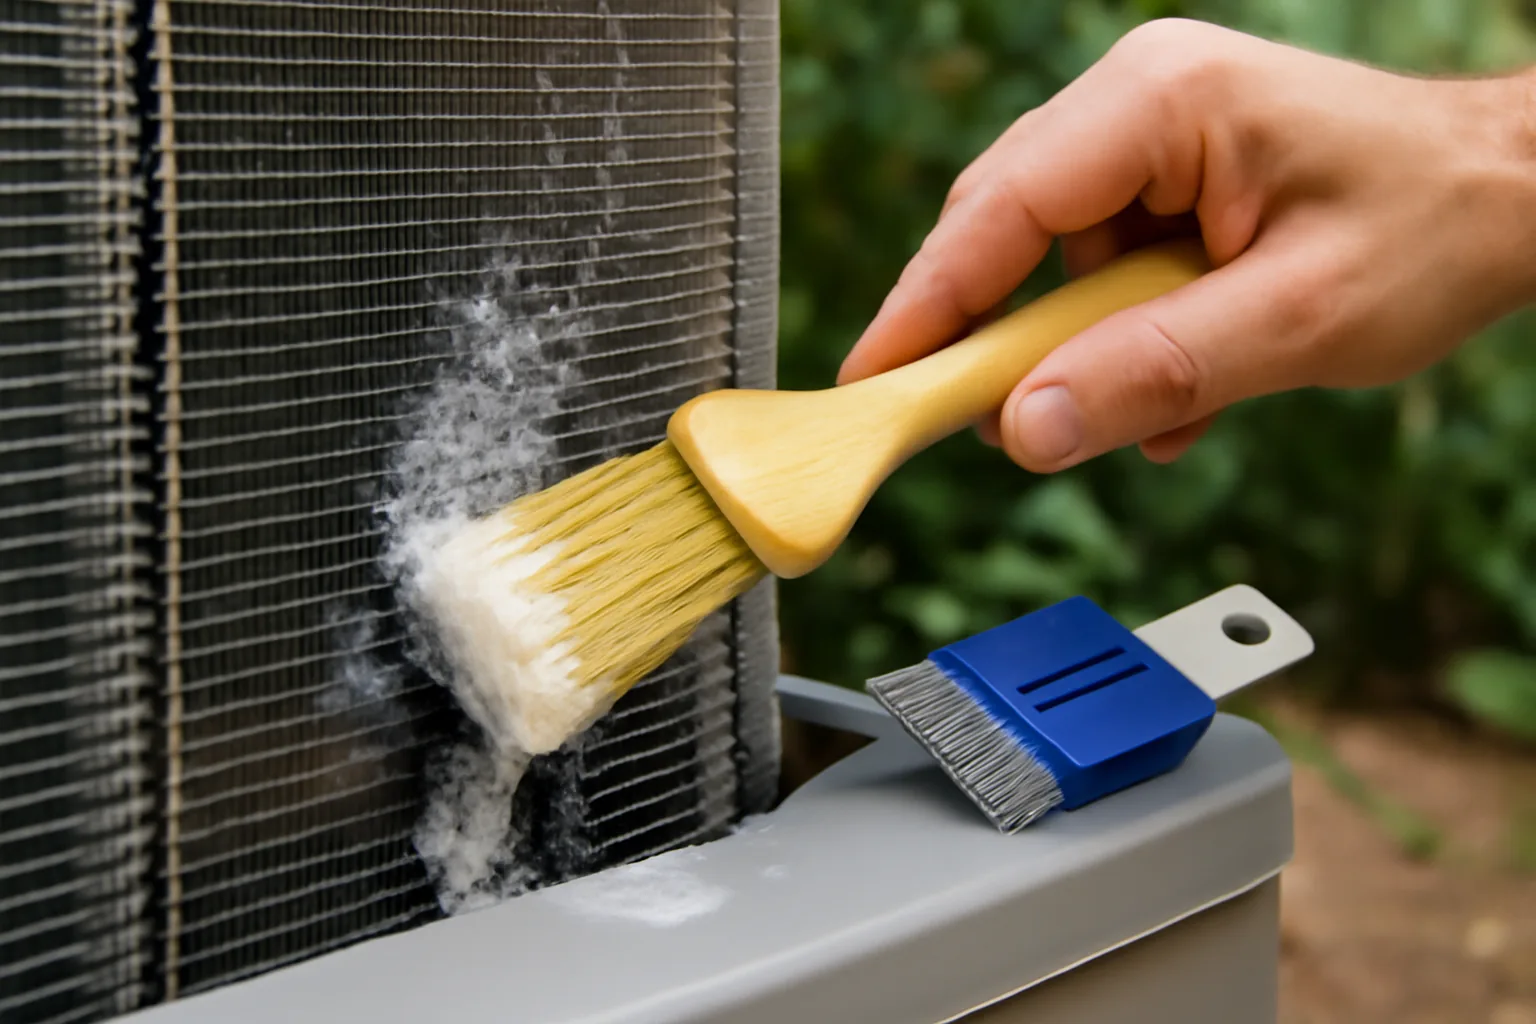
Almost every homeowner pictures coil cleaning as a wash-down job — more water pressure, cleaner coil, simple as that. It’s the same logic you’d use on a dirty driveway, and it’s flat-out wrong when it comes to those paper-thin aluminum fins. I learned this the hard way as a second-year apprentice, full of confidence I hadn’t earned yet, when I pointed a pressure washer at a brand-new Carrier 24ACC636A condenser. In under 30 seconds, roughly 40% of the fins were crushed flat. The homeowner wasn’t thrilled. My supervisor was even less thrilled. That single decision cost the company a coil replacement — about $380 in parts — and cost me an afternoon of pure red-faced embarrassment. I still tell that story to every tech I train, because it’s the fastest way to prove that cleaning AC coils without wrecking the fins isn’t a throwaway phrase — it’s the exact skill that keeps a routine tune-up from turning into an expensive repair ticket.
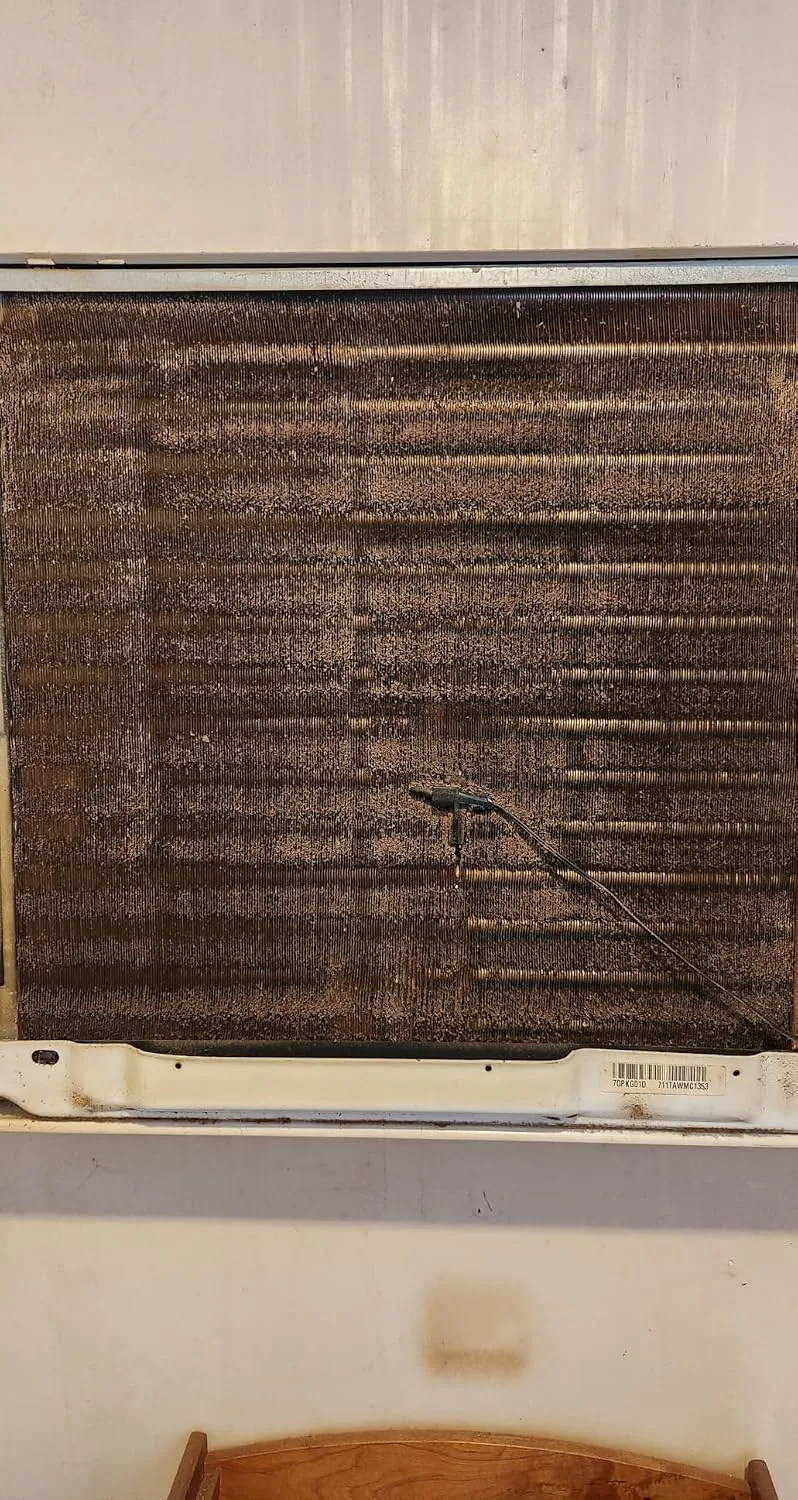
Grimy coils rank among the top culprits behind sluggish system performance. A coil packed with cottonwood fluff, dust, and dried grass clippings can force the system to work 20–30% harder just to move the same amount of heat it used to handle with ease. That extra strain shows up as inflated utility bills and equipment that wears out ahead of schedule. What surprises most homeowners is how fast the payoff comes: a properly done annual coil cleaning can hand back 10–15% of that lost efficiency almost overnight.
What follows is my actual playbook — how I handle both evaporator and condenser coils safely, the tools I actually trust, and the point where this stops being a reasonable DIY task. I’ve handled well over 200 service calls tied to coil cleaning and upkeep, and my goal here is simple: keep you from having to learn any of this the expensive way I did.
Why AC Fins Bend So Easily — and Why It Matters
Those aluminum fins on your coil are packed tight — typically 12 to 20 fins per inch (FPI) — and each one is almost paper-thin, running about 0.004 to 0.006 inches. That’s not a manufacturing shortcut; it’s deliberate, since thinner fins mean more surface area for heat exchange. The tradeoff is fragility. Any concentrated force — a pressure washer, a stiff-bristled brush, even a garden hose held too close at the wrong angle — can crush them instantly.
Once fins get pressed flat, airflow through the coil chokes off. Static pressure climbs. The compressor has to strain harder. Refrigerant temperatures spike, and in the worst cases you’ll trip high-pressure lockouts or watch the evaporator ice over entirely. I once measured a coil that was 60% blocked by folded fins pulling almost 14 amps on a compressor rated for just 10. That’s the kind of abuse that shaves years off a system’s working life.
That’s the whole reason I’m particular about technique. The coil is handling serious thermodynamic work every hour it runs — the fins are essentially its lungs. Treat them like it.
Tools You Need Before You Start
Half the battle is showing up with the right gear. Here’s what’s actually in my kit for a coil cleaning job:
- Fin comb — non-negotiable. I reach for an Imperial 425-C, which covers multiple spacings from 8 through 18 FPI, and it’ll run you around $12 at most HVAC supply houses.
- Coil cleaning solution — I’ll get specific about my pick further down, but under no circumstances reach for dish soap or bleach.
- Garden hose with an adjustable nozzle — dial it to a wide fan pattern; a jet setting has no place near this coil.
- Soft-bristle brush — reserved for light surface grime, and applied with essentially no side pressure at all.
- Gloves and safety glasses — these cleaners run alkaline and will irritate both skin and eyes fast.
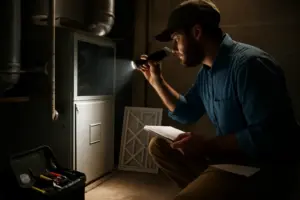
- Flashlight or work light — essential for actually seeing what you’re doing inside a cramped air handler.
The one item permanently banned from my kit now is a pressure washer — even dialed way down. Even at a modest 500 PSI, a focused stream will fold fins in an instant. A standard garden hose delivers roughly 40–60 PSI, and that’s the real ceiling. Push past that number and you’re gambling with the coil itself.
How to Clean AC Coils Without Damaging Fins — Step by Step
Now for the actual process. I’ll break down both the condenser coil (the outdoor unit) and the evaporator coil (tucked inside the air handler), since each demands a slightly different touch.
Cleaning the Condenser Coil (Outdoor Unit)
Step 1: Cut the power completely. Shut off the disconnect box mounted beside the unit, then head to the breaker panel and flip that too. I always double-check with a non-contact voltage tester before I lay a hand on the unit. This isn’t a step you skip — it’s basic safety and it lines up with NFPA 70E standards for working around energized equipment.
Step 2: Clear the big debris by hand first. Pull leaves, grass clippings, and cottonwood fluff off the top grille using your hands or a soft brush. Whatever you do, don’t push debris deeper into the fins.
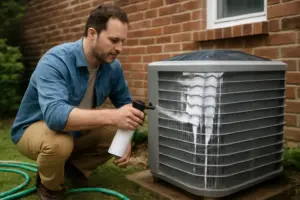
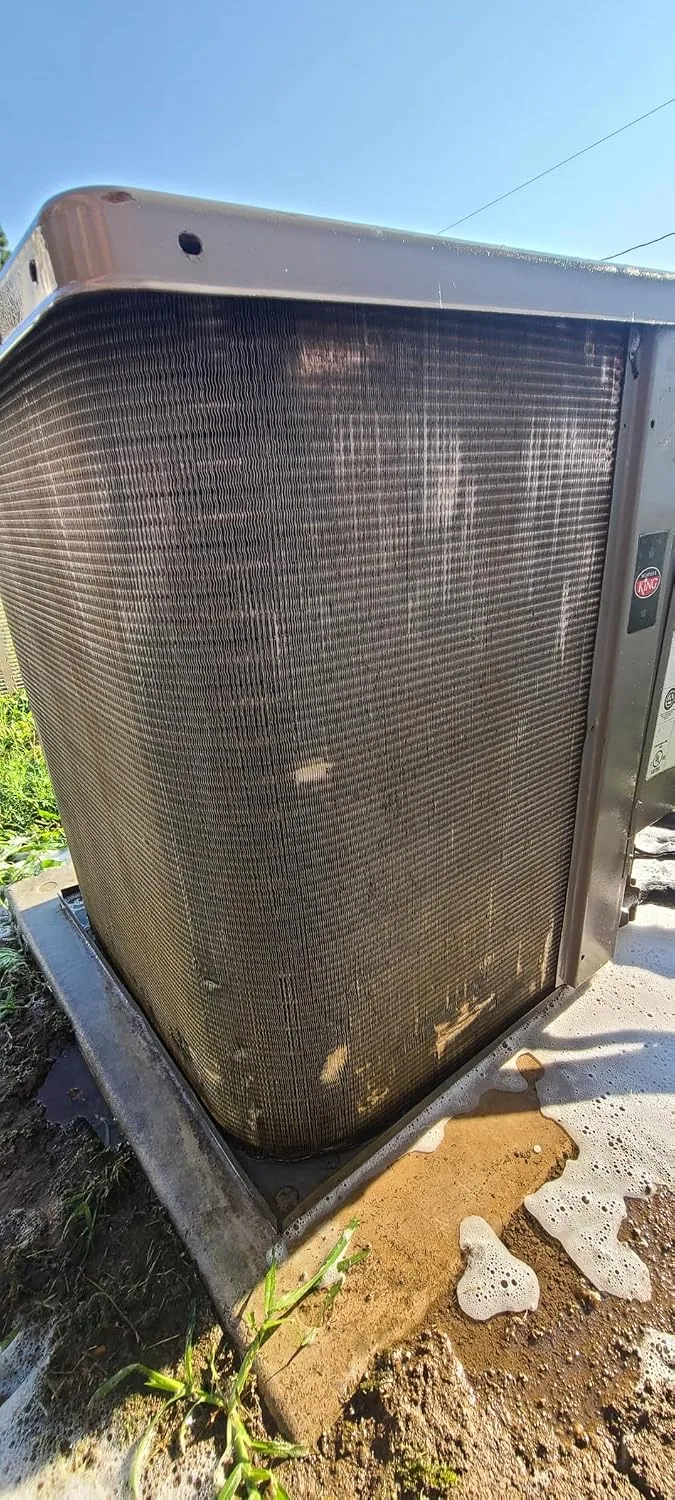
Step 3: Coat it with your coil cleaner. Whenever possible, spray from the inside out — meaning through the fins from the interior toward the exterior — then rinse in the opposite direction so debris exits the way it came in. Stick to whatever dwell time your product specifies, usually somewhere around 5–10 minutes.
Step 4: Rinse using the garden hose. Keep the nozzle on a wide fan pattern and hold it back at least 6 inches from the coil face. Move in a straight up-and-down motion — never side to side, since that’s exactly what folds fins over. Work top to bottom.
Step 5: Check for bent fins and correct them. Once everything’s dry, angle your light low across the coil surface — bent fins will throw obvious shadows. Run your fin comb through gently, always parallel to the fin direction, never forcing it through.
Cleaning the Evaporator Coil (Indoor Air Handler)
Evaporator coils demand more patience. They’re buried inside the air handler, often in a cramped spot, and usually damp from ordinary condensation. How you get to it depends entirely on the unit — some have a dedicated access panel, while others make you fight through screws, duct tape, and sheer luck.
Step 1: Shut the system down at both the thermostat and the breaker. Give it 15–20 minutes before you crack open the air handler, so leftover condensation can drain and any capacitors can discharge safely.
Step 2: Track down and open up the evaporator coil. On the majority of residential split systems, you’ll find it above or below the blower inside the air handler. Expect to remove a sheet metal panel, so keep a nut driver set within reach — typically 1/4″ and 5/16″ hex heads.
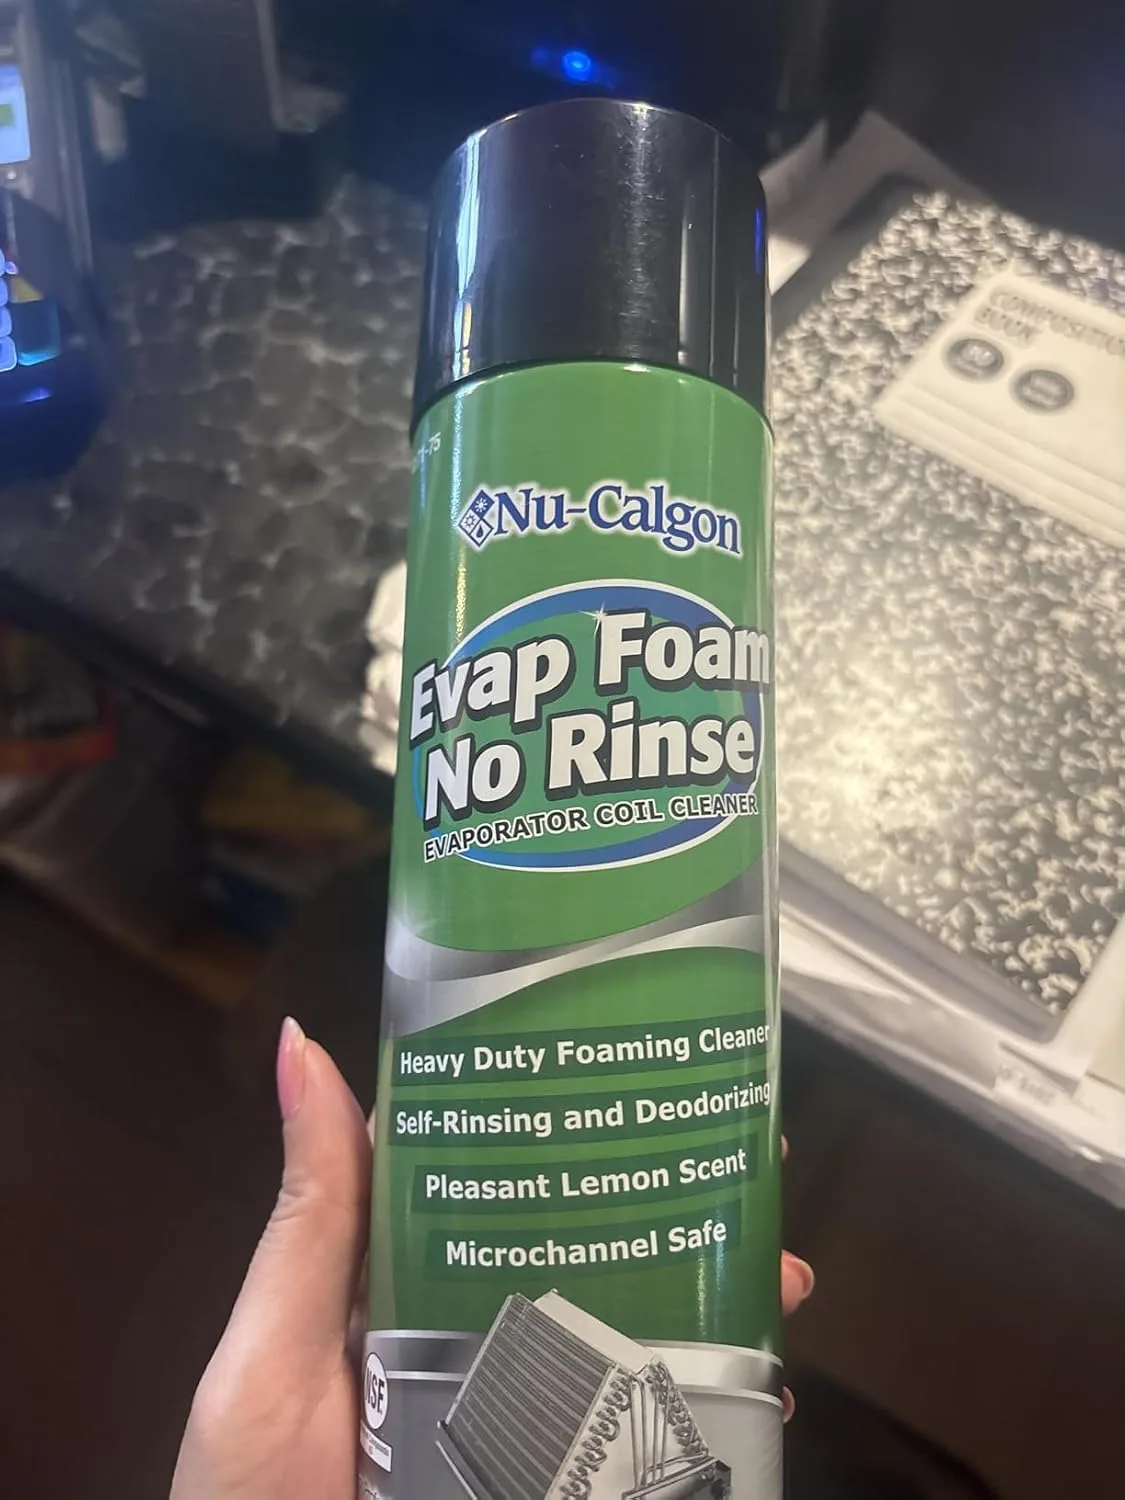
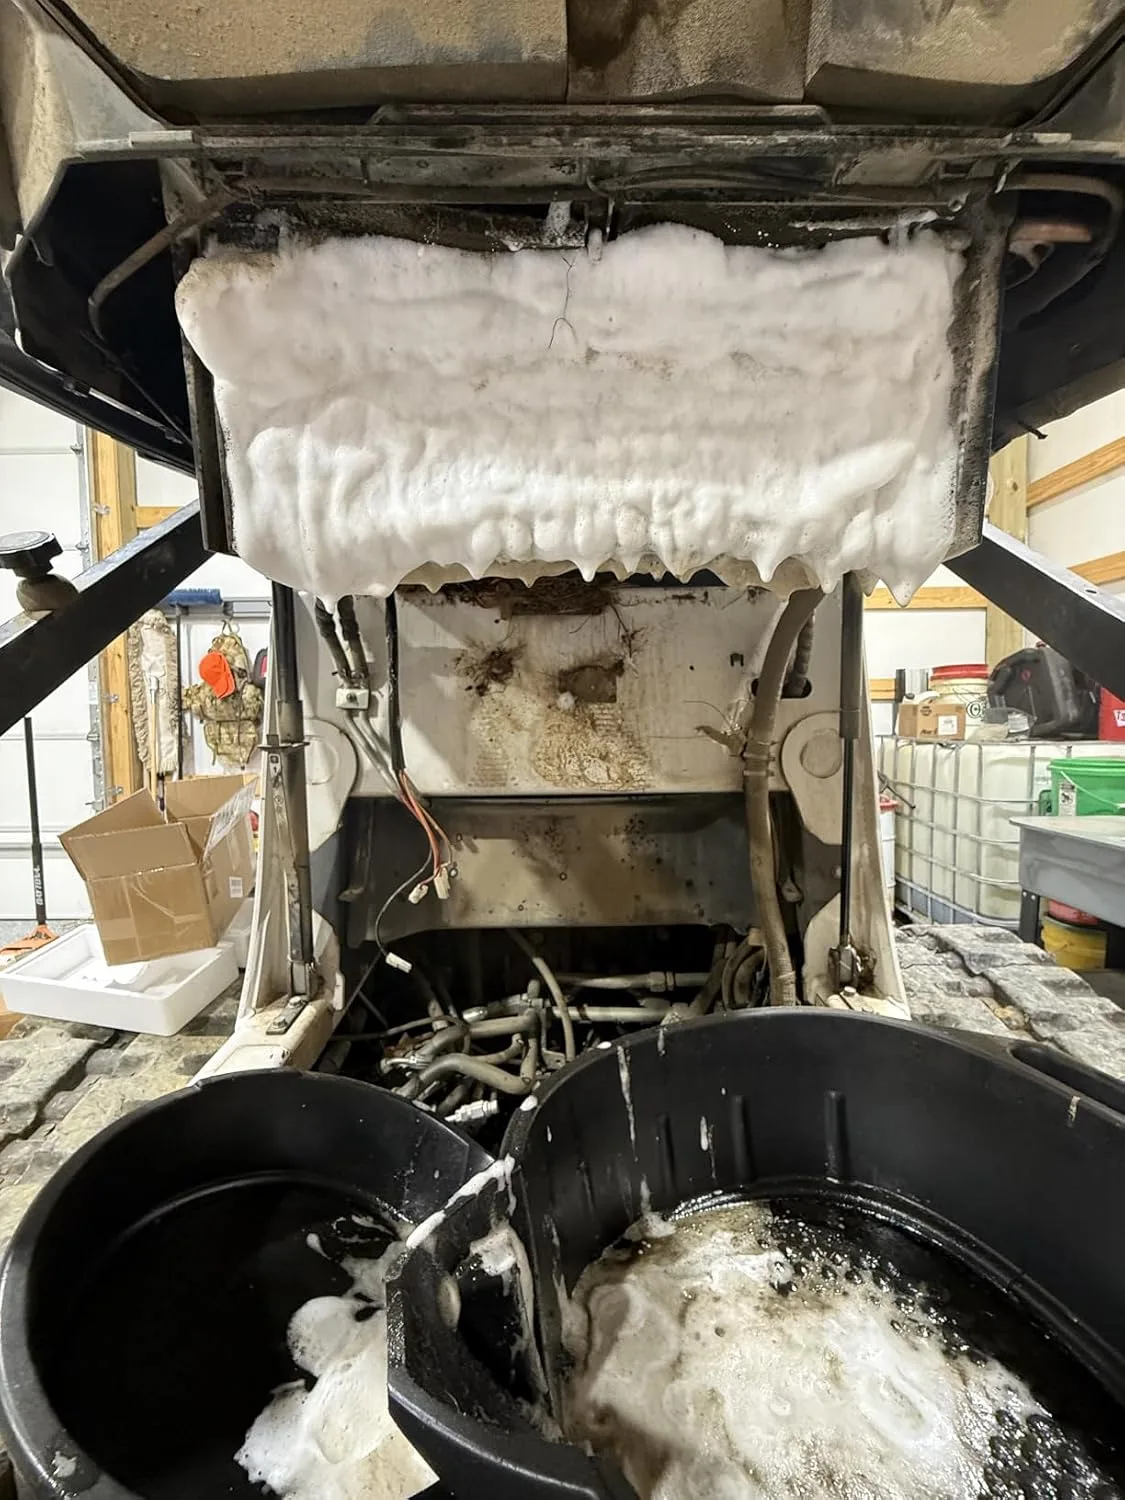
Step 3: Coat it with a no-rinse foaming cleaner. This is where the product you choose really counts for evaporator work. No-rinse formulas are built to break dirt loose, drip harmlessly into the condensate pan, and drain away on their own once the system fires back up. Hosing down an evaporator with water invites a mess, risks water damage, and simply isn’t necessary if you’re using a decent foam cleaner.
Step 4: Give it time, button it up, and run a cycle. Let the foam sit for its full recommended dwell time. Put the access panel back together, switch the system to cool, and run it through one complete cycle. The condensate drain will carry off all the loosened grime on its own.
The Foam That Finally Let Me Clean Coils Without Holding My Breath
After that pressure-washer disaster, I went looking for something that could break down grime and buildup without any chance of touching a fin. Foam cleaners were the answer — they cling to the coil and do the heavy lifting through chemistry, not brute force.
What works
- On contact, the foam expands and works its way between fins with zero applied pressure — so bending or flattening simply isn’t a risk
- Grime, algae, and buildup break down in about 10–15 minutes, meaning no scrubbing and no standing around wondering if it’s working
- It handles both the indoor evaporator coil and the outdoor condenser coil, so a single product covers the entire system
What doesn’t
- The odor is potent and chemical — you’ll want airflow around you and to stay well out of the fumes’ path
- Coils with heavy buildup sometimes call for a second round, so budget an extra 15 minutes into the job
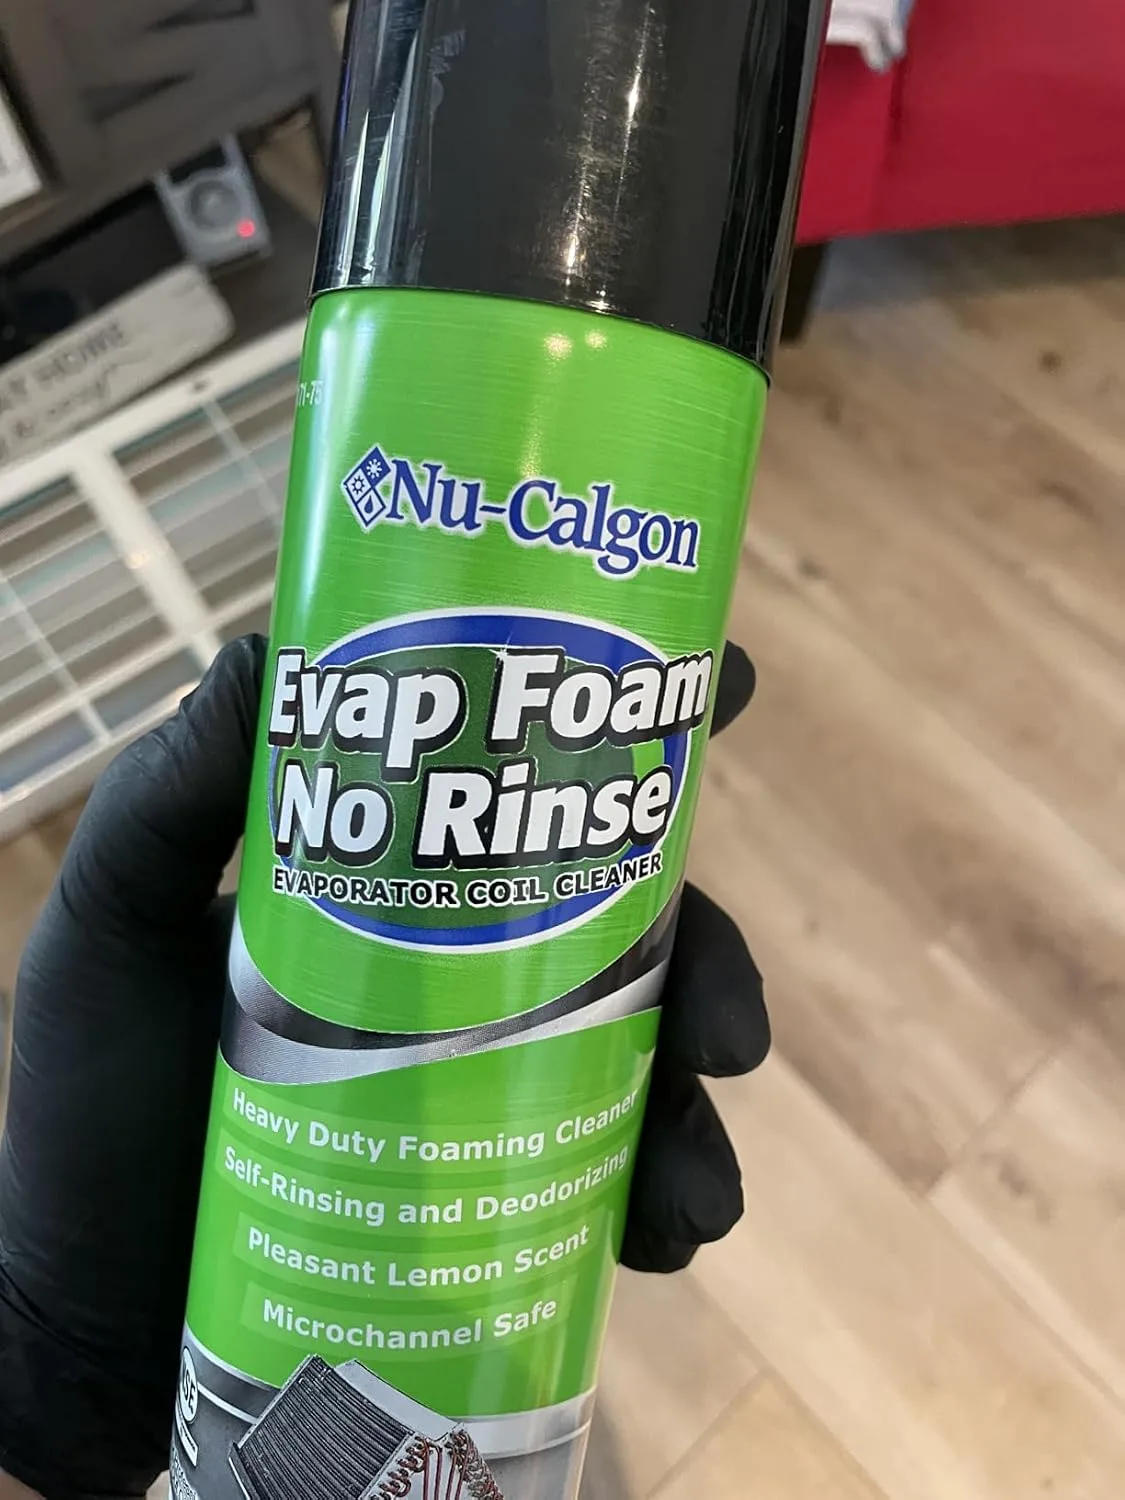
The first time I used foam cleaner, I actually worried it wasn’t aggressive enough—old habits die hard—but I let it sit the full time and watched the debris literally rinse away with nothing but gravity and a low-pressure water spray. Nu-Calgon 4171-75 Evap Foam is the product that’s been on my shelf ever since.
About This Article

Written by Dana Sorensen. Homeowner turned building-science obsessive. I help other homeowners understand attic insulation, ventilation, and air quality so they can stay comfortable year-round without overspending on energy bills. More about this site.
Scope and limits. Dana is a homeowner who studies building science, not an HVAC contractor or licensed tradesperson. Anything involving combustion appliances, gas lines, or electrical work belongs with a licensed contractor.
Verify this against a primary source
Specifics change, and your situation may differ from the one described here. These are the authorities worth checking directly:
- ENERGY STAR — recommended insulation R-values by climate zone
- U.S. Department of Energy — air sealing and insulation guidance
- EPA Indoor Air Quality — ventilation and indoor air quality standards