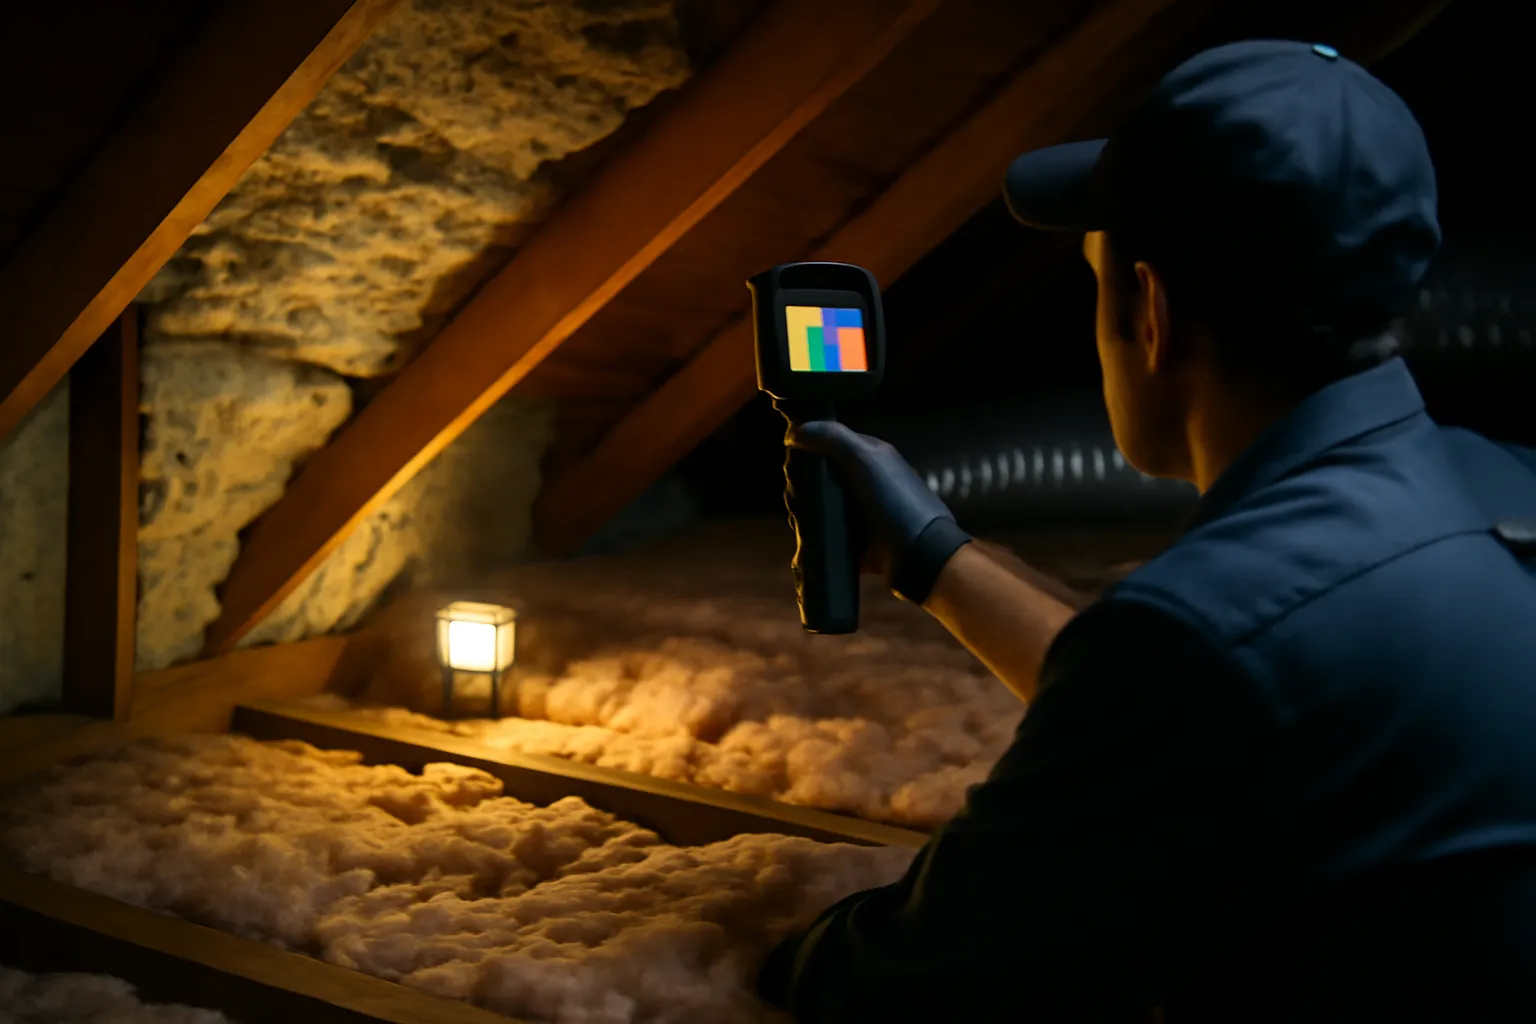
Last spring, I was crouched at the edge of a homeowner’s attic hatch, flashlight in hand, while she read me three insulation quotes off her phone. Her 1,400-square-foot attic had racked up bids of $1,800 for blown fiberglass, and $7,500 and $9,200 for closed-cell spray foam from two other outfits. Every one of those three contractors swore up and down that their approach was “the smartest money she’d spend.” The spray foam crews waved around printouts promising 40% energy savings. The fiberglass installer shrugged off spray foam as unnecessary overkill. Not one of them gave her a clear read on spray foam insulation cost vs savings ROI, and she left those meetings more baffled than when she’d started. Fifteen-plus years into doing HVAC and home performance work, I can tell you this situation isn’t rare — it’s practically routine. Contractors with a financial stake in the outcome rarely make the most neutral advisors. So here’s the unvarnished version: what spray foam really costs, what it genuinely saves, and how to work out whether paying that premium makes sense for your particular house — before any contract gets signed.
Breaking Down the Actual Price Divide Between Spray Foam and Fiberglass
Numbers first, since the sticker shock is genuine and deserves a plain-spoken explanation. For a standard 1,000-square-foot attic roofline job, here’s roughly what today’s market charges:
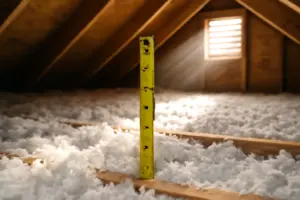
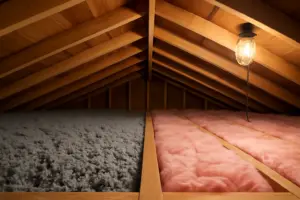
- Blown fiberglass (attic floor): Installed cost runs $1,200–$2,000, reaching R-38 or R-49
- Open-cell spray foam (roofline): Installed cost runs $3,000–$5,000, landing at R-20 to R-30
- Closed-cell spray foam (roofline): Installed cost runs $6,000–$10,000, landing at R-35 to R-42
You’re looking at three to five times the price tag. What most contractors won’t walk you through is that R-value by itself doesn’t account for that gap. The real payoff with spray foam isn’t thermal resistance alone — it’s the air sealing that comes with it. In a typical older home, somewhere between 30 and 40 percent of heating and cooling losses happen because of air leaking through the structure, not because heat is conducting through the insulation. A blower door test — pressurizing the house to 50 Pascals to quantify leakage — on an untreated older home commonly reads 3,000 to 5,000 CFM50. A properly executed spray foam roofline application can bring that figure under 1,000 CFM50. Blown fiberglass does a solid job as a thermal buffer, but air passes right through it — it doesn’t close off gaps, bypasses, or penetrations. All it does is slow the rate heat moves through the material itself.
This is where building science earns its keep. Heat travels three ways: conduction through solid materials, convection via moving air, and radiation as infrared energy crossing open space. Fiberglass does a decent job against conduction. Against convection, it’s nearly powerless — air still flows through and around the fibers, hauling your conditioned air straight outside. Spray foam tackles all three mechanisms at once, and that’s the whole argument for its higher price. The real question is whether your particular house has enough of a convection and radiation issue for that premium to actually pay for itself.
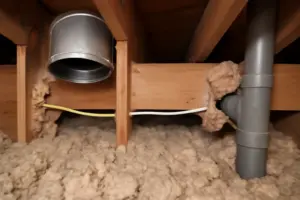
Truthfully, it comes down to where your house is starting from. Take a drafty 1960s ranch with original attic bypasses, open top plates on the walls, and ductwork baking in a 140°F attic every July — spray foam could be a genuine game-changer there. Now take a 2005 build that’s already had a professional air-sealing job plus blown fiberglass at R-49 — stepping up to spray foam there might take more than 20 years to pay for itself through savings. Figuring out which category your home falls into is the single most important piece of this whole equation, and most people are getting quotes before they’ve ever answered that question.
Why a Thermal Imager Exposed the Gap Between Competing Contractor Claims
Weighing spray foam against fiberglass quotes usually means weighing one unverified claim against another. I wanted actual proof of what was happening inside that attic — air leaks, thermal bridging, cold spots — before settling on which insulation approach actually made financial sense.
What It Gets Right
- Pinpoints air leaks and thermal bridges, revealing whether a contractor’s “40% savings” pitch holds water or is pure fantasy. I’ve found rim joists and plate seams that installers assumed were airtight but clearly weren’t.
- Hands you concrete visual proof to challenge fuzzy sales promises. Rather than taking a printout at face value, you can point to the exact spots where energy is escaping and make contractors explain how their method solves it.
- At 256 x 192 resolution, the image quality is clear enough to tell insulation gaps apart from genuine air movement, without shelling out $3,000-plus for industrial-grade gear.
Where It Falls Short
- It can’t tell you R-value or forecast your precise savings — it shows *where* trouble is hiding, not the dollar figure you’ll eventually recoup.
- Useful readings depend on a real temperature gap between indoors and outdoors; on mild spring afternoons, the thermal patterns get muddy and harder to interpret.
The first time I used this camera during an attic walk-through, I almost missed a 12-inch section of missing insulation hidden under ductwork—the thermal signature would have been invisible without it. That’s when I realized I couldn’t give homeowners honest ROI advice without seeing the actual problem. Grab the Elitech Thermal Imaging Camera (256 x 192 IR Resolution) and stop taking contractor claims on faith.
About This Article

Written by Dana Sorensen. Homeowner turned building-science obsessive. I help other homeowners understand attic insulation, ventilation, and air quality so they can stay comfortable year-round without overspending on energy bills. More about this site.
Scope and limits. Dana is a homeowner who studies building science, not an HVAC contractor or licensed tradesperson. Anything involving combustion appliances, gas lines, or electrical work belongs with a licensed contractor.
Verify this against a primary source
Specifics change, and your situation may differ from the one described here. These are the authorities worth checking directly:
- ENERGY STAR — recommended insulation R-values by climate zone
- U.S. Department of Energy — air sealing and insulation guidance
- EPA Indoor Air Quality — ventilation and indoor air quality standards