Guess wrong on vapor barrier insulation when to use it, and the mistake won’t show up for months — sometimes years — by which point you’re looking at a repair bill several times larger than the material would have cost. That’s the stake sitting underneath what sounds like a simple question. If you’re already unsure whether your project needs one, it’s probably because you’ve gotten three different answers from three different sources. You’re not imagining the confusion. Vapor control might be the single most misunderstood piece of home performance, and I’ve opened up enough walls and floors to know exactly what happens when someone guesses instead of learning the actual rule.
A homeowner in northern Utah — climate zone 6 — hired a contractor for a top-to-bottom renovation, basement through attic: fresh insulation, new drywall, all of it. Buried in that same job was a detail that came back to bite her twice — the crew had wrapped the rim joist insulation in poly on the *outside* face instead of the inside, which is exactly backward for a cold climate, and by the following winter, condensation was already beading on the band board. That was panic call number one. About eighteen months after the whole project wrapped, she spotted paint peeling away from the wall in one bedroom, right at an exterior corner. We cut it open. The framing behind it was black with mold, and the insulation was saturated. Turned out the crew had installed a poly vapor barrier on *both* faces of that wall assembly — one layer under the exterior siding, another behind the interior drywall. A textbook moisture sandwich. Vapor worked its way in through ordinary seasonal shifts in the wall, found no path back out, and sat trapped for a year and a half, doing precisely what damp wood does under those conditions.
Fixing that damage ran higher than the price tag on the original renovation. And here’s the part that still gets me: nobody cut corners to cause it. The contractor genuinely believed that stacking more vapor protection on top of more vapor protection added up to better moisture protection. It doesn’t work that way, and she paid the price for that misunderstanding. I’ve watched near-identical versions of this play out again and again — in crawl spaces, under attic floors, inside finished basements, coast to coast.
So here’s what twenty years of field work has actually taught me about vapor barriers — where they genuinely belong, where they have no business being installed, and how you figure out which situation you’re in.
The Science Part: How Moisture Actually Travels Through a House
Before any of the “when to use it” advice makes sense, you need to understand what a vapor barrier is actually blocking — and that starts with how moisture moves through a wall, floor, or ceiling assembly in the first place.
Here’s the rule everything else hangs on: moisture travels from warm toward cold, and from areas of high concentration toward areas of low concentration. During winter in a cold region, warm, moisture-laden indoor air is constantly pressing outward, trying to reach the cold exterior. Flip to summer in a hot, humid climate, and the pressure reverses — outdoor humidity now pushes inward toward your cooled interior air. This push of vapor through building materials has a name — vapor diffusion — and it’s measured in perms. Lower perm rating means the material puts up more resistance to that vapor movement.
Building science splits vapor-control materials into three tiers:
- Class I (0.1 perms or under): The true blockers — 6-mil poly sheeting, foil-faced insulation board. Essentially sealed off from vapor passage.
- Class II (0.1 to 1.0 perms): Kraft-faced fiberglass batts land in this range. Vapor movement gets slowed considerably, but some drying is still possible.
- Class III (1.0 to 10 perms): Ordinary latex paint sits here. It adds a modest layer of resistance while still letting the wall breathe.
This is exactly where the vapor retarder vs vapor barrier difference becomes important: a true “barrier” (Class I) shuts moisture movement down almost completely. A “retarder” (Class II or III) just slows the flow while still letting the assembly dry out over time. That gap matters enormously — in the vast majority of home applications, you actually want that drying capacity, so any moisture that sneaks in has an exit route before it can do damage.
So where’s the correct spot for vapor control? Always on the warm-in-winter side of the insulation. Up in climate zones 5 through 7 — most of the northern U.S. and Canada — that’s the interior face of exterior walls, since indoors is the warm side during the season when vapor pressure peaks. Down in hot-humid zones 1 through 3 — Florida, the Gulf Coast, the lower Southeast — the warm side flips to the exterior during summer, meaning a barrier placed on the interior would sit in exactly the wrong location, trapping vapor that’s pushing inward. Plenty of building scientists working in those climates recommend skipping a dedicated vapor barrier altogether in favor of assemblies permeable enough to dry toward either side.
Zone 4 is the real headache — Virginia, Missouri, the mid-Atlantic corridor, much of the Pacific Northwest. Vapor drive there switches direction depending on the season. Most experts, along with the IRC code itself, point toward a Class III retarder — two coats of latex paint — instead of a full poly membrane in these mixed climates. The goal is some resistance, not a total seal that locks moisture inside.
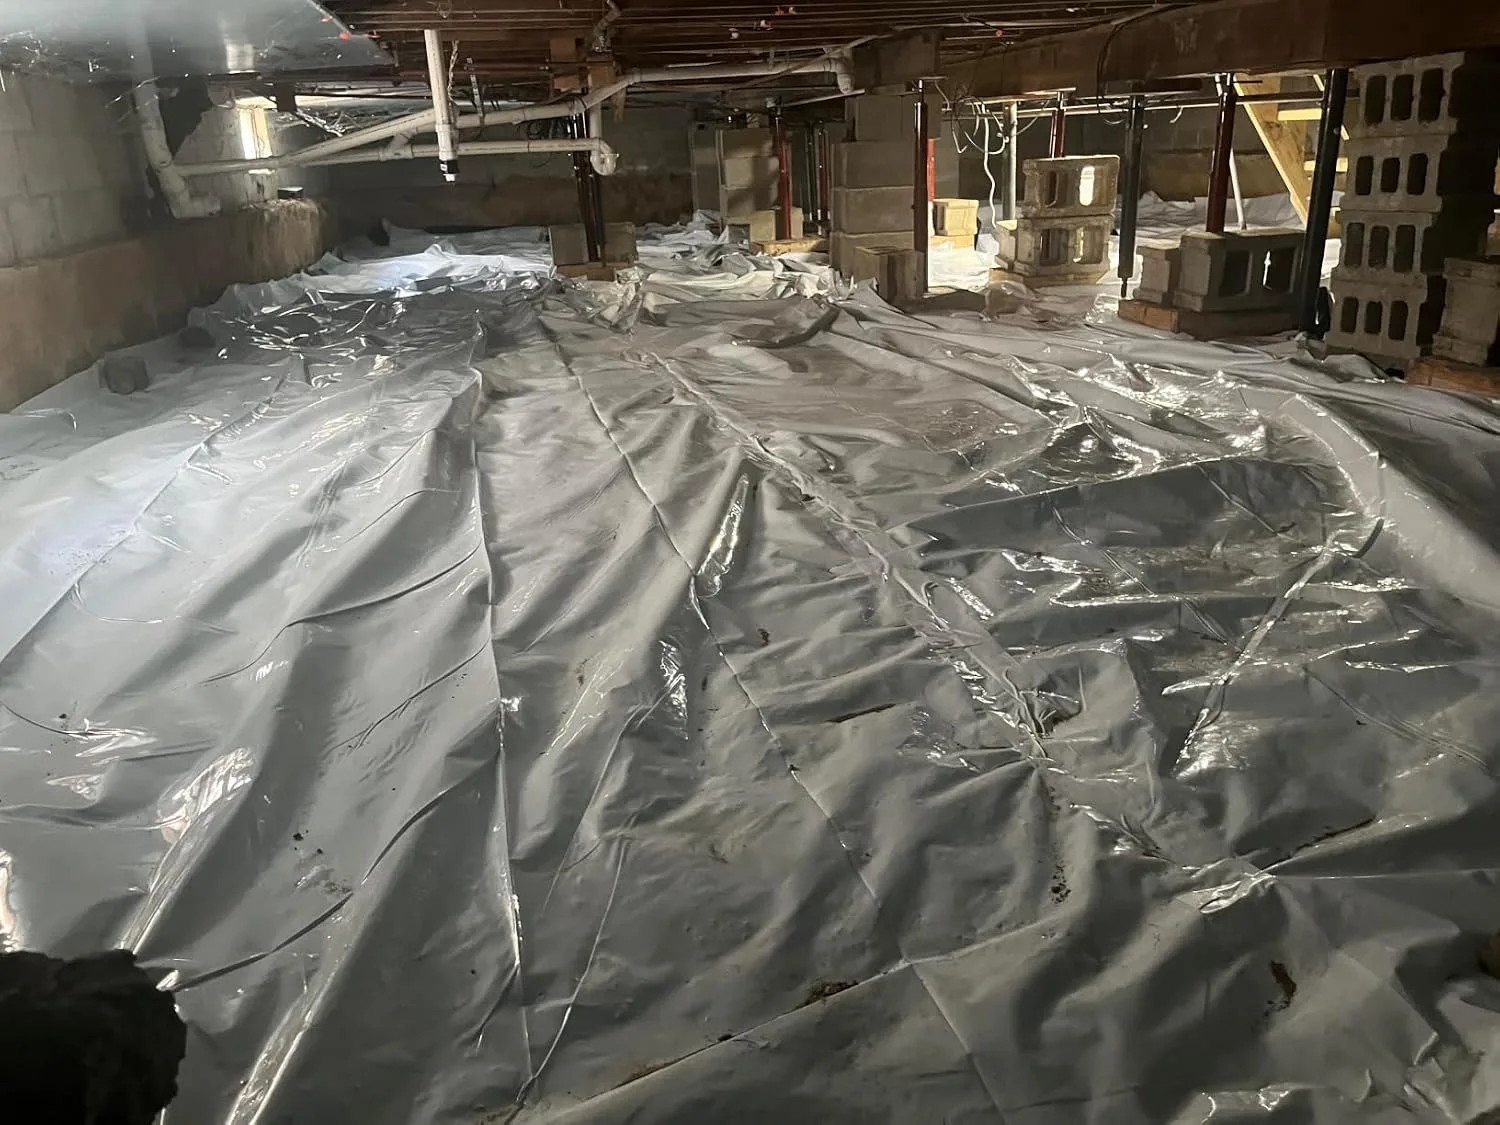
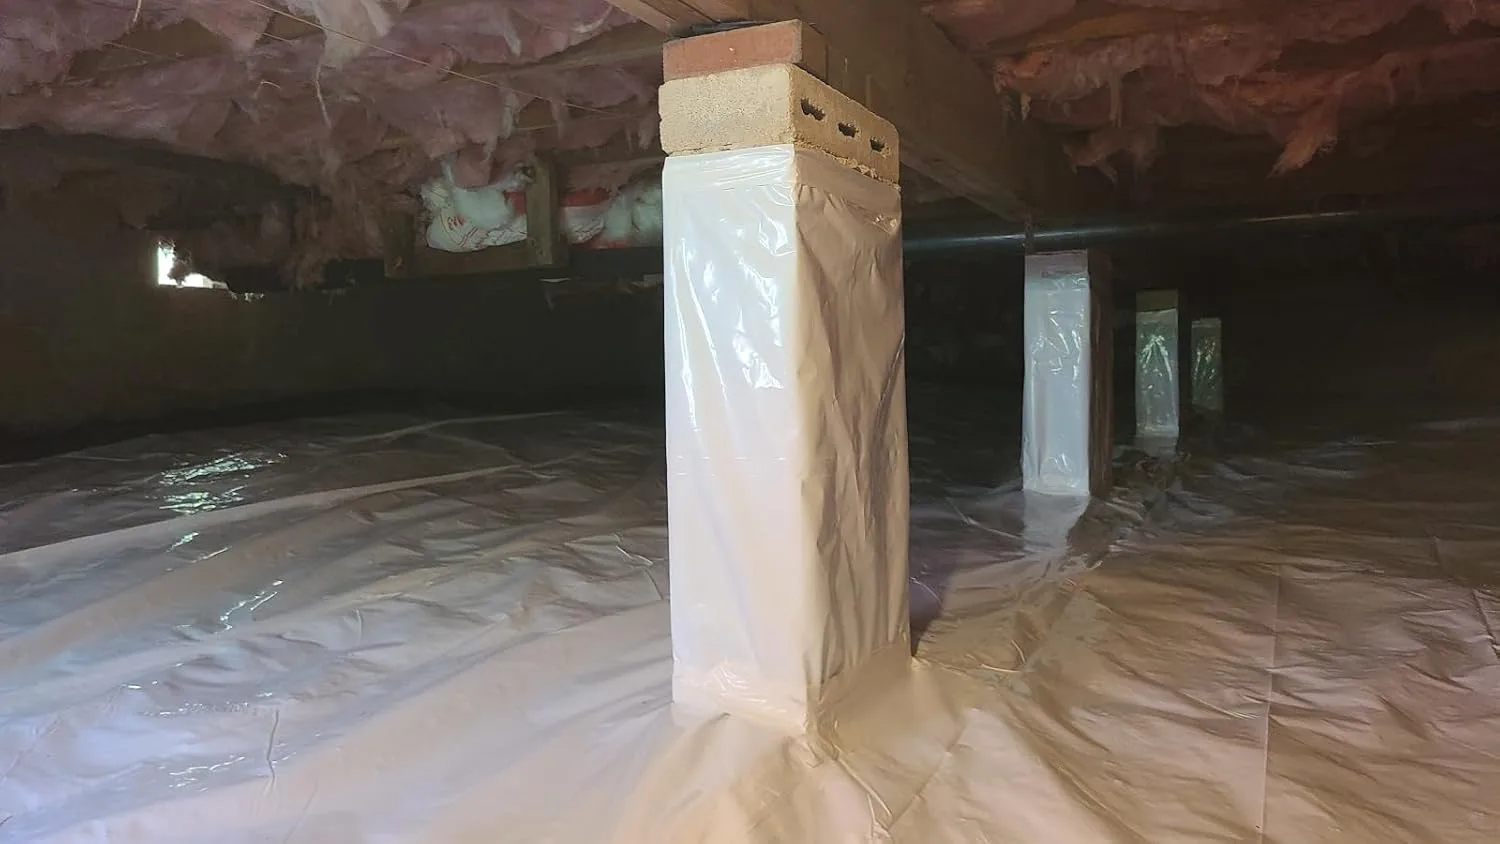
Two situations deserve their own callout, since they generate more questions than everything else combined: crawl spaces and attic floors. Both get their own breakdown further down.
The Roll of Poly That Kept a Zone 6 Job From Turning Into a Moisture Nightmare
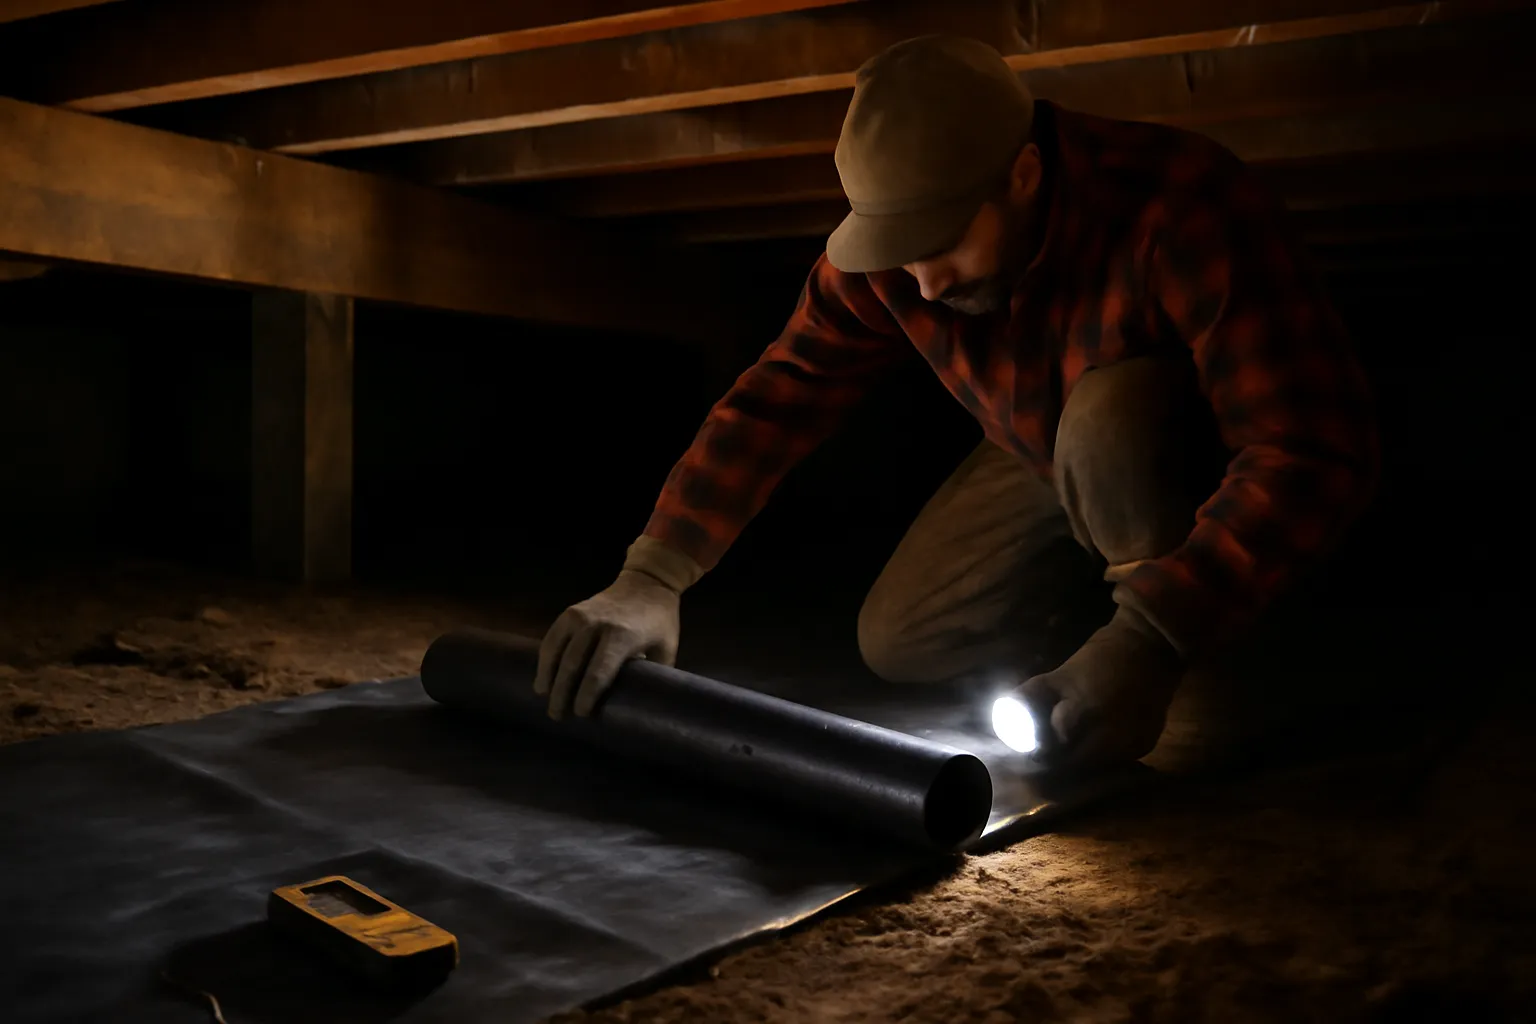
Cold-climate vapor barrier installs demand a material tough enough to survive the job without tearing or leaving gaps that undo the whole strategy. Heavy-gauge polyethylene sheeting is the one product that consistently holds up when you’re sealing rim joists or crawl space floors in rough winter conditions.
Where it earns its keep
- At 6 mils thick, it resists punctures and tears while you’re stapling it around framing, insulation edges, and uneven surfaces — a clear step up from thinner 4-mil versions
- Sold in 10′ × 100′ rolls, so fewer seams need taping overall, which cuts down the chances of vapor leaks that can rot out rim joists or cause condensation down the line
- Performs consistently whether you’re in a hot or cold climate, since it’s genuinely near-impermeable — you’re not left wondering if the barrier is actually doing its job
Where it gets tricky
- Rolling out 100 feet of it by yourself is a real hassle — plan on an extra set of hands or a clean, flat staging space so you don’t end up with kinks and creases that weaken the seal
- Its thickness means seam-taping takes more care than you’d expect; rushed overlaps leave wrinkles that trap air pockets rather than actually stopping moisture
I once underestimated how much prep work tight corner installations required, and nearly abandoned the heavy-duty route for something cheaper — a mistake that would have cost thousands in future moisture damage. If you’re serious about getting your vapor control right the first time, invest in the VEVOR Plastic Sheeting Heavy Duty 10′ x 100′, 6 Mil Thick Polyethylene Vapor Barrier.
About This Article

Written by Dana Sorensen. Homeowner turned building-science obsessive. I help other homeowners understand attic insulation, ventilation, and air quality so they can stay comfortable year-round without overspending on energy bills. More about this site.
Scope and limits. Dana is a homeowner who studies building science, not an HVAC contractor or licensed tradesperson. Anything involving combustion appliances, gas lines, or electrical work belongs with a licensed contractor.
Verify this against a primary source
Specifics change, and your situation may differ from the one described here. These are the authorities worth checking directly:
- ENERGY STAR — recommended insulation R-values by climate zone
- U.S. Department of Energy — air sealing and insulation guidance
- EPA Indoor Air Quality — ventilation and indoor air quality standards