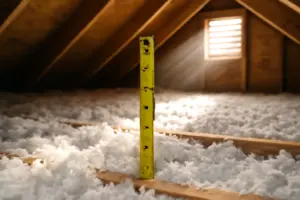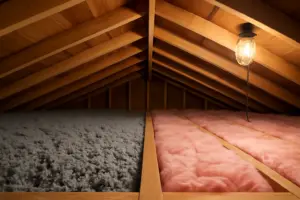
Insulation gets credit for saving houses money that it never actually saved. Piling batts into an attic does almost nothing if the ceiling underneath is riddled with gaps — and last fall, in a suburban Salt Lake City attic, I found exactly that. Gorgeous, fluffy R-38 fiberglass covered every inch of the floor. The homeowner beamed about it; he’d handed a contractor $1,800 for the install three years earlier, and yet his heating bills sat frozen in place. I know this trap intimately because I fell into it myself early on, on only my third attic job — I sealed the place up tight, the client watched their first heating bill drop by $120, and I felt like a genius. Six months later the phone rang: the foam had shrunk and pulled loose from the rim joist, and the draft was back like nothing had ever been done. Nobody had warned this Salt Lake City homeowner of the same underlying truth — an air leak in the attic floor sidesteps insulation completely, and his attic was hiding at least a dozen of them. All that fluffy fiberglass was doing was looking nice.
Of all the expensive errors I run into doing home performance work, this one tops the list. Homeowners, and more than a few contractors too, treat insulation like it’s the whole answer to a cold house. It’s only half the answer. Insulation fights conductive heat loss — heat creeping through solid material. Air sealing fights convective heat loss — heat riding along on moving air. You can’t skip either one. Skip the air sealing and pile on insulation anyway, and you’ve basically thrown a heavier blanket over a window that’s still cracked open.
What follows is a tour of exactly where these gaps hide, why they cost you more than you’d think, and how you can shut most of them down yourself for under $100. I’ve logged thousands of hours crawling attics across Utah, Nevada, and Idaho, and this is everything that experience has taught me.
Why an Attic Air Leak Renders Insulation Useless — And Drains Your Wallet
The physics behind this isn’t complicated. Insulation does its job by trapping pockets of still air, and those trapped pockets resist heat moving through a solid — conduction, in other words. But the moment warm indoor air finds an opening in your ceiling and streams straight into the frigid attic above, it’s hauling heat along with it in an instant. No fiberglass batt or blown-in layer stands a chance against that — the air just detours around it entirely.
Building scientists have a name for this: stack effect. Heated air rises through your house, builds pressure up near the ceiling, and forces its way out through any crack it can find. All winter long, that means conditioned air is leaking skyward into your attic nonstop, and your furnace has to keep firing to make up the difference. The Department of Energy pegs air leakage as responsible for 25–40% of the heating and cooling energy a typical American home wastes — and the attic plane is where the lion’s share of that leakage happens.
I’ve put a blower door on houses packed with R-49 attic insulation that still measured 8 ACH50 or worse — leaky by any measure you want to use. Meanwhile, I’ve tested homes with a modest R-30 and tight air sealing that came in at 3 ACH50. The tighter house ran circles around the heavily-insulated one in terms of efficiency. Seal first, insulate second — that’s not just my preference, it’s the sequence baked into ASHRAE 62.2 and the energy code most jurisdictions follow.
Five Bypasses Sitting Beneath Your Insulation Right Now
Peel your attic insulation back in a handful of spots and odds are you’ll uncover these culprits. I run into them in nearly every attic I’ve been into, no matter the home’s age or how well it was built.
1. Interior Wall Top Plates
This is the big offender. Every interior wall runs into a top plate at the attic floor — typically a doubled 2×4 — and the drywall beneath it almost never seals against it completely. Air rises up through the wall cavity and pours directly into the attic through that gap. In a 2,000-square-foot house, I routinely find 40 to 60 linear feet of top plate sitting unsealed. Add it up and you’ve got a substantial hole in your thermal envelope.
2. Recessed Can Lights
The older style of recessed light — ICAT or non-ICAT — is really just a hole punched through your ceiling with a bulb in it. A single fixture can leak roughly as much conditioned air as a softball-sized opening. I once tallied 22 of these cans in one single-story ranch home. That homeowner’s January heating bill was topping $340 a month. Once we sealed and capped each can with fire-rated covers, her bill fell to under $210 — a $130 monthly swing that’s very real money.
3. Plumbing and Electrical Penetrations
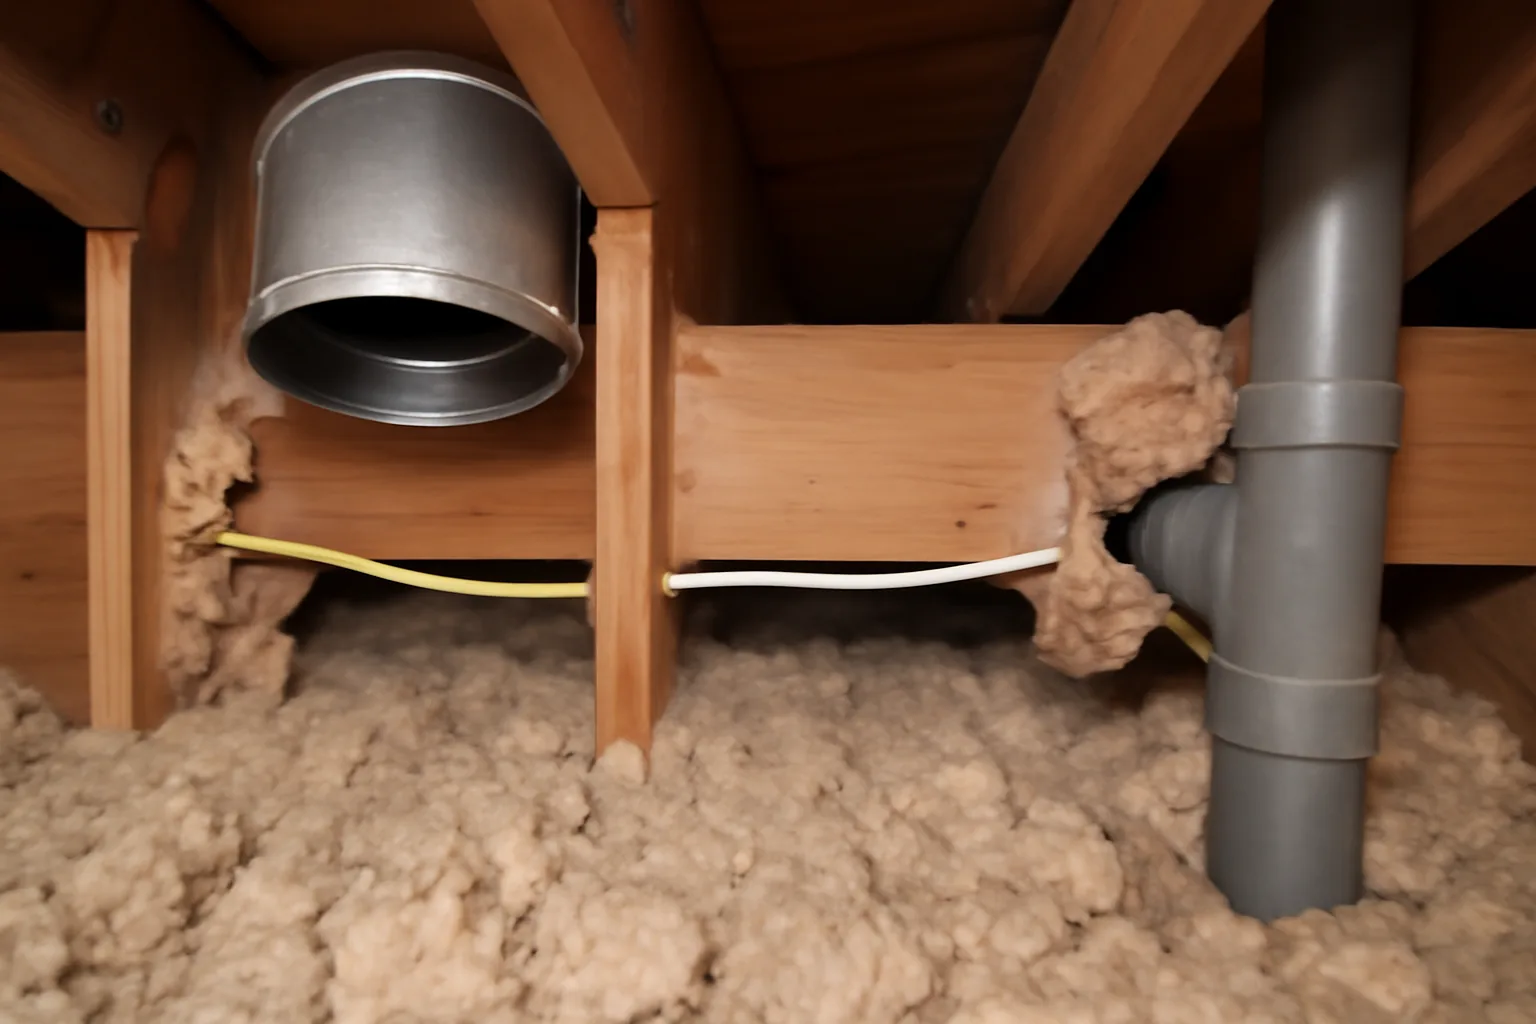
Anywhere a pipe, wire, or duct punches through the ceiling plane, you’ve got a potential bypass. Plumbers and electricians install their equipment; they don’t air seal around it — that’s not their job, and it shows. Check closely around bathroom fan housings, vent stacks, and junction boxes. Individually, a gap might be no wider than a quarter inch. Multiply that across a whole house, though, and you’ve got a meaningful chunk of open space letting your conditioned air escape.
4. Dropped Soffits and Chases
Kitchen soffits, stairwell chases, and chases built for HVAC runs are chronic offenders. They act like a direct pipeline connecting your living space to the attic above. I’ve come across kitchen soffits with 8- to 10-inch-wide gaps stretching for several feet, buried under insulation and totally invisible unless you’re specifically hunting for them. Closing these off calls for rigid foam board and fire-rated spray foam — a bead of caulk isn’t going to cut it.
5. Attic Hatch or Pull-Down Stairs
The typical attic hatch is nothing more than a thin, uninsulated slab of drywall or plywood. Pull-down stair units are worse still — essentially a big hole in the ceiling with a folding ladder bolted to it. I’ve clocked a 20°F temperature gap between the hatch frame and the ceiling around it in winter. Weatherstripping paired with an insulated cover box fixes this fast, and it’s frequently the single best-returning upgrade you can make anywhere in the attic.
Fixing These Leaks for Real: The Process I Use
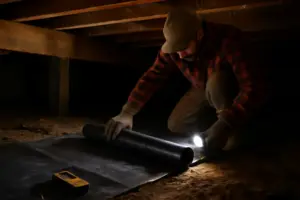
Suit up correctly before you touch anything. That means an N95 respirator rated for particulates, safety glasses, knee pads, a headlamp, and disposable coveralls. Older fiberglass or cellulose insulation is brutal on your lungs if you’re not protected. I found that out the hard way on my third attic job, wearing nothing but a paper dust mask and coughing for two days straight afterward. I don’t make that mistake anymore.
This is the order of operations I stick to on every single air sealing job:
- Move or pull back the existing insulation to expose bare attic floor and the top plates underneath.
- Sweep the area with a headlamp to spot every gap, penetration, and open cavity.
- Fill smaller gaps — anything under ½ inch — with caulk or fire-rated foam.
- For openings wider than ½ inch, cut rigid foam board to fit and seal the edges with foam.
- Only put insulation back — or add new insulation — once every bypass has been sealed.
Step five isn’t optional. Seal first, every time. Insulating over bypasses you haven’t sealed is precisely the blunder that opened this whole post.
The Foam That Shuts Down Leaks Before Insulation Can Hide Them
Sealing has to come before insulating — full stop, before you even reach for a new roll of batts. Use the right foam on those gaps and you’ll notice it directly in your next heating bill. This is precisely where a lot of contractors cut corners, and it’s exactly why so many homeowners end up with pricey insulation that barely does a thing.
What works
- Expands to conform around irregular openings — rim joists, electrical chases, ductwork — spots where batts simply squash down and leave a gap for air to slip through
- Holds its flexibility through temperature swings instead of cracking or pulling back from the framing, keeping the seal intact for the long haul
- Carries a fire rating, so it satisfies code and doesn’t add extra liability when you’re working inside a finished home or near occupied rooms
What doesn’t
- Demands an actual caulk gun and a bit of patience — you can’t just hurl it into place like batts, so each attic takes more time
- Go overboard applying it near recessed lights or exhaust vents and you’re left with a messy trim job, utility knife in hand
I once sealed a whole attic with cheaper expanding foam, only to find it had shrunk away from the rim joist by the following winter — I had to go back and re-do the work. That’s when I switched to 3M Fire Block Foam FB-Foam, and I haven’t looked back.
About This Article

Written by Dana Sorensen. Homeowner turned building-science obsessive. I help other homeowners understand attic insulation, ventilation, and air quality so they can stay comfortable year-round without overspending on energy bills. More about this site.
Scope and limits. Dana is a homeowner who studies building science, not an HVAC contractor or licensed tradesperson. Anything involving combustion appliances, gas lines, or electrical work belongs with a licensed contractor.
Verify this against a primary source
Specifics change, and your situation may differ from the one described here. These are the authorities worth checking directly:
- ENERGY STAR — recommended insulation R-values by climate zone
- U.S. Department of Energy — air sealing and insulation guidance
- EPA Indoor Air Quality — ventilation and indoor air quality standards