If you’re trying to figure out how to size ductwork for HVAC, a solid duct sizing chart CFM residential HVAC reference is the foundation you need — and most homeowners never have one until something goes wrong.
Last spring I got a call from a homeowner in Salt Lake City who had finished his basement the previous fall. He’d added two new supply runs off the main trunk line — a 6-inch to the bedroom and a 6-inch to the large recreation room. By February, the rec room never got above 64°F, and every time the system kicked on, there was this high-pitched whistle coming from the bedroom register. He’d spent two weekends and a few hundred bucks on duct materials, and the result was a cold room, an annoying noise, and a frustrated family.
When I got there, the problem was immediately obvious. The rec room needed somewhere around 180 CFM — cubic feet per minute, the basic unit of airflow in residential HVAC — to meet its heating load. He’d run a single 6-inch duct, which maxes out around 100 CFM at proper design velocity. The bedroom, on the other hand, only needed about 40 CFM. That 6-inch duct was pushing air through too small a space for the rec room and moving it way too fast for the bedroom — hence the whistle. Neither room was right, and the fix required pulling out what he’d installed and starting over with proper sizing.
I see this exact scenario more often than I should. Duct sizing looks simple on the surface — it’s just pipe, right? — but get it wrong and you pay for it in comfort, noise, and energy bills for as long as you own the house. Let me walk you through how to get it right the first time.
Understanding the Problem: Why Duct Size Matters More Than You Think
Here’s the core concept: every duct has to move a specific volume of air (CFM) while keeping the air velocity in a reasonable range. Velocity is measured in feet per minute (FPM). In residential HVAC, the sweet spot for supply ducts is typically between 500 and 700 FPM. The industry standard design target is 600 FPM.
Go below 500 FPM and the air doesn’t mix well in the room — it falls out of the register and creates cold or hot spots near the floor. Go above 700–800 FPM and you get noise. The air is literally turbulent enough to vibrate the duct walls and the register grille. That’s the whistle my basement guy was hearing. It’s not a mysterious HVAC gremlin — it’s physics.
The CFM-to-Diameter Relationship
At the 600 FPM design velocity, here’s how round duct diameters map to CFM capacity. This is the core of any residential duct sizing guide:
- 4-inch round: 40 CFM
- 5-inch round: 70 CFM
- 6-inch round: 100 CFM
- 7-inch round: 130 CFM
- 8-inch round: 160 CFM
- 10-inch round: 275 CFM
- 12-inch round: 425 CFM
If you’re using rectangular duct — common in tight spaces — the sizing works differently because you’re dealing with a different cross-sectional area and aspect ratio. A 6-inch round duct has roughly 28 square inches of area. The closest rectangular equivalent is a 3.25″ × 10″ duct at about 32.5 square inches. You’ll also see 4″ × 8″ used as an approximate equivalent. The key is matching the free area, not the nominal dimensions.
Friction Rate: The Other Half of the Equation
Beyond velocity, you also need to account for friction — the resistance that duct walls, fittings, and length add to the system. The standard residential design target is 0.08 inches of water column (w.c.) per 100 feet of equivalent length. That “equivalent length” is important, and I’ll come back to it. If your system’s total external static pressure is higher than 0.5″ w.c. — which is the design limit for most residential equipment — your blower is working too hard, airflow drops, and every room in the house suffers.
This is why duct sizing isn’t just about picking the right pipe diameter for one room. It’s a system-level calculation that accounts for static pressure across the entire air distribution network.
Trunk-and-Branch vs. Radial Design
Most residential systems use one of two layouts. Trunk-and-branch uses a large central duct — the trunk — that reduces in size as branches tap off to serve individual rooms. The trunk starts big (often 10″ × 20″ rectangular or a 14″–16″ round equivalent) and steps down as CFM demand decreases. Radial design runs individual ducts directly from a central plenum to each room — common in smaller homes or with flex duct. Each has trade-offs in material cost, space requirements, and balancing ease. For most basement additions, trunk-and-branch is what you’re extending.
The Calculator That Kept Me From Guessing on That Salt Lake City Basement
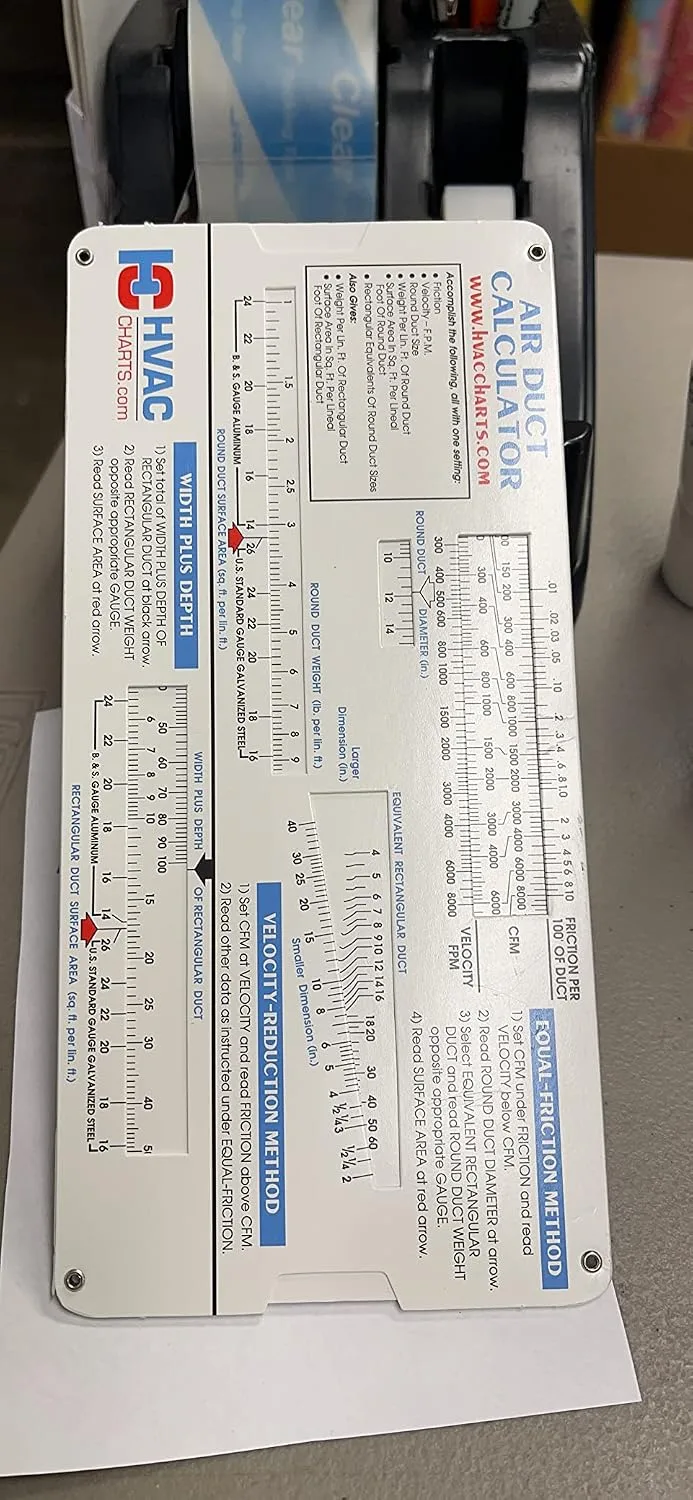
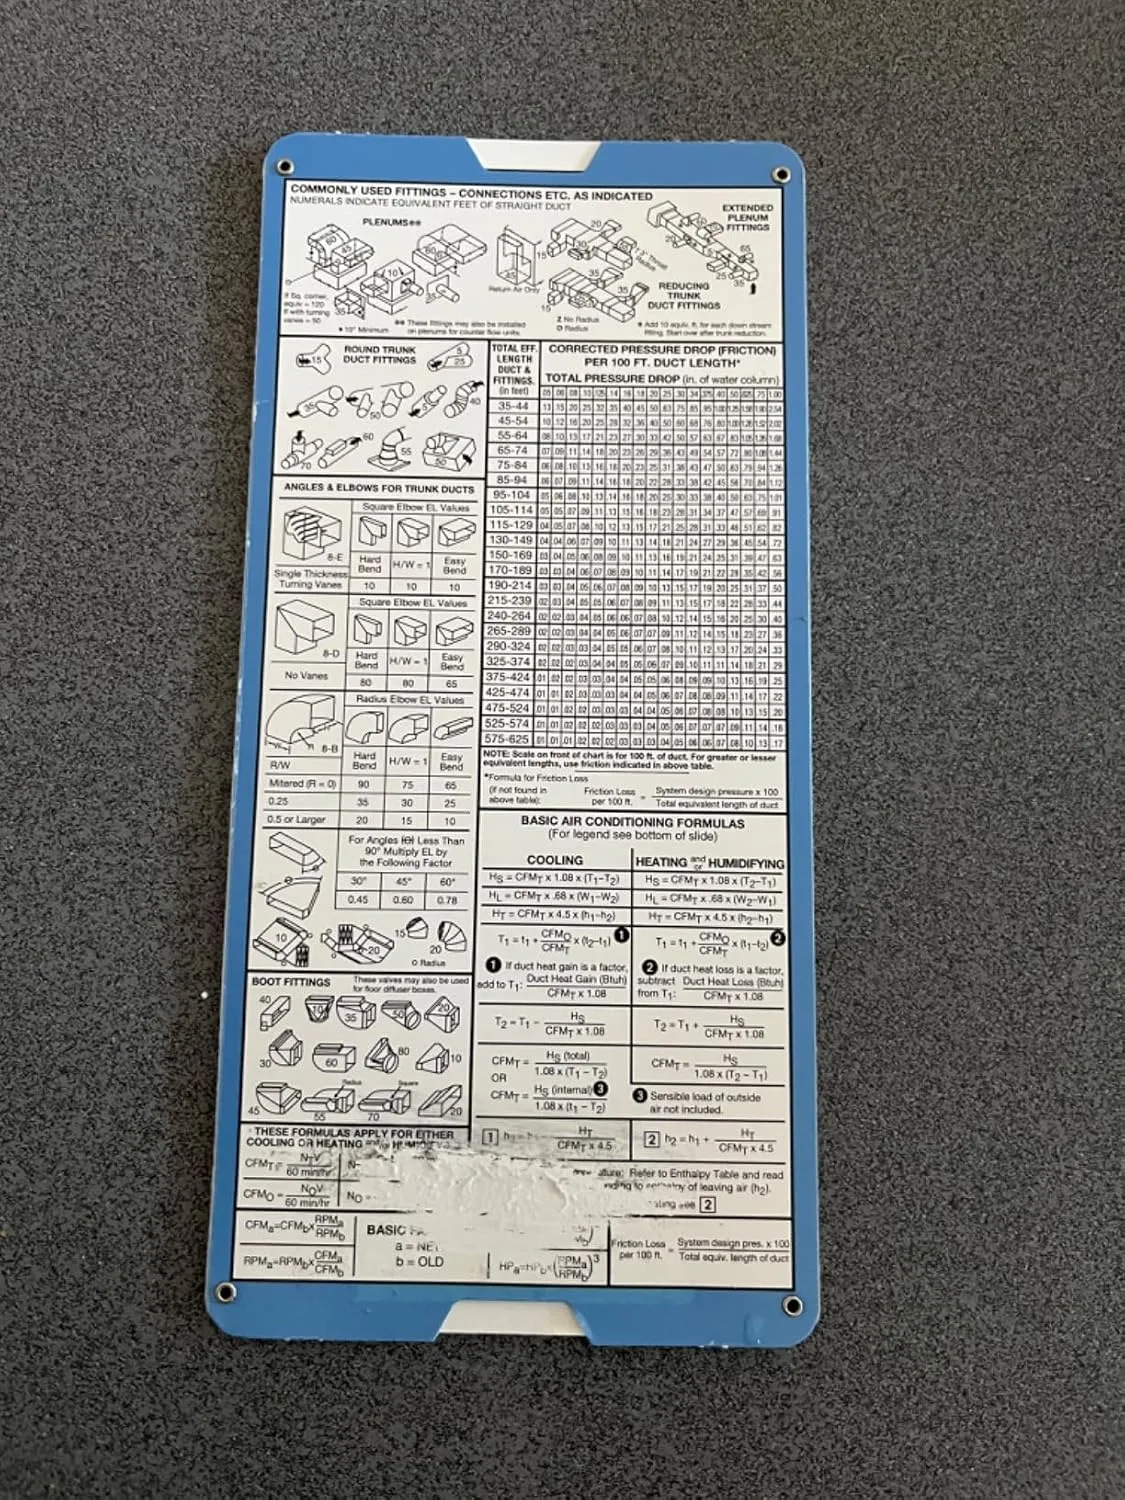
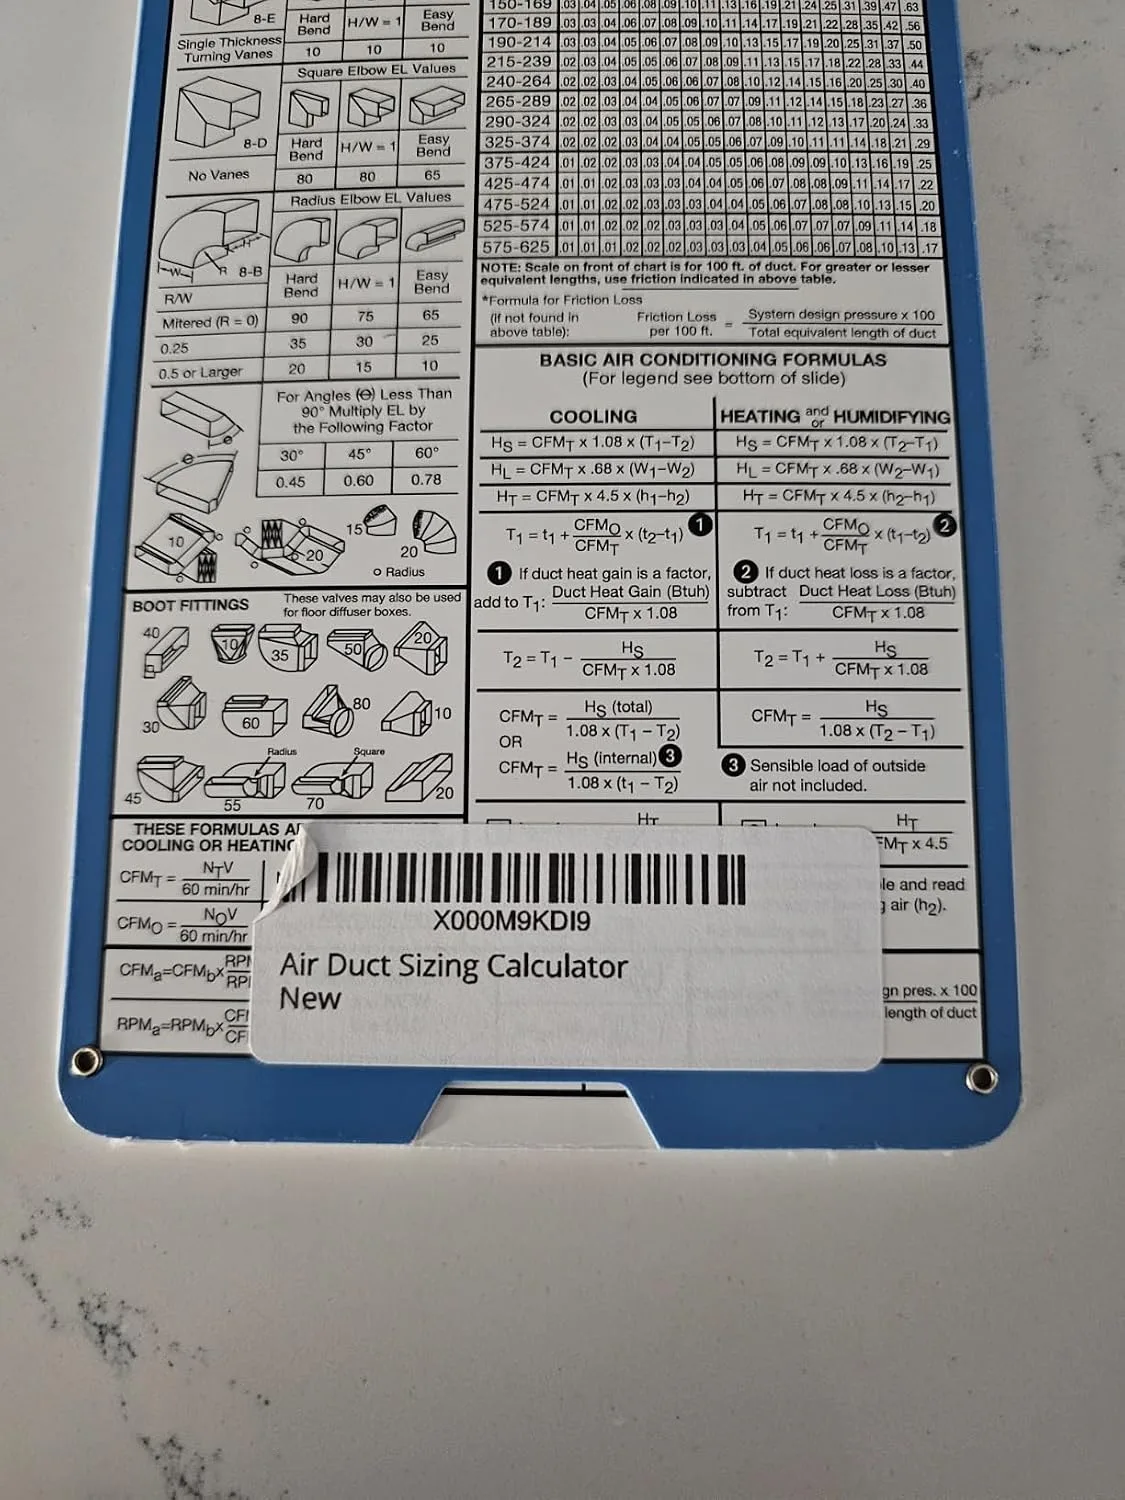
When I showed up to diagnose that 64°F rec room, I realized the homeowner had installed both ducts by eye—no calculations, no CFM reference. A proper sizing calculator removes that guesswork and tells you exactly what diameter you need for your specific airflow and run length.
What works
- Gives you the exact duct diameter needed based on CFM and friction loss—no more oversizing or undersizing by feel
- Takes the pressure drop math out of your head; you input your numbers and get a result you can trust on the job site
- Keeps you from that helpless moment when a homeowner asks “why is this room cold?” and you realize the ductwork was never right to begin with
What doesn’t
- It’s a reference tool—it won’t fix ducts already installed wrong, and some installers still ignore what it tells them
- Requires you to know your system’s total CFM and the length/layout of your runs before you can use it effectively
I second-guessed myself for about five minutes before pulling out my own sizing reference on that Salt Lake City job—wondering if I was overthinking it. Grab the Air Duct Sizing Calculator and never waste that time again.
This post contains affiliate links. As an Amazon Associate, I earn from qualifying purchases at no extra cost to you.