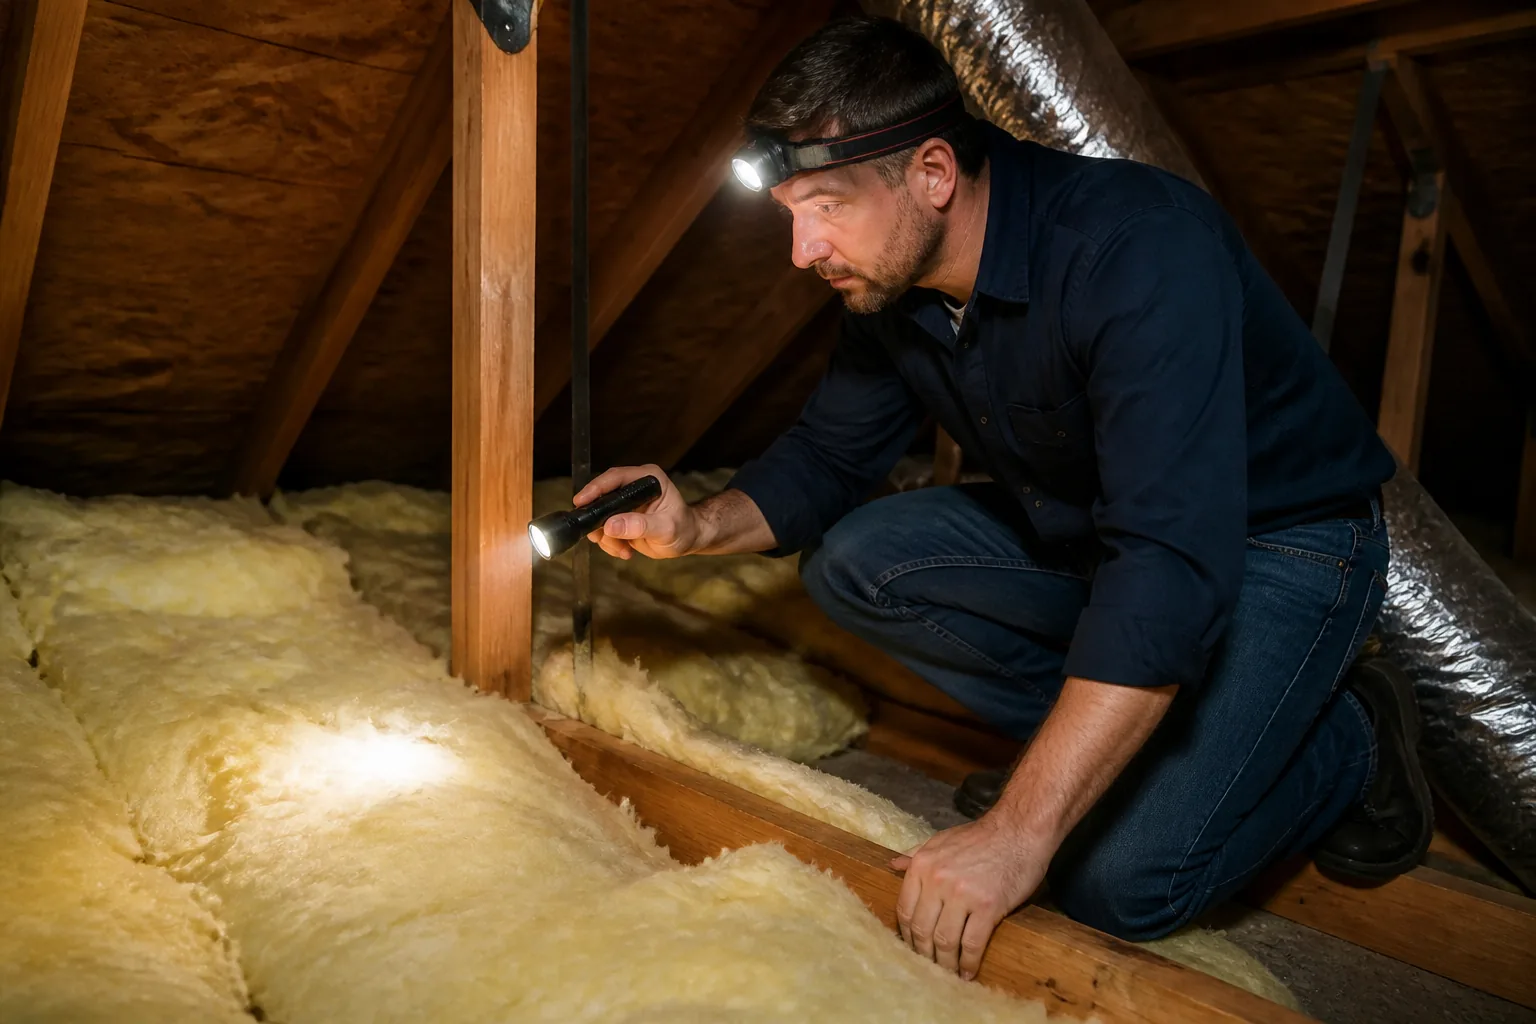
The season’s first real heat wave has a way of exposing every weakness your house has been hiding all year — the bedroom that never cools down, the utility bill that jumps for no obvious reason, the scratchy throat you wake up with even though the system ran non-stop overnight. If any of that sounds familiar, you’re in the right place. I’m Dana Sorensen, and for more than ten years I’ve been the person homeowners call when comfort problems don’t make sense — crawling attics, pulling duct samples, chasing down the real cause instead of the obvious symptom. What I keep finding, house after house, is a small set of recurring issues, all tangled together, that almost nobody has ever explained in plain terms.
So I put together this guide to fix that. It isn’t a five-minute checklist or a glossary of HVAC terms. It’s a full walkthrough of the systems that actually determine how comfortable, efficient, and healthy your home is — starting at the furnace and working all the way up to the attic floor. You’ll get the same numbers, the same industry benchmarks, and the same explanations I give paying consultation clients. Read the whole thing and you’ll come out knowing more about your house than most people do after two years of living in theirs.
Save this one. Pull it back up when the seasons change. Forward it to a neighbor who’s about to sign a contract they’ll regret. Consider this the anchor page — every other article on this site eventually loops back to something covered right here.
How Your HVAC System Actually Works: Equipment Types and the Way They Connect
HVAC is short for Heating, Ventilation, and Air Conditioning, and most people mentally file these as three unrelated pieces of equipment. They’re not. It’s a single connected system, and when one component underperforms, the rest of the system tries to compensate — usually badly. I’ve walked into homes with a $6,000 condenser that couldn’t cool the place, and the culprit turned out to be ductwork sized incorrectly back in 1987.
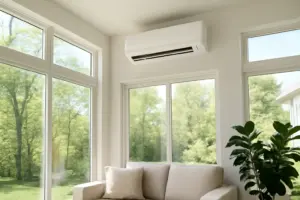
The setup you’ll find in most houses is a split system — an outdoor condenser paired with an indoor air handler or furnace, tied together by refrigerant lines. The air handler pushes conditioned air into the duct network, which carries it to each room. In older construction, you’ll typically see a gas furnace handling heat and a separate cooling coil bolted on for summer, both feeding off the same ducts. Newer construction is shifting toward heat pumps, which handle both jobs from a single unit by relocating heat rather than manufacturing it.
Choosing Between a Heat Pump and a Furnace
In mild-to-moderate climates, heat pumps are hard to beat efficiency-wise. From what I’ve measured myself, a good one can produce 2 to 3 units of heat for every single unit of electricity it consumes — that’s the Coefficient of Performance, or COP. The catch is that a standard heat pump starts losing steam once outdoor temps drop under roughly 35°F. If you’re somewhere with brutal winters, pairing a heat pump with a gas furnace backup — a dual-fuel setup — is usually the smarter play. Cold-climate heat pump technology is closing that gap quickly, but getting the sizing right still matters more than the brand on the label.
Furnaces get graded on AFUE, or Annual Fuel Utilization Efficiency. A basic model sits around 80% AFUE, while a high-efficiency condensing furnace can hit 95–98%. That gap isn’t cosmetic — it’s real money. Say you’re paying $1,200 a year to heat your home: bumping from 80% to 96% AFUE saves roughly $200 annually. Stretch that across a 15-year equipment lifespan and you’re looking at $3,000 back in your pocket. [INTERNAL LINK: furnace efficiency ratings explained]
Equipment Sizing: Why Oversized Systems Cause More Problems Than They Solve
Few concepts get mangled as badly as HVAC sizing. I can usually tell within minutes of walking into a house that’s got oversized equipment — the giveaway is short-cycling: the system fires up, slams the space to temperature almost immediately, and shuts back off before it’s finished a full cycle. The result is lingering humidity, wild temperature swings, and equipment that burns out well ahead of schedule.
Getting sizing right means running a Manual J load calculation — a formula that factors in your square footage, ceiling height, window area, insulation levels, regional climate, and duct layout. This isn’t something you eyeball in five minutes; a proper Manual J takes 30 to 90 minutes of actual data collection. If a contractor quotes your new system based solely on square footage — no window count, no insulation questions — they’re guessing, plain and simple. Don’t hand your money over to a guess.
Here’s the part people miss most: an oversized air conditioner is the number-one cause of a home that stays cool but still feels damp. A properly sized unit runs longer cycles, and that extra runtime gives the evaporator coil the time it needs to pull moisture out of the air — a process called latent heat removal, which matters just as much as temperature control. A room at 74°F and 65% relative humidity feels sticky and unpleasant. The exact same 74°F at 45% humidity feels genuinely comfortable.
Decoding R-Values: What Insulation Ratings Really Tell You
R-value is simply a measurement of thermal resistance — how much a material pushes back against heat trying to move through it. The bigger the number, the better the insulation performs. The disconnect I run into constantly is that homeowners have no idea what R-value sits in their attic right now, and plenty assume that having some insulation up there is the same as having enough. It rarely is.
The Department of Energy splits the country into eight climate zones. Zone 1 — think South Florida and Hawaii — only needs R-30 to R-49 in the attic. Zone 4, covering the Mid-Atlantic and Pacific Northwest, calls for R-38 to R-60. Push into zones 6 and 7 — the northern tier and mountain regions — and the recommendation climbs to R-49 through R-60. That’s exactly where I find the worst under-insulated attics: older houses running on 4 to 6 inches of original batt, which is being generous to call R-13. Bring one of those attics up to R-49 with blown-in cellulose or fiberglass, and heating costs typically drop 15–25%.
Insulation Materials Compared by R-Value Per Inch
- Fiberglass batt: R-2.9 to R-3.8 per inch
- Blown-in fiberglass: R-2.2 to R-2.7 per inch
- Blown-in cellulose: R-3.2 to R-3.8 per inch
- Open-cell spray foam: R-3.5 to R-3.7 per inch
- Closed-cell spray foam: R-6.0 to R-7.0 per inch
Closed-cell spray foam is the heavyweight of the group, but you’ll pay 3 to 5 times more per square foot for it than blown-in cellulose. For a typical attic floor, cellulose delivers the best value by a wide margin. Where closed-cell foam justifies its price tag is in unvented attic assemblies or rim joists, where you need air sealing and insulation packed into one thin layer. [INTERNAL LINK: attic insulation types compared]
Something I repeat to every client: insulation can’t do its job alone. A flawlessly insulated attic riddled with air leaks around light fixtures, plumbing chases, and the attic hatch is like putting on a heavy coat over a bare chest — it just doesn’t hold. Air sealing has to come first. No exceptions.
Attic Ventilation: Getting the Airflow Balance Right for Your Roof and Equipment
Few home performance topics get argued about more than attic ventilation. I’ve had contractors tell me a home needs more of it, and others insist on sealing everything shut. The real answer hinges on what kind of attic assembly you have — vented or unvented — and both strategies can work fine when they’re done correctly.
For a conventional vented attic, code sets the baseline at 1 square foot of Net Free Area for every 150 square feet of attic floor. Add a proper vapor barrier at the floor, and that ratio loosens to 1:300. The airflow itself needs to be balanced — around half the intake coming through the soffits, the other half exhausting at the ridge. Get that balance wrong and you create negative pressure, which drags conditioned air out of your living space and into the attic. That’s an expensive way to lose comfort.
Where Ventilation Goes Wrong
An attic that isn’t ventilated properly can hit 150–160°F in summer, and that heat radiates straight down into your living space, forcing your air conditioner to fight harder than it should. In winter, the opposite failure shows up: not enough ventilation traps moisture, so warm humid air rising from the living space condenses on cold roof sheathing, setting the stage for mold, rot, and sheathing that starts peeling apart layer by layer. I’ve watched roof decks get torn out entirely because of this exact chain reaction — an $8,000 to $15,000 repair bill that adequate ventilation would have prevented outright.
That said, bolting on more ventilation without fixing air sealing at the attic floor frequently makes moisture problems worse in cold climates — you’re just pulling more airflow through a leaky ceiling, which drags more moist interior air upward with it. Seal the leaks first, then evaluate whether ventilation is sufficient. That order matters, and it’s the only sequence that consistently works.
Air Sealing: The Upgrade Most Homeowners Skip Right Past
If I only got to recommend one upgrade to every homeowner in the country, it wouldn’t be a new furnace or thicker insulation — it would be air sealing, specifically at the attic floor and the basement rim joists. Dollar for dollar, nothing in home performance beats its return. I’ve seen heating and cooling loads drop 20–30% from air sealing work alone, with nothing else touched.
The worst offenders show up in nearly every house I’ve been into. Balloon-frame construction leaves the top plates of interior walls wide open straight into the attic. Recessed can lights punched through ceilings leak massive amounts of conditioned air — and heat right along with it. Attic hatches almost never get insulated or sealed at all. Plumbing and electrical chases bore straight through from basement to attic, floor to floor. Stack it all up, and you’re often looking at leakage equivalent to a two-foot-square hole cut directly into your ceiling.
Quantifying Air Leakage With a Blower Door Test
A blower door test pulls your home down to 50 Pascals of pressure and clocks airflow in CFM50 — cubic feet per minute at that pressure. A tightly built modern home should land under 3 ACH50, meaning air changes per hour at test pressure. Plenty of older homes come back at 12–18 ACH50. Post-sealing, the target is usually 5 ACH50 or lower — though once you drop under 3 ACH50, ASHRAE 62.2 recommends adding mechanical ventilation to keep fresh air circulating.
The right sealing material depends on where you’re working. Fire-rated acoustic sealant or intumescent foam handles penetrations at the attic floor. Larger gaps, like open top plates, call for rigid foam board combined with spray foam. Recessed lights need either an airtight LED retrofit or a sealed enclosure built over them from rigid foam. Materials for a DIY attic sealing project usually run $50–$200. Hiring it out professionally lands somewhere between $1,500 and $4,000, depending on the home’s size and how complicated the attic is. [INTERNAL LINK: DIY attic air sealing guide]
Indoor Air Quality and Filtration: What’s Really Floating Around Your Home
“Indoor air quality” gets tossed around constantly without much specificity, so let’s get concrete. The EPA has documented indoor air running 2 to 5 times more polluted than outdoor air — and in worst-case homes, up to 100 times worse. The usual suspects are particulate matter (PM2.5 and PM10), volatile organic compounds off-gassing from building materials and cleaning products, biological contaminants such as mold spores and dust mites, radon seeping up from the ground, and combustion byproducts from gas-fired appliances.
Your HVAC filter is the first barrier standing between you and airborne particulates. Filters carry a MERV rating — Minimum Efficiency Reporting Value — running 1 to 16 for home use. A MERV 8 filter handles the basics: dust, pollen, mold spores. Step up to MERV 11–13 and you start catching fine dust and some bacteria. MERV 16 gets you into near-HEPA territory. The tradeoff is that a higher MERV number chokes down airflow more. Drop a MERV 13 filter into a system built for MERV 8, and you can restrict airflow enough to freeze the evaporator coil or overheat the heat exchanger.
Why Humidity Levels Drive Air Quality More Than People Realize
Of every factor influencing indoor air quality and comfort, humidity might carry the most weight. Aim for relative humidity between 40 and 60%. Drop under 30% and you get dried-out sinuses, cracking wood floors, and static shocks on every doorknob. Climb above 60% and dust mites flourish while mold risk climbs sharply. Your air conditioner dehumidifies as a natural byproduct of cooling in summer; in winter, your heating system does the opposite, drying indoor air out considerably.
A whole-home humidifier tied into your HVAC system adds moisture directly to heated air during winter, and it outperforms portable units by a wide margin since those only cover a single room. In climates that run humid, or in homes sealed extremely tight, you may need a standalone dehumidifier or an energy recovery ventilator (ERV) to hold that 40–60% band year-round. My standing advice is to pick up a digital hygrometer — $15 to $30 — so you’re working from actual numbers instead of guessing how the air feels.
A Season-by-Season Maintenance Schedule Homeowners Can Actually Follow
The biggest gap I see isn’t knowledge — it’s follow-through. Homeowners know maintenance matters, but life gets in the way until something breaks. A $120 tune-up once a year heads off the kind of failure that turns into a $1,200 emergency call. The math isn’t complicated; the discipline is what’s hard.
Below is the same schedule I hand every client. It’s not every single task that exists, but it covers what actually moves the needle each season.
Warm-Weather Checklist
- Book your A/C tune-up ahead of peak demand — April is the sweet spot
- Verify refrigerant charge — if it’s low, that’s almost always a leak, not routine loss
- Rinse condenser coils with a light hose spray to clear debris packed into the fins
- Keep a 2-foot buffer clear around the outdoor unit
- Swap the air filter (every 1–3 months depending on MERV rating and household needs)
- Confirm your thermostat is calibrated correctly, and consider a programmable or smart upgrade
Cold-Weather Checklist
- Book a furnace or heat pump inspection before the first genuinely cold stretch (September or October)
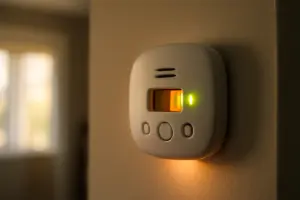
- Test carbon monoxide detectors — swap batteries, and replace any unit past 7 years old
- Have the heat exchanger checked for cracks — this is strictly a professional’s job, not a DIY one
- While the attic’s still comfortable to access, check your insulation depth
- Seal off any obvious gaps around the attic hatch or knee walls
- Flush the condensate drain lines so they don’t back up once it’s freezing
One point I won’t compromise on: if you own a gas furnace, never skip the heat exchanger inspection. A cracked exchanger can let combustion gases — carbon monoxide included — leak straight into your living space. CO has no smell and can kill. This isn’t a hypothetical scare tactic; I’ve personally red-tagged furnaces with cracked exchangers in homes people were actively living in. Have it checked every single year, without exception.
Mistakes Homeowners Keep Making, and the Questions I Get Asked Most
Mistake One: Shutting Vents to “Save Energy”
Closing supply registers in rooms you don’t use doesn’t cut your energy use — it raises static pressure inside your duct system and makes the blower motor strain harder to compensate. In every case I’ve seen, homes with several vents closed develop duct leaks faster and put excess wear on the air handler motor. Leave your vents open unless the system was specifically engineered for zoning with a bypass damper built in.
Mistake Two: Letting Filters Go Too Long Between Changes
A clogged filter chokes airflow badly. Restricted airflow freezes the evaporator coil in summer, shortens the heat exchanger’s lifespan in winter, and forces the whole system to work harder while delivering worse results. Most households should be swapping filters every 30 to 90 days — closer to 30 if you’ve got pets or allergy sufferers in the house. Set a recurring reminder on your phone. It’s a two-minute job that costs less than $10.
Mistake Three: Writing Off Duct Leakage as No Big Deal
Research out of Lawrence Berkeley National Laboratory found that a typical home loses 20 to 30% of its conditioned air straight through duct leaks — air that ends up in your attic or crawlspace instead of your living room. You’re effectively paying to heat and cool space nobody occupies. Sealing ducts with mastic sealant (not the duct tape from the hardware store, which fails within a few years) ranks among the smartest efficiency investments you can make. Professional duct sealing generally costs $800–$2,000 and typically pays for itself in 3 to 5 years.
FAQ: How Frequently Does My HVAC System Need Professional Service?
Twice a year — spring for the cooling side, fall for the heating side. A lot of HVAC companies bundle both visits into a maintenance agreement running $150–$300 a year, which usually includes priority scheduling if something fails mid-season. If you’re running a heat pump, which operates year-round, this twice-annual service isn’t optional.
FAQ: Is It Fine to Layer New Insulation Over Old?
Yes, with one important condition — air seal the attic floor first. Piling new insulation on top of leaky ceilings without sealing traps moisture and drags down the performance of both layers. And if your current insulation already shows moisture damage, pest contamination, or mold, pull it out before adding anything new on top. A professional energy audit using a blower door and infrared camera can flag moisture-damaged insulation that’s otherwise invisible to the eye.
Where to Go From Here: Building on This HVAC, Insulation, and Air Quality Foundation
This guide covers a lot of territory because your home genuinely is a complicated system. None of these pieces operate independently. How efficient your HVAC runs depends on your insulation. How well your insulation performs depends on your air sealing. How clean your indoor air stays depends on your ventilation strategy and humidity control. Tug on one thread and the whole picture shifts around it.
Don’t let that complexity freeze you into inaction, though. Start with whatever costs the least and pays back the most. Change your filter today if it’s overdue. Grab a cheap hygrometer and start tracking your humidity. Pull out your last energy bill and ask yourself honestly whether you’ve ever had a Manual J calculation or a blower door test performed. The answers to those questions will point you toward exactly where to focus next.
I built Attic & Air to be the resource I wish had existed back when I was starting out in this trade — straightforward, specific, written for homeowners instead of contractors. Every article on this site eventually ties back to the fundamentals laid out here. Treat this guide as your baseline. Come back to it whenever a contractor hands you a quote, a room won’t stay comfortable, or your utility bill spikes without explanation. Nine times out of ten, the answer traces back to one of the systems covered above.
At this point, you know more about how your home actually functions than most people ever will. That’s a genuinely useful position to be standing in.
About This Article

Written by Dana Sorensen. Homeowner turned building-science obsessive. I help other homeowners understand attic insulation, ventilation, and air quality so they can stay comfortable year-round without overspending on energy bills. More about this site.
Scope and limits. Dana is a homeowner who studies building science, not an HVAC contractor or licensed tradesperson. Anything involving combustion appliances, gas lines, or electrical work belongs with a licensed contractor.
Verify this against a primary source
Specifics change, and your situation may differ from the one described here. These are the authorities worth checking directly:
- ENERGY STAR — recommended insulation R-values by climate zone
- U.S. Department of Energy — air sealing and insulation guidance
- EPA Indoor Air Quality — ventilation and indoor air quality standards