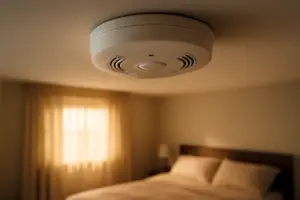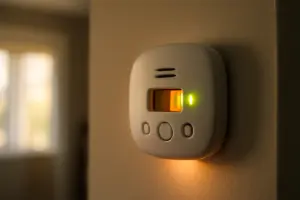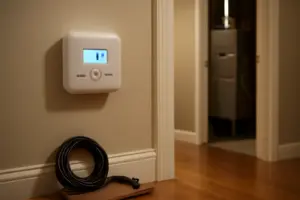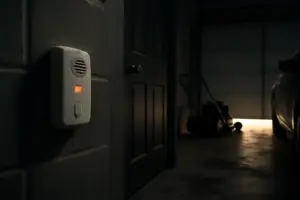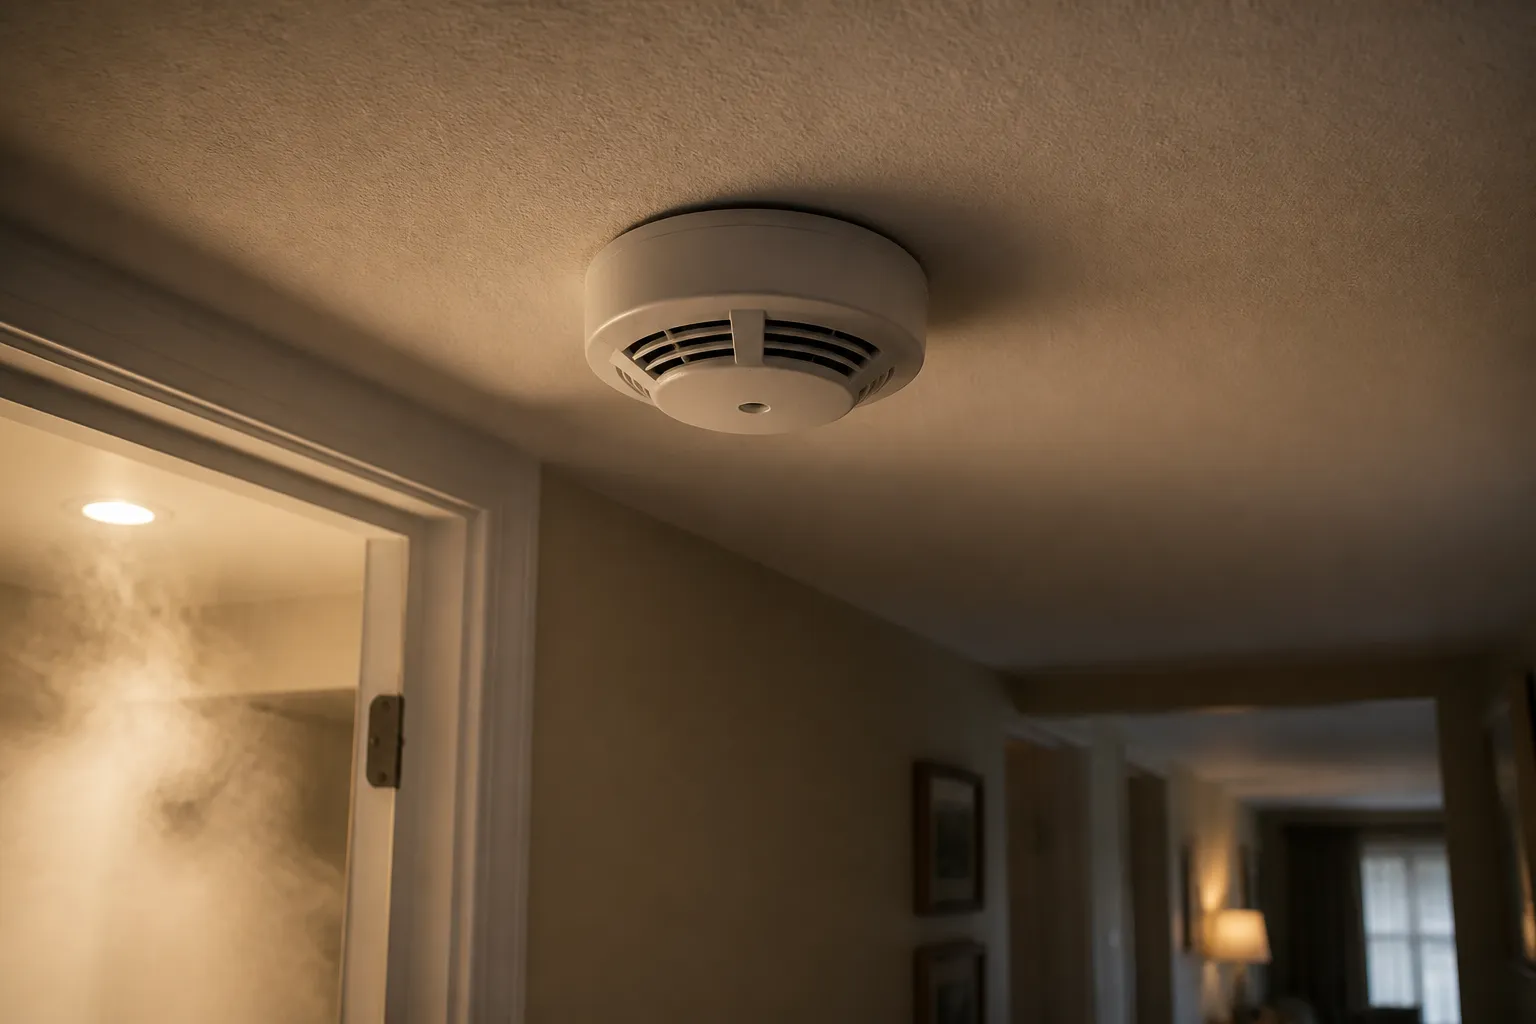
Standing on a ladder in a Draper hallway last spring, cover off, I’m looking straight into a photoelectric chamber that’s supposed to sense fire — and this particular unit had gone off three separate times that week for reasons that had nothing to do with fire: a pot of pasta water reaching a boil, a teenager’s marathon shower with the door left open, and a vacuum cleaner working the carpet near the hallway closet. The homeowner had already yanked the battery out twice by the time I got there. “My smoke detector is too sensitive,” she said, “and I’m about to rip the thing off the wall.” I asked her to wait on that. Pulling a battery or tearing a detector off the ceiling doesn’t solve anything — it just swaps an annoyance for a real safety gap. Nearly every case that looks like hers turns out the same way: the detector isn’t malfunctioning. It’s mounted in the wrong spot, it’s coated in dust you can’t see, or it’s a basic model with no way to tell steam apart from smoke. Every one of those causes has a fix that doesn’t involve stripping your home of fire protection.
What Actually Makes a Photoelectric Unit False-Alarm
Inside a photoelectric detector, a small LED shines into a darkened chamber at an angle that deliberately misses a photodiode sensor. Under normal, smoke-free conditions, that beam never touches the sensor at all. Once smoke particles enter the chamber, they bend that light onto the photodiode, and the alarm fires. It’s a simple, reliable design, and it catches the slow-building, smoldering fires that ionization-style sensors tend to miss entirely. Because of that strength, I steer most homeowners toward photoelectric units in residential settings.
The catch that rarely gets mentioned: the photodiode has no idea what actually deflected that light beam — only that something did. Steam off a shower, condensation rising from a boiling pot, dust kicked loose by an HVAC register, even a burst of hairspray — all of it scatters the LED’s light just as effectively as an actual smoke particle would. As far as the sensor’s concerned, there’s no difference, so it reacts identically to all of them.
This is the opposite problem from the one I walk through in my post on detector aging and expiration, where an old unit under-responds because its sensor has worn out. Here, a brand-new photoelectric detector, correctly rated and working exactly as designed, can still trip constantly simply because of where it’s mounted or how dirty it’s gotten. A nuisance trip or a “false” trigger doesn’t mean the hardware failed — it usually means the surroundings are feeding the sensor more non-smoke particles than it can sort through.
Mounting Errors Behind a Detector That Keeps Tripping With No Smoke in Sight
Location is the culprit in the bulk of these cases. And the fixes come down to a handful of measurable distances.
- Mounted too near cooking appliances. Manufacturer guidance and most residential codes call for a minimum of 10 horizontal feet from anything you cook on, with some areas requiring 20 feet for ionization models specifically. A unit sitting right where a kitchen opens into a hallway catches steam and grease vapor from every simmering pot or seared pan. If your floor plan can’t give you that 10 feet, an exterior-vented range hood becomes your best defense — it clears steam and particulates from the room before they ever drift toward the sensor.
- Mounted too close to a bathroom. A hallway detector picking up shower steam is probably the single most common trigger I get called out for. Keep at least 3 feet of clearance from any bathroom doorway, and add more distance if that door tends to stay open mid-shower — steam plumes travel much farther down a hallway than people expect.
- Mounted too close to a supply vent. Air blasting straight across a detector stirs up dust and drives it into the optical chamber. Give supply registers and return grilles at least 3 feet of clearance. Ceiling fans deserve the same treatment — their blades stir fine particles into a concentrated cloud right at ceiling height, exactly where your detector sits.
That Draper homeowner’s detector, for the record, was hanging just 6 feet from her stove and 4 feet from the bathroom door. Sliding it 8 feet farther down the hallway — a ten-minute job with a drill and an anchor — ended the nuisance alarms completely, and we hadn’t even touched the unit itself yet.
Attics Bring Their Own Version of This Headache
If your attic has a smoke detector installed — sometimes required by code when there’s HVAC equipment up there or the space doubles as storage — assume it’s going to nuisance-trip sooner or later. A Utah attic in July regularly climbs to 120–130°F, and the swing from January’s cold to that kind of summer heat is enough on its own to age a photoelectric sensor faster than anything mounted inside conditioned living space. Layer on top of that the fiberglass fibers drifting off disturbed insulation batts, cellulose that never fully settled, leftover construction dust, and stagnant airflow that lets particulates hang around — and you’ve essentially engineered a false-alarm machine.
When code or an inspector mandates attic coverage, mount that detector as far from insulation and duct boots as the space allows, and clean it on twice the schedule you’d use for a living-space unit. But honestly, for most unconditioned attics and garages, a heat detector is the better tool for the job — not a smoke detector at all. Heat detectors ignore particles entirely; they respond only to a fixed temperature threshold, typically 135°F, or a fast rate-of-rise. Insulation dust and a scorching August afternoon won’t set one off. I go through this same heat-detector reasoning for garage applications in my workshop CO detector post, and it holds up just as well for attics.
The Real Fix: Cleaning a Detector That Won’t Stop Tripping
Most people skip this step entirely and go straight to replacing — or worse, disabling — a nuisance unit. But a detector that’s been tripping for months has almost certainly been collecting months’ worth of dust inside its optical chamber. A single thorough cleaning frequently ends the problem on the spot.
Here’s the correct process:
- Run a soft-brush vacuum attachment over the exterior vent slots and grille, keeping the nozzle a couple inches away from the housing rather than pressed against it.
- Follow that with short bursts of canned compressed air aimed into the vent slots from a similar distance. Compressed air often dislodges embedded particles that suction alone leaves behind.
- Keep anything — cotton swabs, compressed-air straws — out of the sensor chamber itself. Poking inside the vents disrupts the optical alignment and risks damaging the sensor.
- Make this a routine every 6 to 12 months rather than a reaction to bad behavior. If you’re on a non-sealed unit, tie it to your battery-replacement schedule as a built-in reminder.
This one step alone resolves a striking share of the “why does this thing keep going off when there’s no smoke” complaints. It takes five minutes and doesn’t cost a dime.
No, There’s No Hidden Sensitivity Dial
Search “smoke detector sensitivity adjustment” and you’ll turn up plenty of forum chatter about a hidden potentiometer or dial you can tweak inside a residential unit to calm it down. That component doesn’t exist — not in any standard residential smoke alarm sold in the U.S. under UL 217 certification.
Adjustable sensitivity is real, but it lives in commercial and home detectors wired into a fire-alarm panel — equipment a licensed fire systems technician sets up during commissioning. That’s an entirely different tier of hardware from a $25 unit off a hardware-store shelf.
And there’s a bigger issue with the idea anyway: you don’t actually want a device built to catch smoke particles at maximum sensitivity to be made less sensitive. The genuine fix for nuisance tripping is always relocation, cleaning, or swapping in a unit with smarter built-in compensation — never turning the sensitivity down. Do that, and you’re trading fewer false alarms for a real chance of missing an actual fire.
When Placement and Cleaning Aren’t Enough — What I Recommend
After enough of these calls, I started tracking which replacement units actually stopped the nuisance complaints without asking homeowners to give up real fire detection. If a unit keeps tripping even after you’ve fixed the placement — 10-plus feet from cooking, 3-plus feet from bathrooms and HVAC vents — and given it a proper cleaning, it’s time to swap the hardware itself.
The unit I’ve been pointing kitchen-adjacent and bathroom-adjacent homeowners toward is the First Alert SM210. Here’s why it makes sense specifically for this problem:
- Built-in humidity compensation. The PR710 is designed to disregard slow, gradual particle buildup — the pattern steam or ambient moisture creates — while still catching the sharp, rapid spike in particle density that actual fire produces. That’s precisely the distinction a standard photoelectric sensor can’t draw on its own.
- Sealed battery, rated for 10 years. There’s no battery door to pop open by accident, no 2 a.m. low-battery chirp, and no easy temptation to yank the battery the next time it nuisance-trips. The sealed housing also cuts off one more route dust could take to get inside.
- Low-profile housing. For hallway ceilings crowded with trim or crown molding, the flatter shape keeps the unit further away from dead-air corners, where particles tend to concentrate.
- Full UL 217 listing. It’s held to the same residential safety benchmark as every other listed smoke alarm — the humidity compensation isn’t achieved by loosening compliant sensitivity.
One thing worth being upfront about: the PR710 relies on a single light wavelength, not a split-spectrum design. Nest Protect uses two wavelengths at once — different particle sizes scatter each one differently, which hands its algorithm extra data for telling steam apart from smoke. It’s a genuinely impressive piece of engineering. It’s also $119 against roughly $25
Written by Dana Sorensen. Homeowner turned building-science obsessive. I help other homeowners understand attic insulation, ventilation, and air quality so they can stay comfortable year-round without overspending on energy bills. More about this site. Scope and limits. Dana is a homeowner who studies building science, not an HVAC contractor or licensed tradesperson. Anything involving combustion appliances, gas lines, or electrical work belongs with a licensed contractor. Specifics change, and your situation may differ from the one described here. These are the authorities worth checking directly:About This Article

Verify this against a primary source