Last summer I got a call from a homeowner in a three-year-old house — brand new build, name-brand equipment, and rooms that couldn’t get below 80°F on a hot day even with the system running flat out. The HVAC contractor who installed the system had used all the right equipment on paper: a properly sized 4-ton unit, a decent air handler, and flex duct throughout the attic. On paper, it should have worked. When I got up in that attic, I found every flex duct installation mistake to avoid packed into one system. Runs that were 30% longer than they needed to be, sagging belly loops collecting condensate, a 90-degree bend so sharp it looked like someone had folded a garden hose in half, and inner liner bunched up like an accordion inside the outer insulation. The system was pushing maybe 60% of its designed airflow to the far end of the house. The homeowner had paid for a 4-ton system and was living with something closer to 2.5 tons of effective capacity. That’s not an equipment problem — that’s an installation problem. And the frustrating part? Every single one of those mistakes was completely preventable. In this post I’m going to walk you through the eight most common flex duct installation mistakes I see in the field, what each one actually costs you in airflow, and how to do it right.
Understanding Why Flex Duct Installation Mistakes Are So Costly
Flex duct gets a bad reputation in building science circles, and honestly, some of it is deserved — but not because the product itself is flawed. The problem is that flex duct is extraordinarily unforgiving of sloppy installation. Rigid sheet metal duct is relatively tolerant of minor installation shortcuts. Flex duct is not. When it’s installed correctly, flex duct performs reasonably well. When it’s installed carelessly, it can rob your system of 20% to 40% of its designed airflow, and that loss is essentially invisible unless you know what to look for.
The underlying science here comes down to two concepts: friction rate and equivalent length. Every foot of duct, every bend, every connection point adds resistance to airflow. ACCA Manual D — the industry standard for residential duct system design — gives us a framework for calculating this. A typical residential system is designed around a total effective length (TEL) budget, and every component in the duct system consumes part of that budget. A properly stretched, straight run of 6-inch flex duct has a friction rate of roughly 0.08 to 0.10 inches of water column (iwc) per 100 feet. The moment that duct starts sagging, bunching, or bending sharply, that number climbs fast.
Here’s what that means in real numbers. A sharp 90-degree bend in a 6-inch flex duct can add the equivalent of 15 feet or more of straight duct resistance. A 30% sag in a run causes the inner liner to corrugate internally, which can triple the friction loss on that section. And remember: these losses are cumulative. A run with two bad bends, a sag in the middle, and 3 feet of extra slack can easily have 4 to 5 times the intended resistance. Your air handler’s blower motor is working against all of that extra resistance, your static pressure climbs, your airflow to that room drops, and your system starts short-cycling or struggling to hit setpoint. What most homeowners experience is uneven comfort, high utility bills, and equipment that seems to run constantly without ever quite catching up — especially on peak summer days when you need it most.
The fix isn’t complicated. It’s just attention to detail at installation time, and the right support hardware used consistently throughout the job.
The Eight Most Common Flex Duct Installation Mistakes to Avoid
Mistake 1: Excessive Length — Pull It Tight
This is the single most common mistake I see, and it’s also the easiest to fix. Installers often cut flex duct with 2 to 4 feet of extra length “just in case” and then leave that slack in the run. Every extra foot of flex adds friction loss. More importantly, that slack creates belly loops and sags that create internal liner bunching. The rule is simple: measure the actual path length from collar to register boot, add no more than 10% for minor directional changes, and cut to that length. Then pull the duct fully extended and taut before securing it. A fully extended piece of 6-inch flex duct has a smooth, round internal cross-section. A saggy, loose piece of 6-inch flex has an elliptical, wrinkled internal cross-section that can reduce effective area by 30% or more.
Mistake 2: Sharp 90-Degree Bends
Every sharp 90-degree bend in a flex duct run is equivalent to adding 15 feet or more of straight duct resistance. That’s according to ACCA Manual D equivalent length tables, and in my experience, poorly executed flex bends are often worse than the tables suggest because the inner liner collapses on the inside of the bend. The fix is a minimum bend radius of one duct diameter — so a 6-inch flex duct needs at least a 6-inch inside radius on any bend. Ideally you want 1.5 times the diameter. When you absolutely need to make a 90-degree turn, use a rigid elbow fitting at the collar and transition into the flex from there. Your airflow budget will thank you.
Mistake 3: Inadequate Support Straps — The Code Minimum and Why It Matters
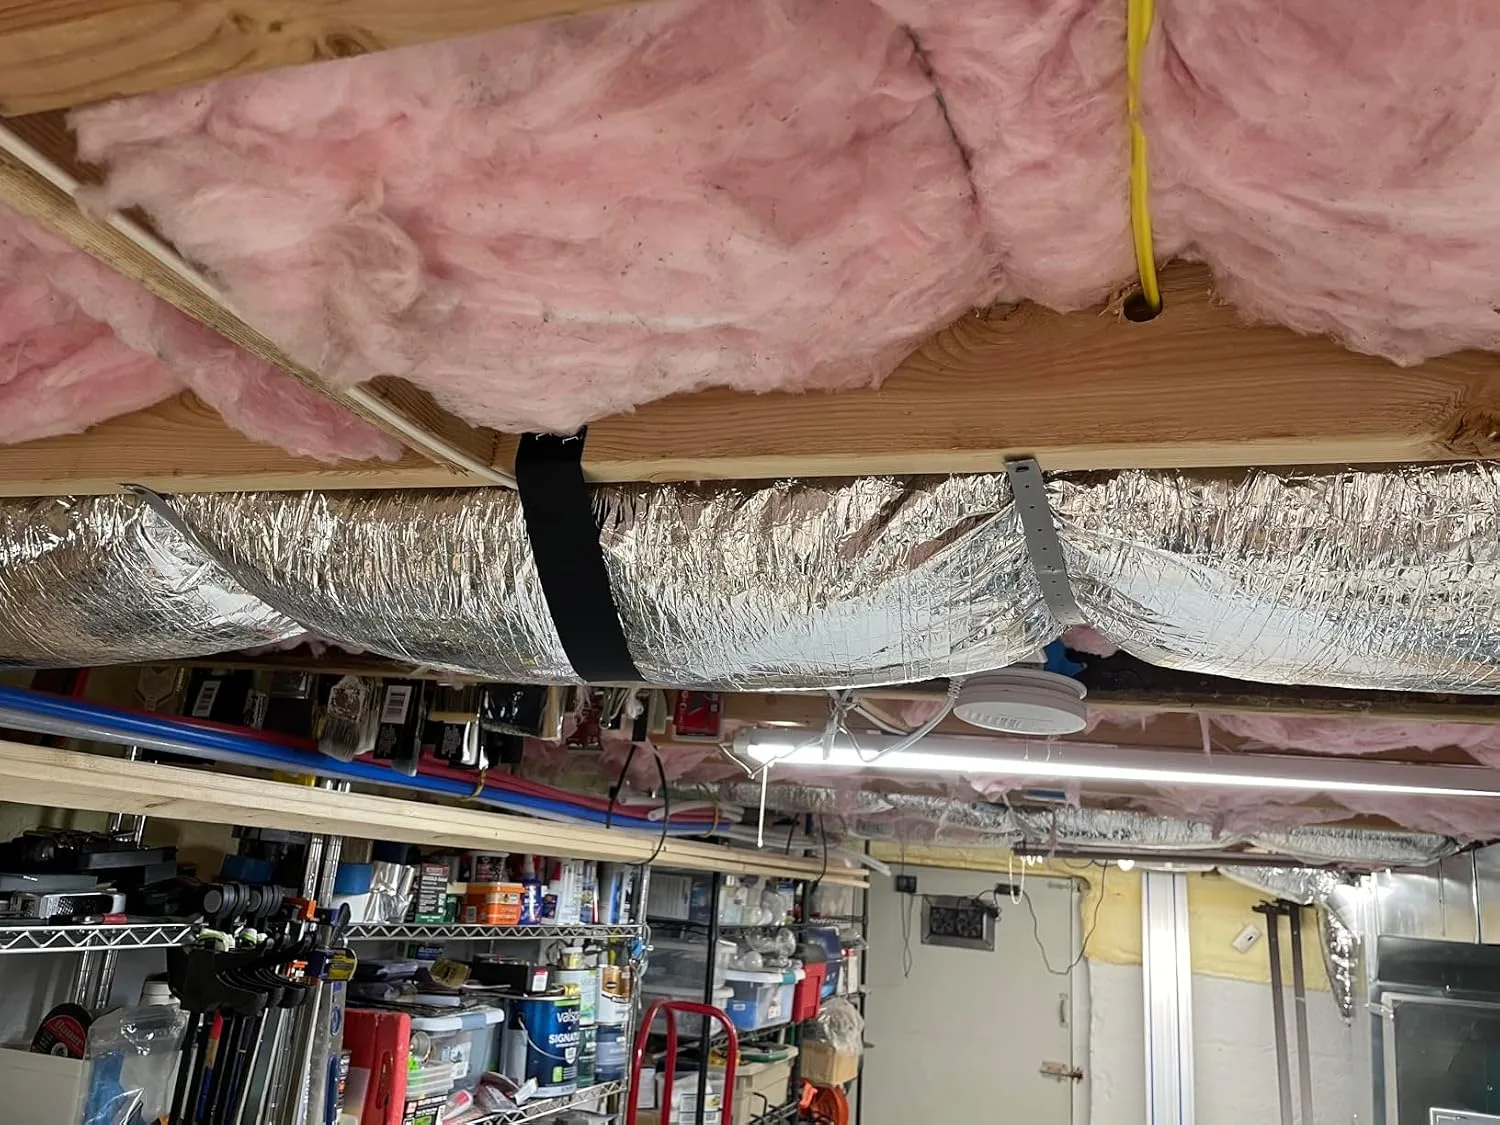
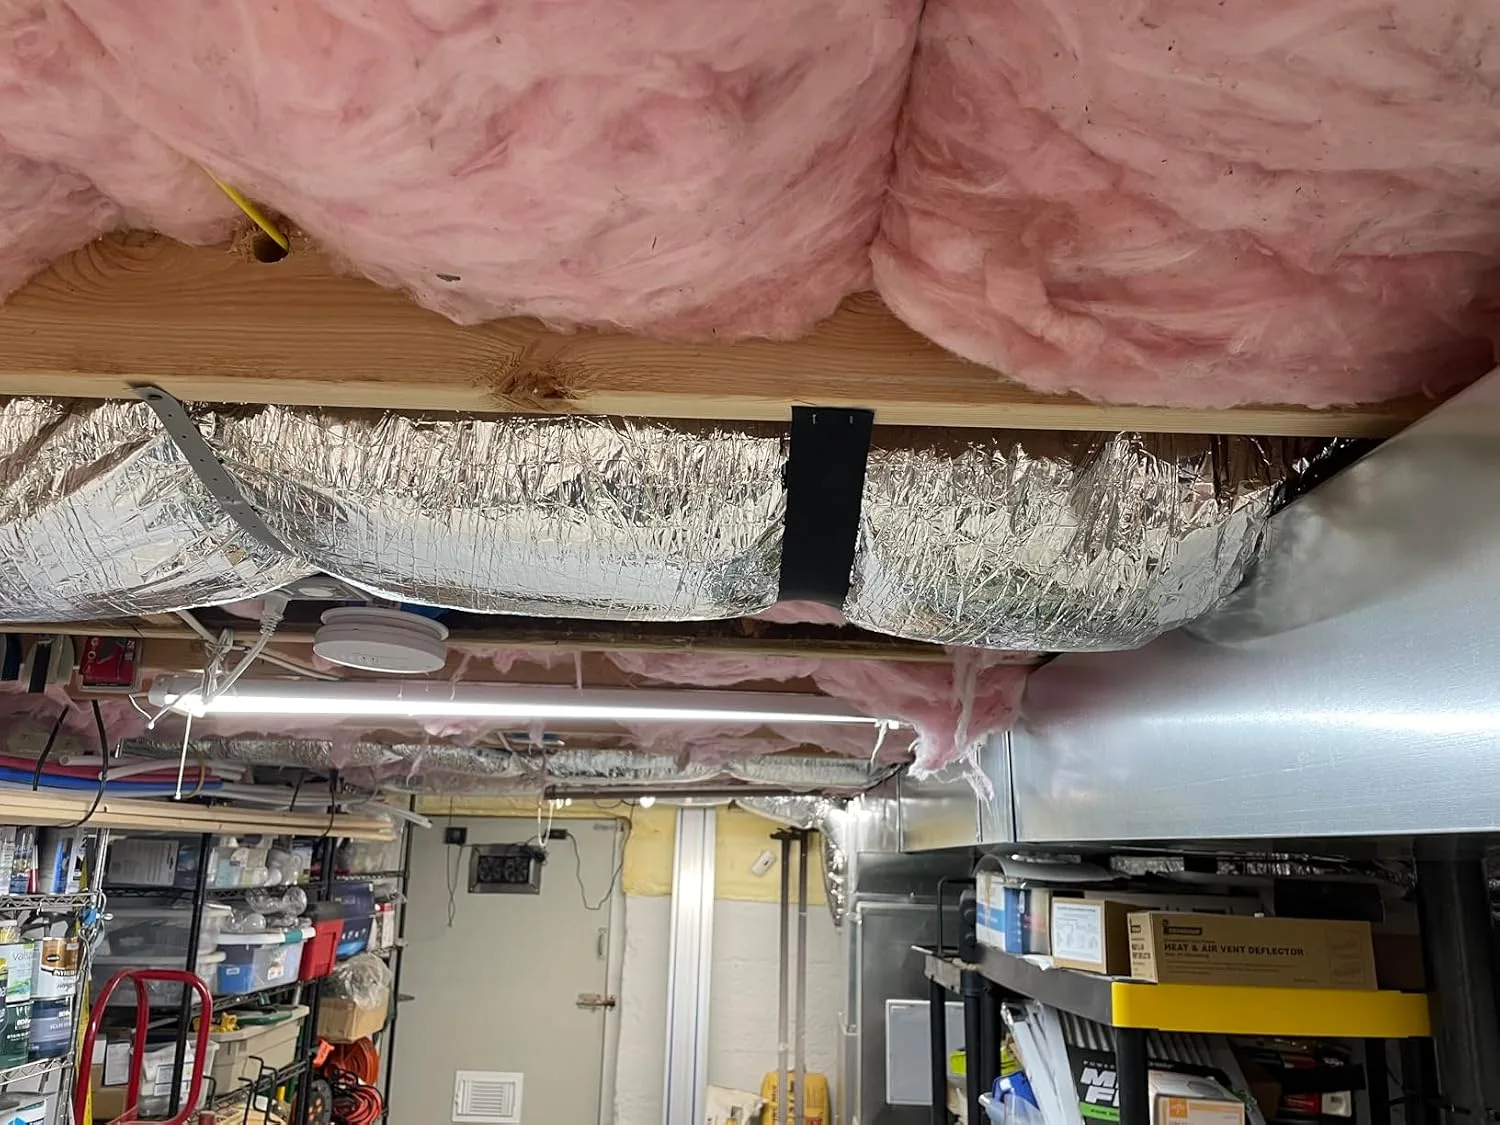
The 2021 International Mechanical Code requires flex duct support at maximum 4-foot intervals, and within 2 feet of every connection point. Many installers treat this as a nuisance rather than a functional requirement, and the result is those belly loops I mentioned earlier. But there’s another dimension to this: the quality and width of the support strap matters almost as much as the spacing. Thin wire supports or narrow straps bite into the outer insulation jacket and can actually deform the duct at the support point, creating a local restriction. You want a wide, flat strap that distributes the load across the duct diameter and holds the run straight without pinching.
Mistake 4: Inner Liner Bunching
This one is largely invisible once the duct is installed, which makes it particularly insidious. Flex duct has three layers: the inner wire-reinforced liner, a fiberglass batt insulation layer, and an outer vapor barrier jacket. When installers pull the duct into position, they often grab the outer jacket and drag the whole assembly — which means the inner liner gets compressed and bunched inside the insulation while the outer jacket looks fine from the outside. The correct method: separate the inner liner from the insulation at both ends, pull the inner liner taut and straight first, then slide the insulation layer over it and secure the outer jacket. A bunched inner liner can reduce effective diameter by 20 to 40% and there is no way to diagnose this without cutting the duct open.
Mistake 5: Connections Not Properly Sealed
Leaky duct connections at collars and register boots are extremely common and extremely costly. The correct method is: pull the inner liner over the collar fitting and secure it with a draw band (metal zip-tie), then apply mastic sealant over the entire connection — mastic, not duct tape. Duct tape fails in attic heat within 3 to 5 years. Then pull the outer insulation jacket over the connection and secure with a second draw band, then tape the insulation jacket with foil tape. Skipping any of these steps means conditioned air is leaking into your attic, and your system is working overtime to compensate. For more on this, read my full post on duct sealing techniques that actually hold up.
Mistake 6: Running Flex Through Tight Spaces Where It Gets Crushed
I’ve seen flex duct routed through 5-inch gaps between framing members to serve a register on the other side of a wall — with a 6-inch duct. The outer diameter of insulated 6-inch flex is typically 9.5 to 10 inches, and any compression of that outer layer means compression of the inner liner. If you need to penetrate a framing cavity or route through a tight chase, use rigid sheet metal for that section and transition back to flex at the other end. Never compress flex duct to fit a space. If the space isn’t big enough, the right answer is rigid duct or a smaller-diameter run — not forcing the flex through.
Mistake 7: Undersized Flex for the CFM Requirement
Sizing flex duct based on “that’s what was there before” or grabbing whatever’s on the truck is a recipe for high velocity noise and starved rooms. A 6-inch flex duct can typically handle 100 to 115 CFM at reasonable velocity. A 4-inch flex handles maybe 50 to 60 CFM. Before you select a flex size, you need to know the target CFM for that run — which comes from a Manual J load calculation and Manual D duct design. If you’re adding a run, don’t guess. And don’t use the same duct size for a 10-foot run to a small bedroom and a 45-foot run to a master suite.
Mistake 8: Using Flex for Runs That Should Be Rigid Trunk Lines
Flex duct should be used for the final connection from a trunk line to a register boot — not as the primary distribution system for your entire house. I see systems where flex runs go 40 to 50 feet from the air handler to a far bedroom. At that length, even a perfect flex installation has significant friction loss, and a real-world installation with any of the above mistakes is a disaster. The rule of thumb: any run over 25 feet should be evaluated for a rigid trunk with a short flex tail. Any run that serves multiple branches should be rigid. Flex is a finishing material, not a primary distribution material.
The Strap That Kept My Flex Ducts From Sagging Into Insulation
Unsupported flex duct doesn’t just look sloppy—it sags, kinks, and pinches itself closed over time, strangling airflow without any visible obstruction. Once I started using proper duct strapping, I stopped finding collapsed sections buried under attic insulation.
What works
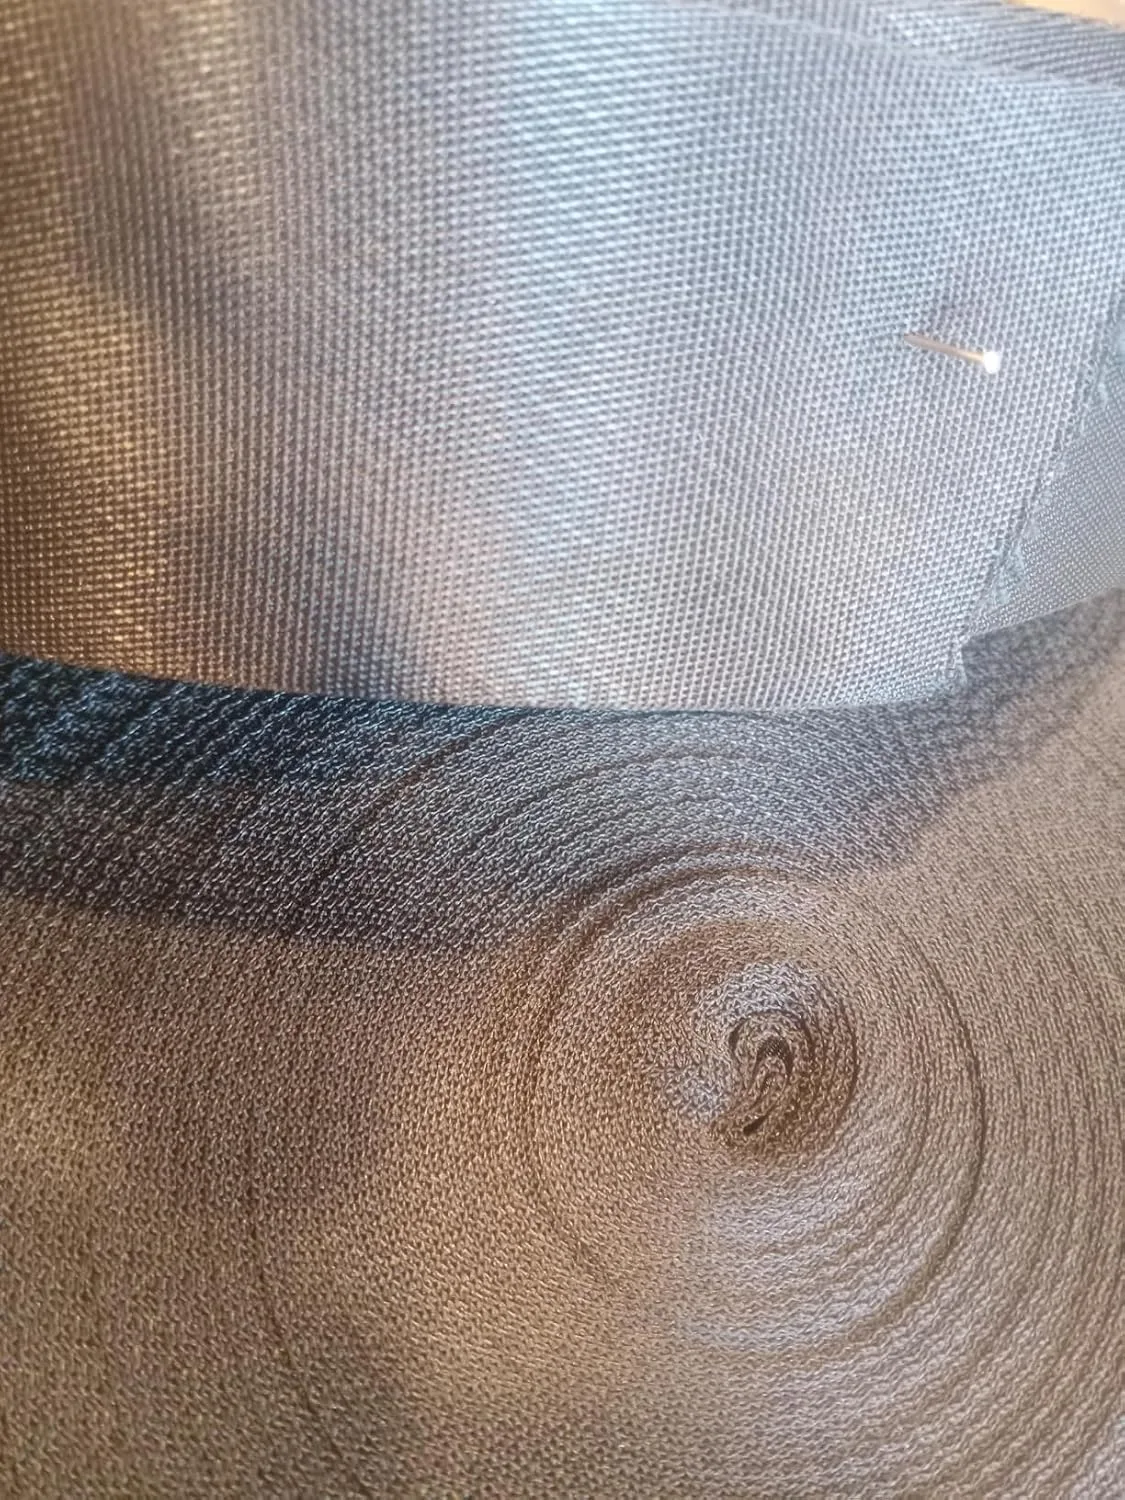
- Tight weave prevents the strap from digging into or pinching the duct jacket, which was a real problem with cheap elastic straps I’d used before
- Long 100-foot roll means you can space supports every 4 feet as code requires without stopping halfway through the job to order more
- Nylon holds up in hot attics without degrading or leaving residue on the duct surface like some older fabric straps do
What doesn’t
- You still need to source your own fasteners—this is the strap only, not a complete strap-and-clip kit, which means extra trips to the supply house
- Installation takes longer than slapping zip ties everywhere, and contractors rushing a job often skip it entirely, which is exactly why you’re in this mess to begin with
I’ll admit I questioned whether proper strapping would actually move the needle on airflow until I measured the difference in static pressure across a poorly supported run—it was stunning. Don’t make that same call. Get 100Ft HVAC Duct Strap, Tight-Weave Nylon Duct Support Webbing and install it right.
This post contains affiliate links. As an Amazon Associate, I earn from qualifying purchases at no extra cost to you.