Last June, I got a call from a homeowner in my area — nice guy, mid-50s, handy with tools. His AC had just stopped cooling on the hottest day of the year. The repair bill? $189 for a service call, plus $45 in parts. The actual problem? A clogged drain line and a filthy evaporator coil. Both are things he could have handled himself in under two hours. That’s exactly why I put together this DIY HVAC tune up checklist — because most of the “failures” I see in the field aren’t failures at all. They’re neglected maintenance items that snowballed into emergency calls.
I’ve been working in HVAC and home performance for over a decade. In that time, I’ve serviced hundreds of systems — Carrier, Lennox, Trane, Goodman, you name it. And I’ll tell you straight: the gap between a well-maintained system and a broken-down one usually comes down to four or five simple tasks. Tasks that don’t require an EPA 608 certification or a $500 manifold gauge set. They require maybe $30 in supplies, a free Saturday afternoon, and the confidence to pop a panel open.
This post is that confidence. I’ll walk you through exactly what I do — and what I tell clients to do between my visits — to keep a central air system running efficiently all season. I’ll also be honest about where DIY ends and a licensed tech needs to step in. Let’s get into it.
What a Real DIY HVAC Tune Up Checklist Covers
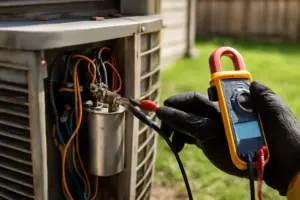
Before I list the steps, let me clear something up. A DIY tune-up is not the same as a professional seasonal service. A certified tech checks refrigerant charge, measures superheat and subcooling, inspects electrical contacts with a multimeter, and tests capacitors under load. You can’t safely do those things without proper training and equipment. That’s not me gatekeeping — that’s just honest.
However, the maintenance tasks that actually prevent most breakdowns? Those are absolutely in your wheelhouse. In my experience, roughly 60–70% of the no-cool calls I respond to in summer trace back to something on this list. A dirty filter. A blocked coil. A clogged condensate drain. Simple stuff that a homeowner could have caught weeks earlier.
Here’s the full checklist I recommend. I’ll break each one down in detail below.
- Replace or clean the air filter
- Clear and flush the condensate drain line
- Clean the evaporator coil
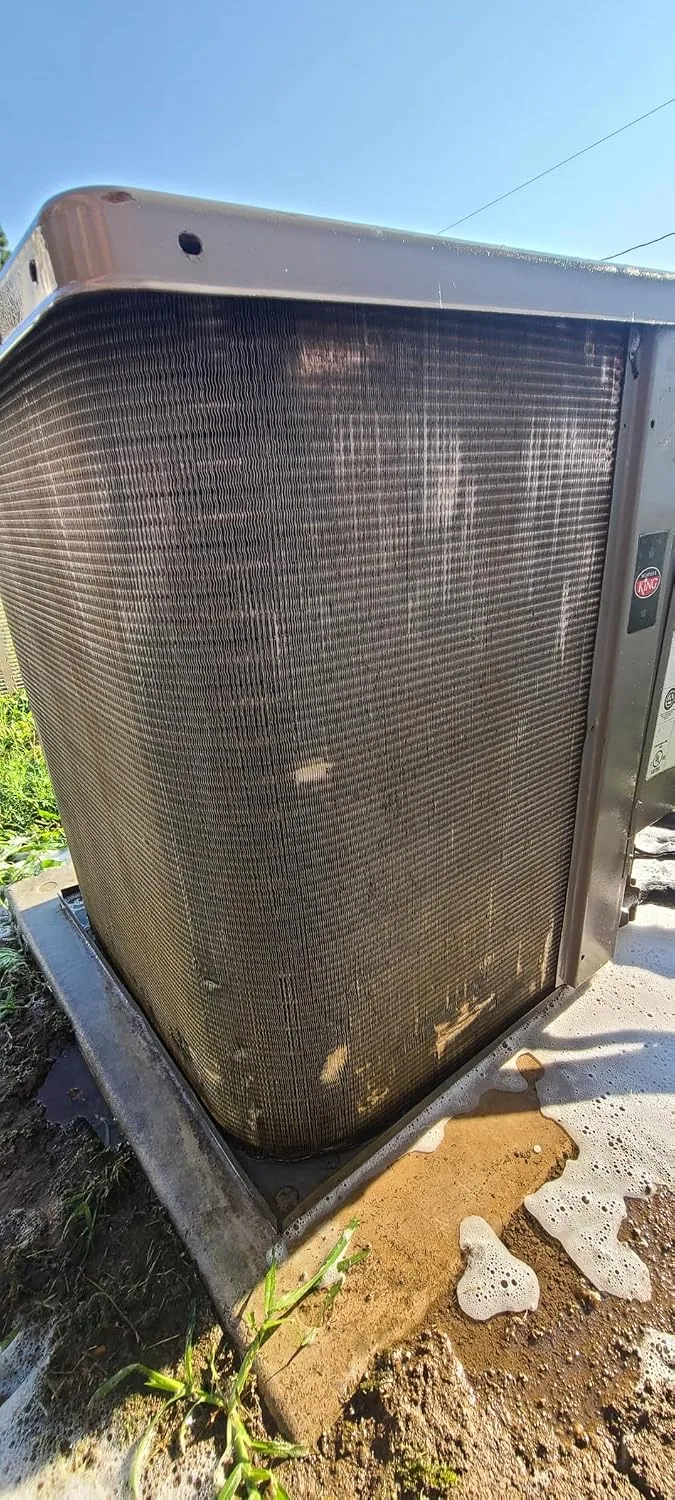
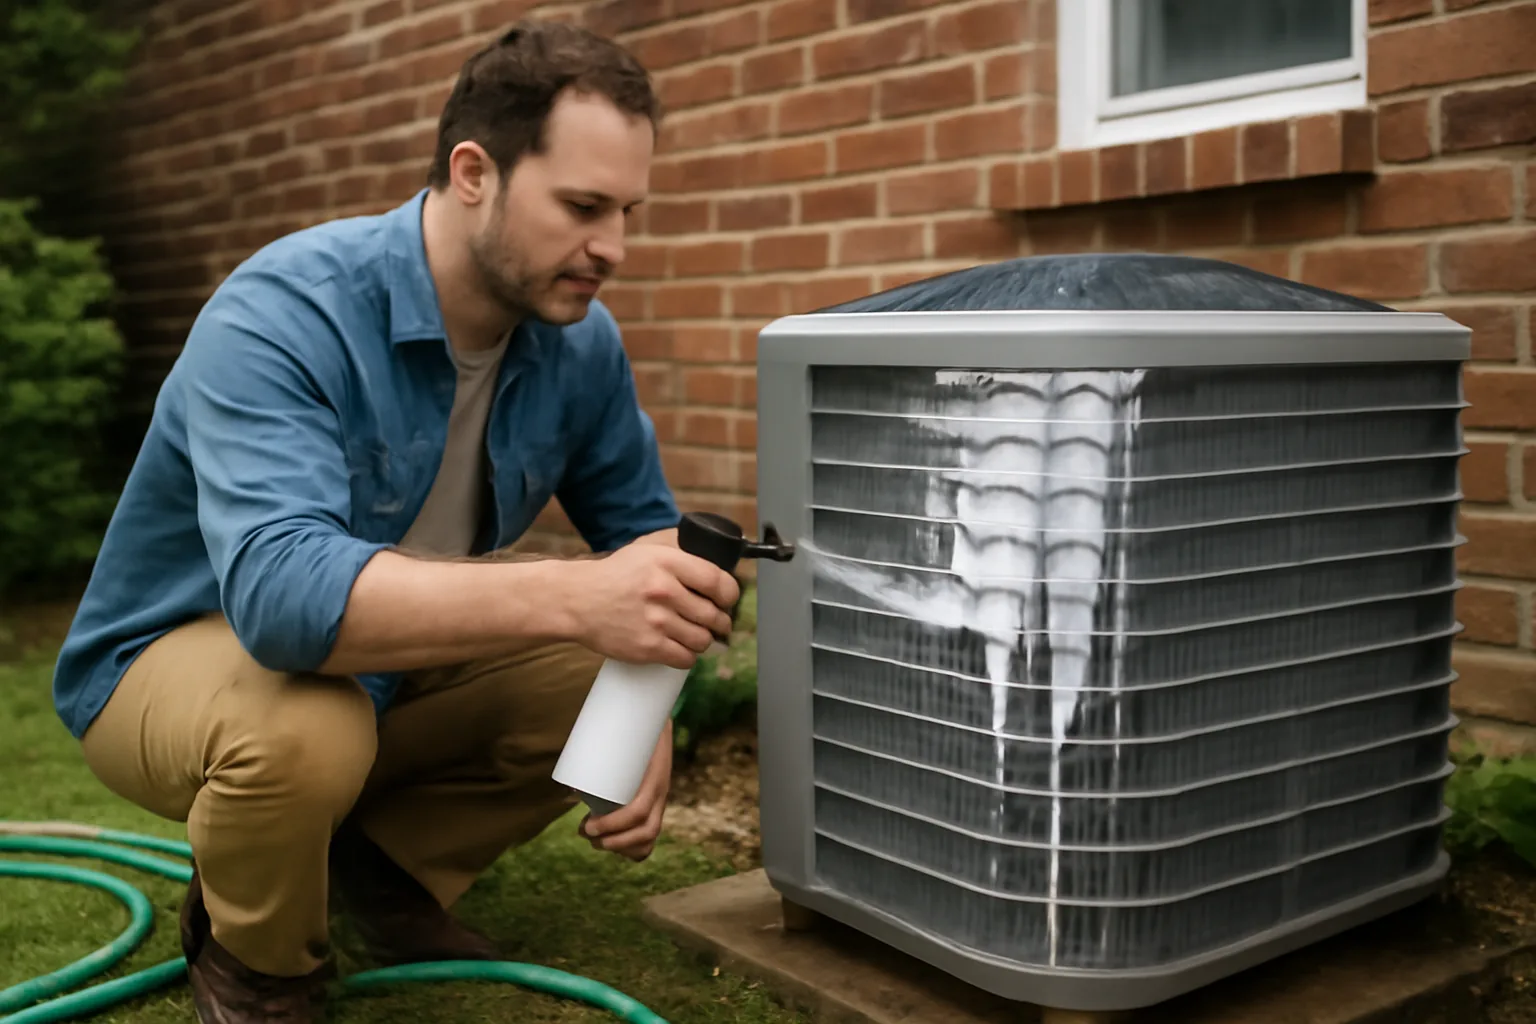
- Clean and inspect the outdoor condenser unit
- Check and clear supply and return vents
- Inspect the blower compartment for debris
- Test system operation and note any irregularities
Step 1: Start With the Filter — Every Single Time
I start every single service visit by pulling the filter. Every time. Not because I don’t trust homeowners — but because a dirty filter changes everything downstream. Airflow restriction causes the evaporator coil to run colder than designed, which leads to freezing. Frozen coils block airflow further. Then you’ve got a no-cool situation that looks like a refrigerant leak but is actually a $5 filter problem.
Standard 1-inch filters should be replaced every 30–60 days during heavy-use months. If you have pets or allergies, lean toward 30 days. Thicker 4-inch media filters — like the ones used with Aprilaire or Honeywell media cabinets — can go 6–12 months. Check the MERV rating: MERV 8–11 hits the sweet spot for most residential systems. Go above MERV 13 and you risk starving the system of airflow unless your ductwork is sized for it.
One more thing: make sure the filter is installed with the airflow arrow pointing toward the blower, not away from it. I’ve pulled reversed filters out of homes more times than I can count. That small detail matters.
Step 2: Clear the Condensate Drain Line (Don’t Skip This)
This is the one that bites people most in summer. The condensate drain line carries moisture pulled from your air out to a floor drain, utility sink, or exterior exit point. It’s a small PVC pipe — usually 3/4 inch — and it loves to grow algae and mold in warm, humid conditions. When it clogs, water backs up into the drain pan. Overflow triggers a float switch that shuts the system down — or worse, it overflows the pan and damages your ceiling.
Here’s what I do every spring: I pour about 1/4 cup of distilled white vinegar into the drain access port (usually a T-fitting with a cap near the air handler). Let it sit 30 minutes. Then flush with warm water. For a stubborn clog, I use a wet-dry shop vac on the exterior drain outlet for 30–60 seconds. That clears it every time. Some techs recommend bleach, but I’ve seen bleach degrade PVC fittings over time. Vinegar is gentler and works just as well for routine maintenance.
If your system doesn’t have a drain access port, that’s worth noting. Older installs sometimes lack them entirely. In that case, access the drain pan directly through the air handler access panel and clean it manually with a wet rag and a little diluted vinegar solution.
Step 3: Clean the Evaporator Coil the Right Way
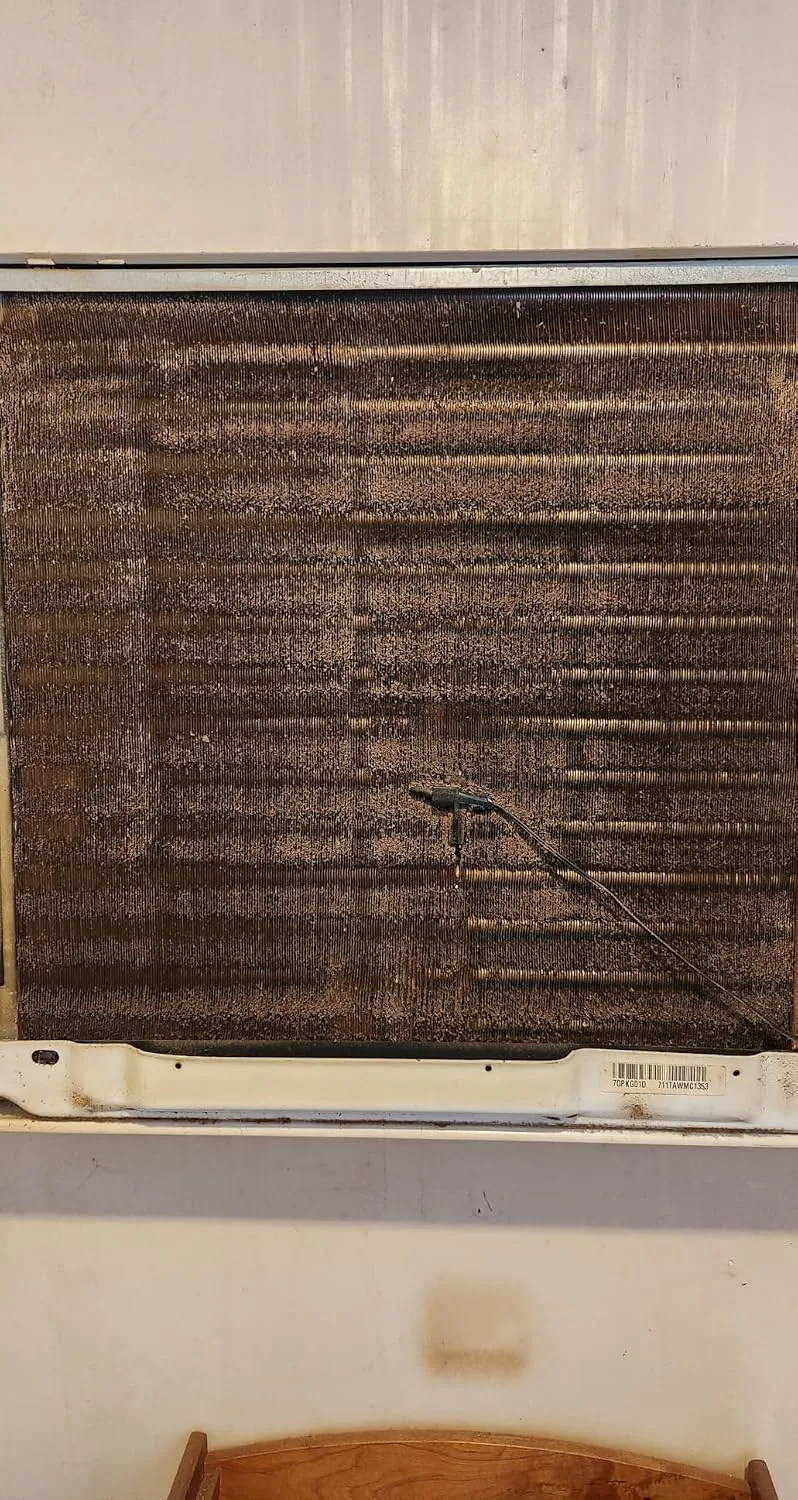
The evaporator coil sits inside your air handler, and it’s where the actual cooling happens. Refrigerant evaporates inside those coil fins, pulling heat out of your indoor air. The problem? Every cubic foot of air passing through that coil carries dust, pet dander, and skin cells — and over time, a layer of gunk builds up on the fins. Even a thin coating measurably reduces heat transfer efficiency. I’ve measured 15–20% capacity losses on coils that looked only slightly dirty to the naked eye.
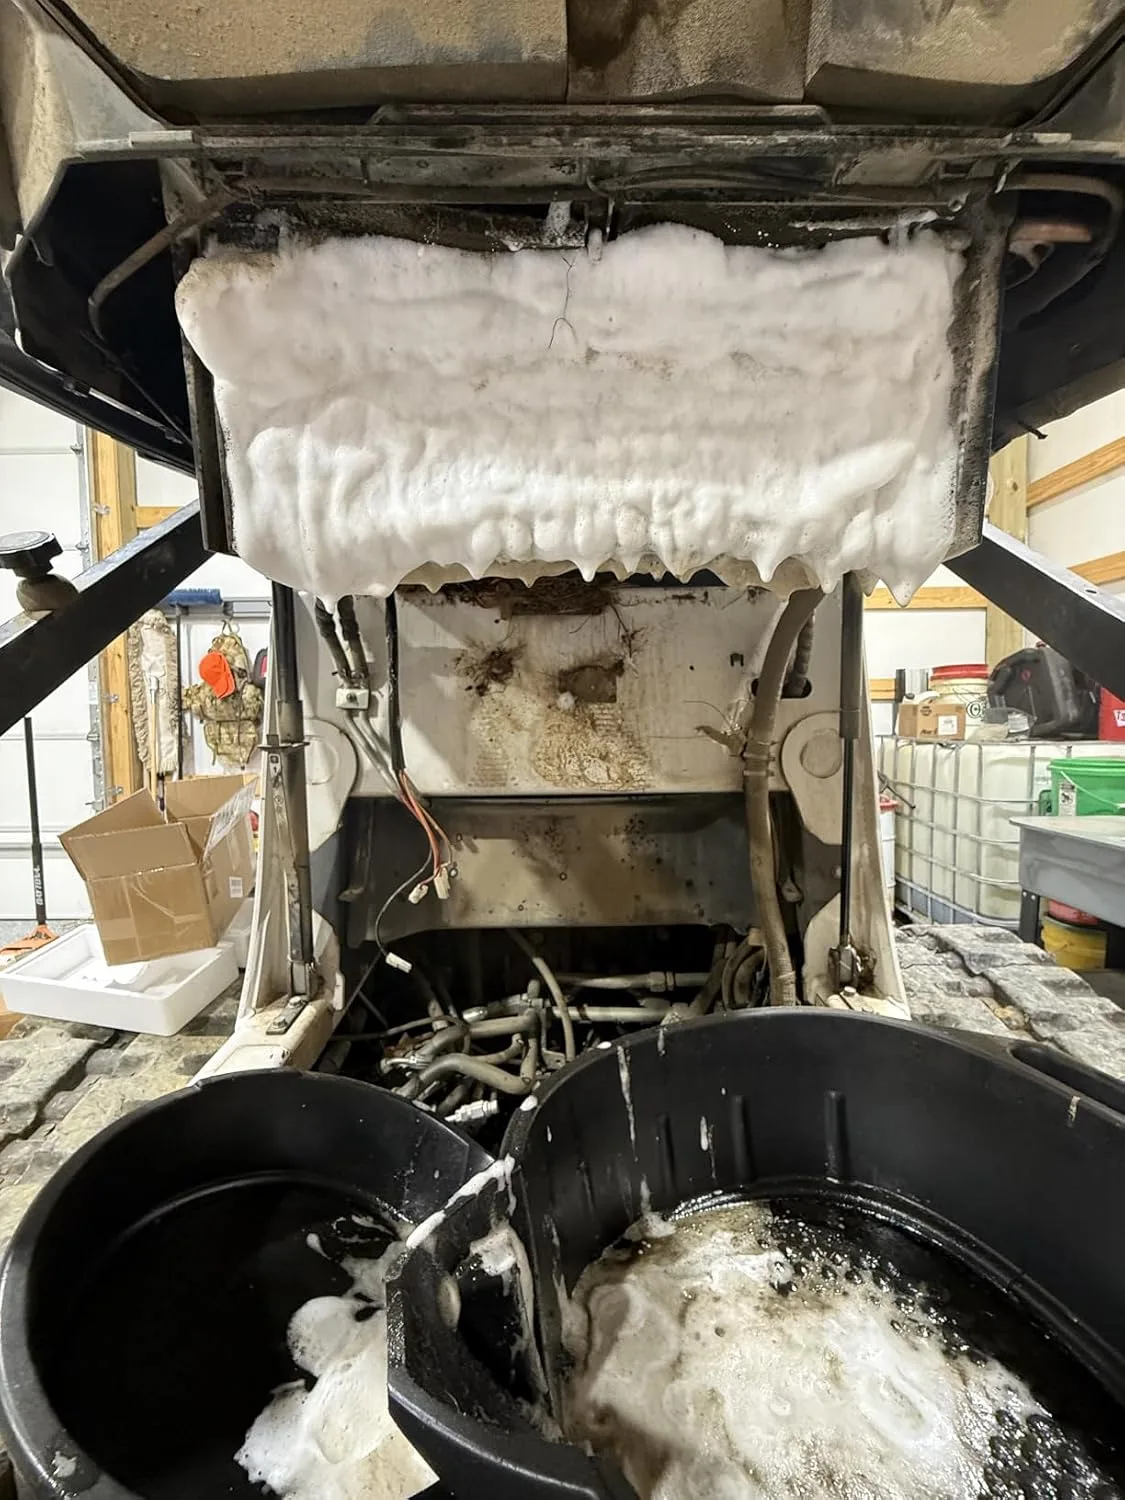
Cleaning the evaporator coil is where most DIYers get intimidated. It doesn’t have to be complicated. Turn the system off at the thermostat and breaker. Remove the access panel on your air handler — usually two to four screws. You’ll see the A-shaped or N-shaped coil assembly. Spray it down with a no-rinse coil cleaner foam, let it dwell, and the condensate that drips off during normal operation will rinse it clean.
I learned the hard way early in my career that not all coil cleaners are created equal. I used a cheap acidic cleaner on an aluminum coil once and watched the fins oxidize within a week. That was a $400 lesson. Now I only use products I’ve personally tested on multiple system types.
The No-Rinse Cleaner That Actually Saves You From Disassembly
A filthy evaporator coil is the #1 reason homeowners think their AC is dying when it’s really just suffocating. The problem is that most DIYers dread the idea of taking apart their indoor unit — but a foam cleaner designed for no-rinse application means you can actually do this safely without soaking your ductwork or creating a wet mess inside your home.
What works
- Applies as a foam that clings to the coil fins without needing a rinse step — critical when your evaporator is sitting above your furnace or in a tight attic space
- Breaks down the compacted dust and mold buildup that actually restricts airflow and kills cooling capacity in less than 15 minutes of contact time
- Drains directly into your condensate pan without leaving residue that could clog the drain line (the very problem we’re trying to prevent)
What doesn’t
- Won’t fix a completely blocked drain line — you still need to clear that separately with a wet vac or drain line brush
- Requires you to actually access the coil safely, which means turning off your system and sometimes removing a panel — this isn’t a pour-and-walk-away fix
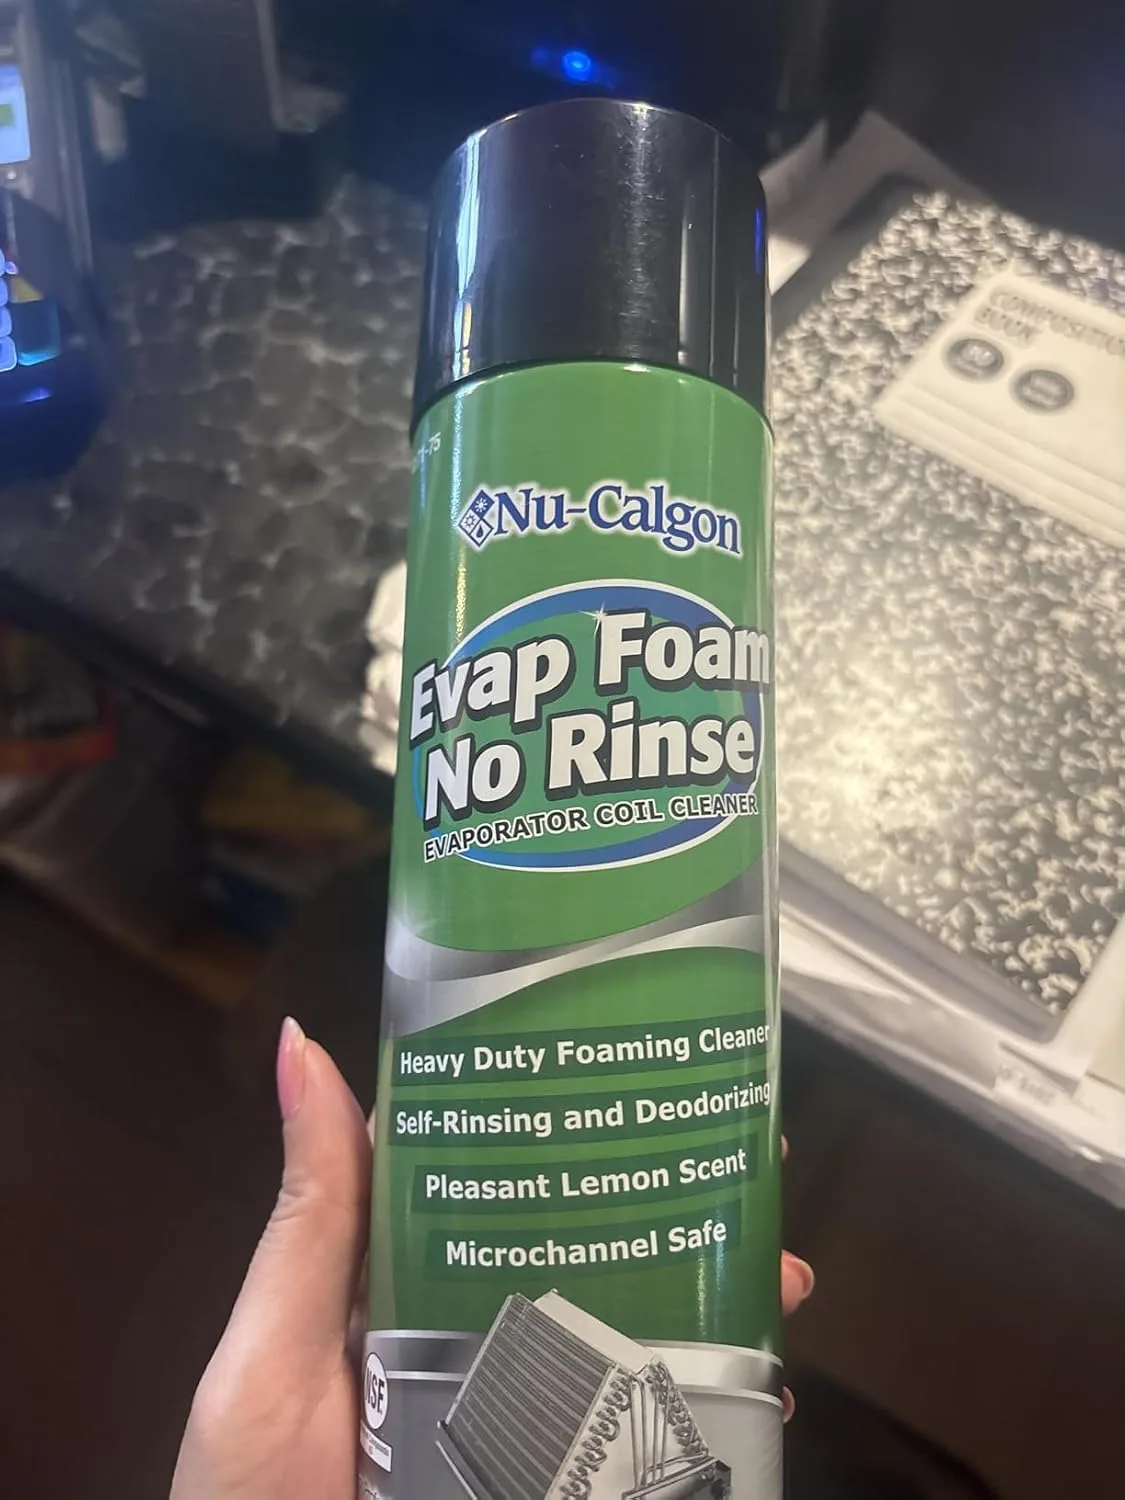
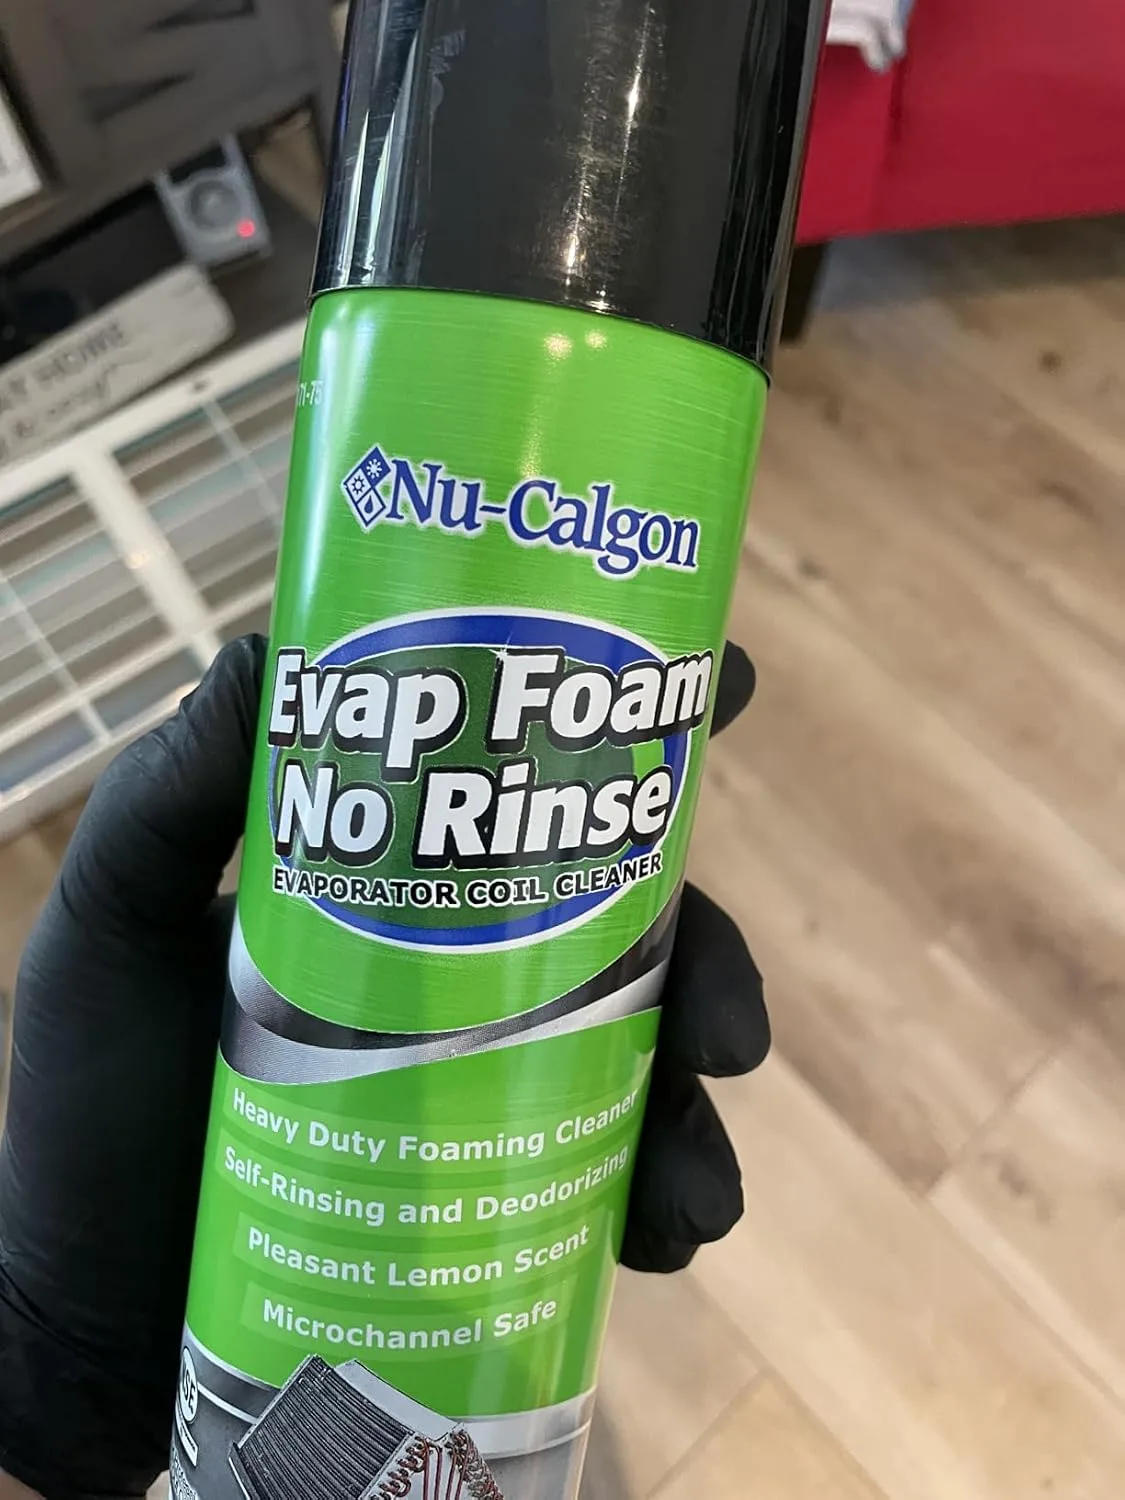
I’ll admit: the first time I used this on a really neglected coil, I wasn’t sure the foam was doing anything until I saw the murky runoff hit the drain pan. That’s when I knew it was actually working. Grab the Nu-Calgon 4171-75 Evap Foam No Rinse Evaporator Coil Cleaner and handle this 30-minute job yourself.
This post contains affiliate links. As an Amazon Associate, I earn from qualifying purchases at no extra cost to you.