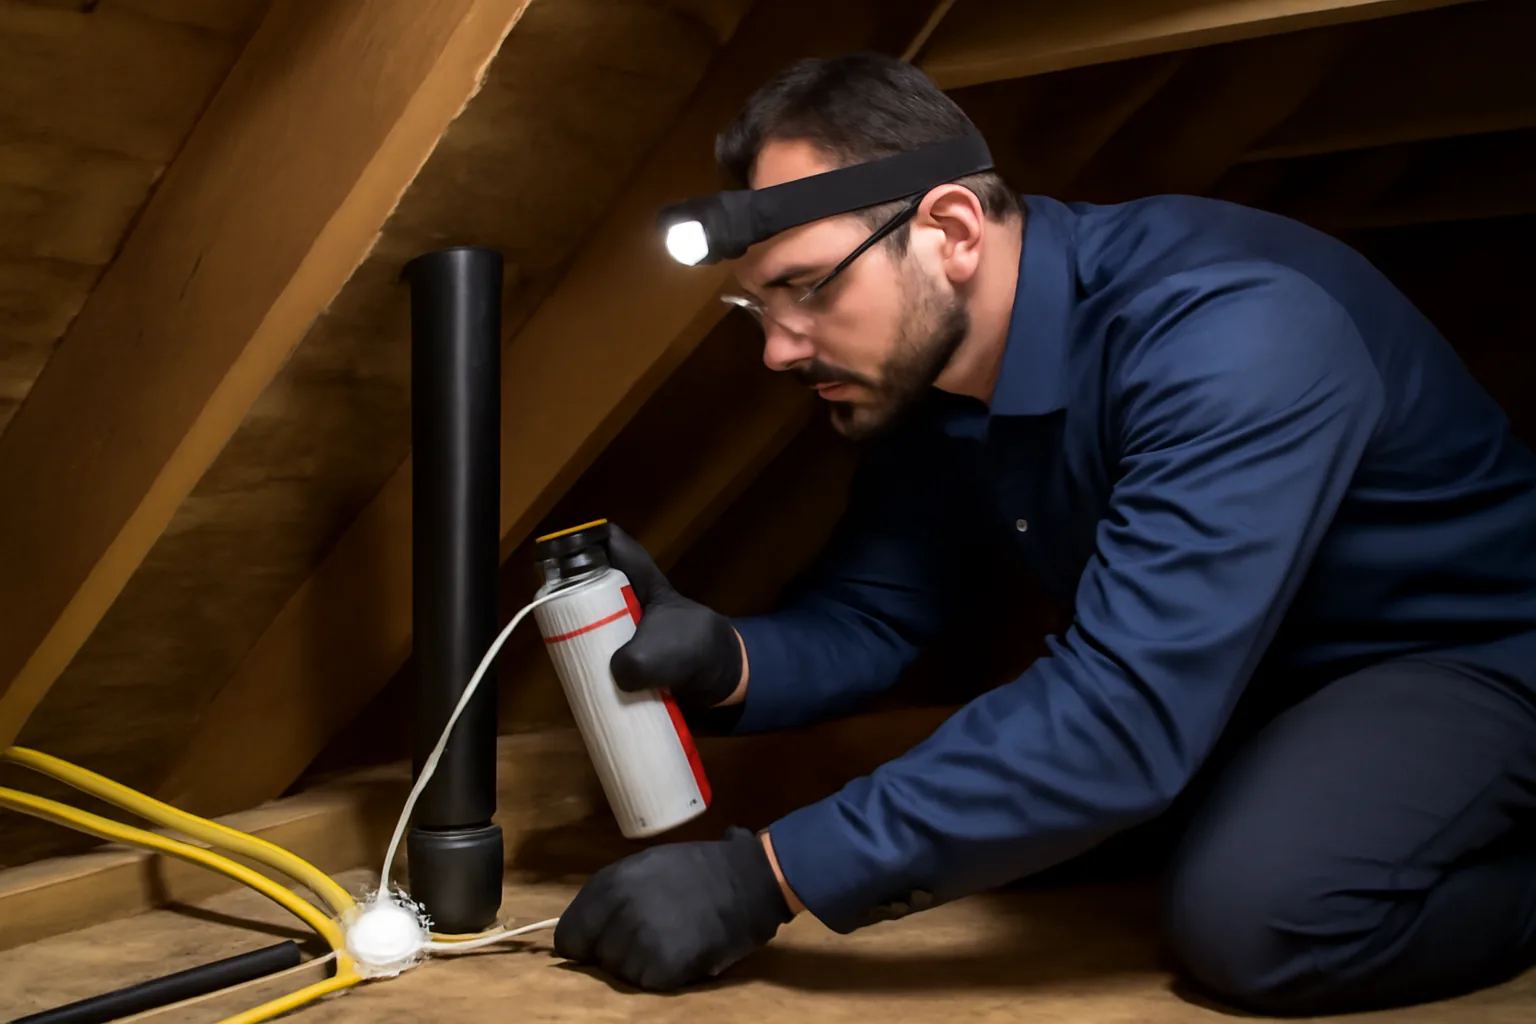
Here’s a mistake I see constantly: homeowners spend $2,000 or more on new attic insulation, only to wonder why their energy bills barely budge. I’ve walked into dozens of those attics and found the same problem every time. The insulation went in first — and the air leaks were never touched. Getting the air sealing before insulation order right is the single most important decision you’ll make in this project. Do it backwards, and you’ve essentially wrapped your house in a sweater with the windows left open.
I’ve been doing home performance work for over twelve years. In that time, I’ve pulled apart plenty of well-intentioned DIY insulation jobs that were sitting on top of unaddressed bypasses, open top plates, and unsealed recessed lights. The insulation looked great. The performance was terrible. That’s what happens when you skip the first step.
This post is going to walk you through exactly why order matters, where the worst leaks hide, how to seal them yourself, and when you need to call someone like me. I’ll also share the product I personally reach for on every job. Let’s get into it.
Why the Air Sealing Before Insulation Order Matters So Much
Insulation slows heat transfer. That’s its job. It does that job through resistance — measured as R-value — and it does it reasonably well. However, insulation is not an air barrier. Fiberglass batts, blown cellulose, even spray foam at low density — none of them stop air movement on their own. Air finds gaps and moves through them regardless of how much insulation sits on top.
Here’s the physics. Warm air in your living space carries moisture. In winter, that air wants to rise and escape into the attic — a process called stack effect. When it finds an opening, it pushes through carrying heat and humidity with it. The result is heat loss in winter, moisture damage year-round, and cooling loss in summer. Insulation on top of those gaps is doing very little to stop any of that.
Once insulation is down, finding those gaps becomes significantly harder. You’re digging through blown-in material, moving batts, guessing at locations. I’ve spent three hours in a 130-degree July attic searching for bypasses that would have taken forty-five minutes to seal before insulation went in. Do it first. Every time.
The Worst Air Leak Locations (and How to Find Them)
Most air leaks in an attic are not dramatic. You won’t find an obvious hole. Instead, you’re looking for systematic gaps at construction transitions — places where one building assembly meets another.
Top Plates and Wall Cavities
The top plate is where interior wall framing meets the attic floor. In almost every older home I’ve worked in, these plates have gaps — sometimes a quarter inch, sometimes an inch or more. Wall cavities are essentially chimneys. Air moves up through them freely and dumps directly into your attic. According to ASHRAE standards, these bypasses account for a significant portion of total building air leakage. Sealing them is not optional if you want real performance gains.
Recessed Lights and Electrical Boxes
Old-style recessed can lights are notorious. They’re typically open at the top — by design, for heat dissipation. That means a direct, unobstructed path from your conditioned space into the attic. I’ve measured temperature differentials of 15°F right at the rim of an unsealed can light. Electrical boxes punched through top plates are nearly as bad. Every wire penetration, every junction box — they’re all potential bypass points.
Plumbing and HVAC Penetrations
Plumbers and HVAC installers are not air sealing specialists. They punch holes sized for the pipe or duct — and then move on. What’s left is a gap around every penetration that goes straight through the building envelope. Soil stacks, exhaust fans, supply plenums — all of them need to be addressed before insulation goes in. In my experience, a single 3-inch plumbing stack with a quarter-inch annular gap around it can leak as much air as leaving a window cracked open an inch.
How to Actually Seal These Leaks: Materials and Method
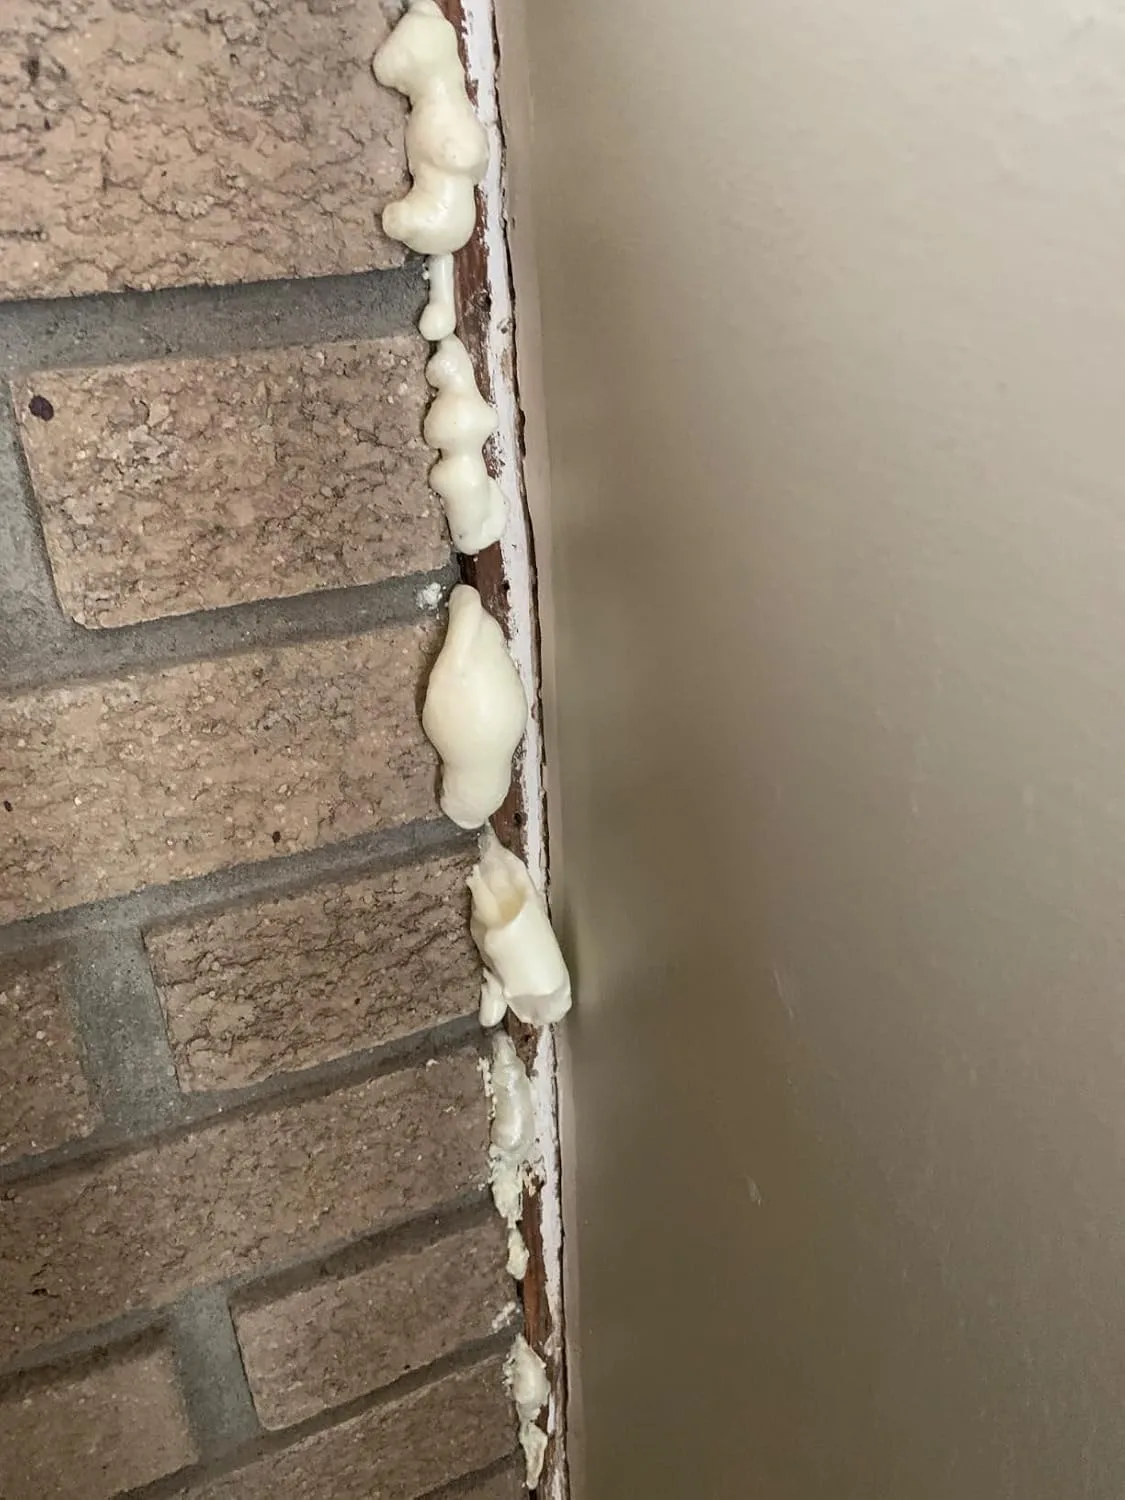
The right material depends on the gap size. That’s the honest answer. For gaps under half an inch, a quality foam sealant is your best tool. For larger gaps — up to about 3 inches — you’ll want foam combined with a rigid backer like drywall scraps or rigid foam board. Gaps larger than 3 inches need a rigid cover and caulk or foam at the edges.
Caulk works for small static cracks — places where there’s no thermal movement and the gap is hairline thin. However, for most attic air sealing work, expanding foam is faster, more versatile, and bonds better to the irregular surfaces you’ll encounter up there. I learned this the hard way on one of my first solo jobs. I caulked a full attic’s worth of top plate gaps — took me almost six hours. The next house, I switched to foam and finished the equivalent scope in under two.
Sealing Recessed Lights Safely
Before you foam anything around a recessed light, check whether it’s IC-rated. IC stands for insulation contact. Non-IC-rated cans must maintain a 3-inch clearance from insulation and cannot be covered with foam or insulation directly. For those, you’ll build a sealed box from rigid foam or drywall, caulked at the perimeter, leaving that clearance maintained inside the box. It’s extra work — but it’s also code-required under IRC Section R302.13 and for good reason. Trapping heat against a non-IC fixture is a fire risk.
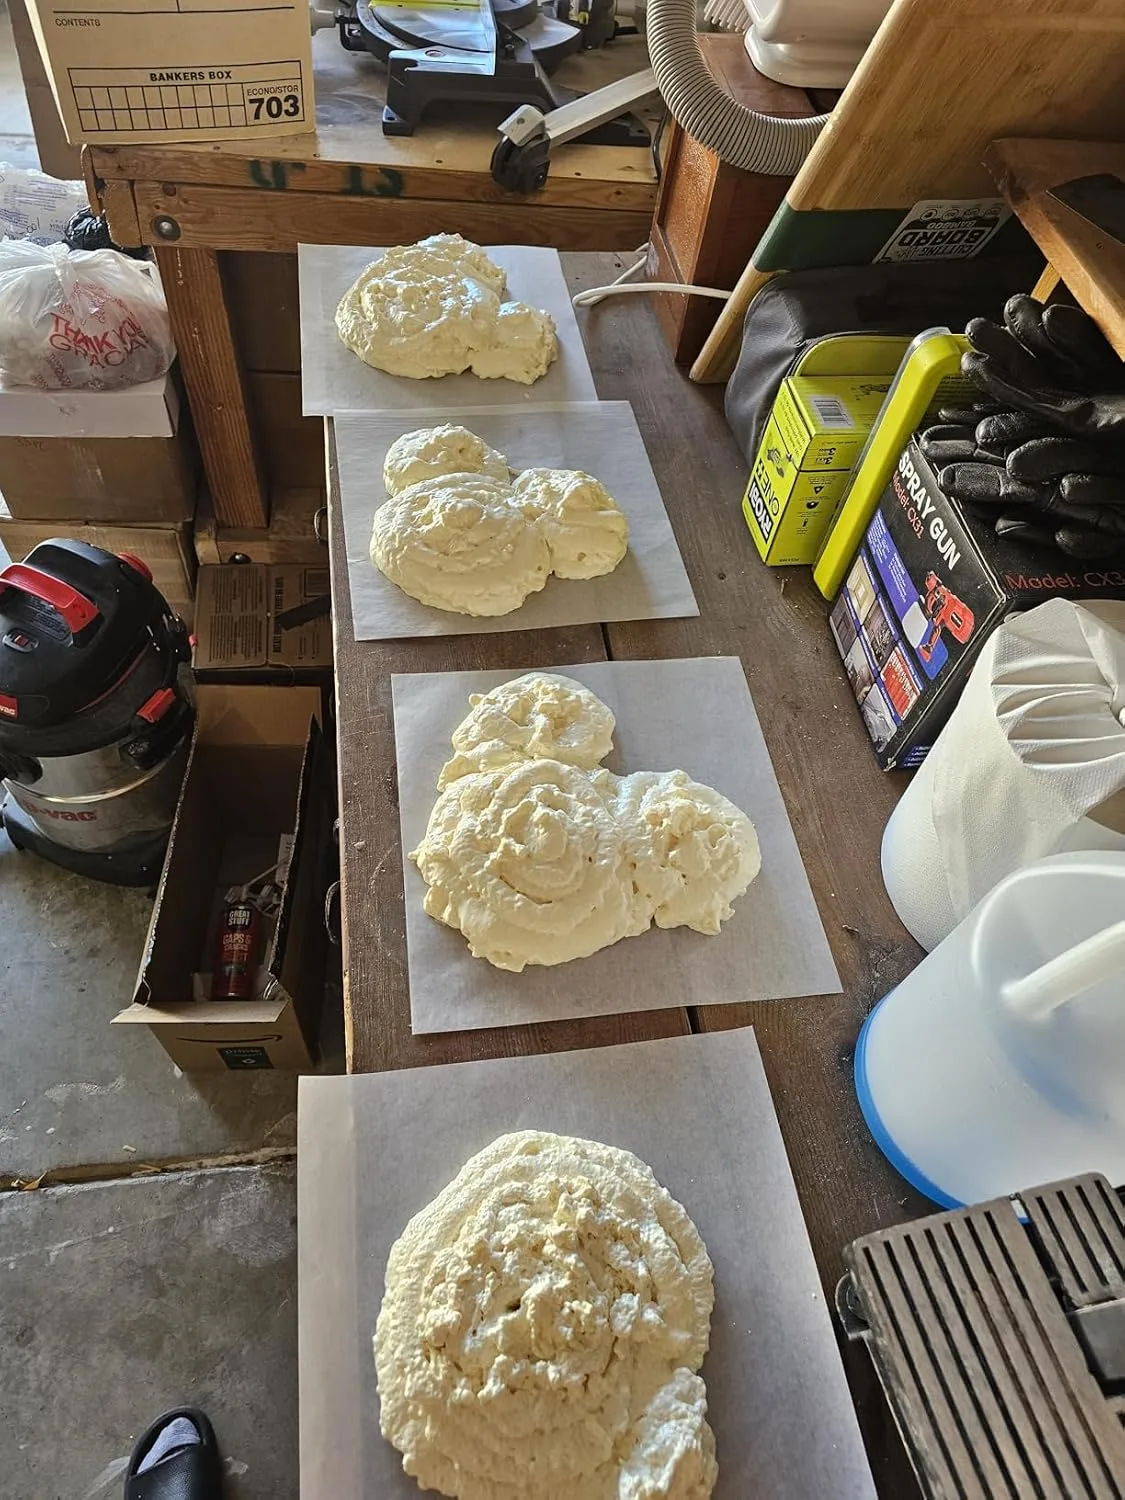
The Foam That Lets You Actually Reach Those Tight Corners Before Insulation Goes In
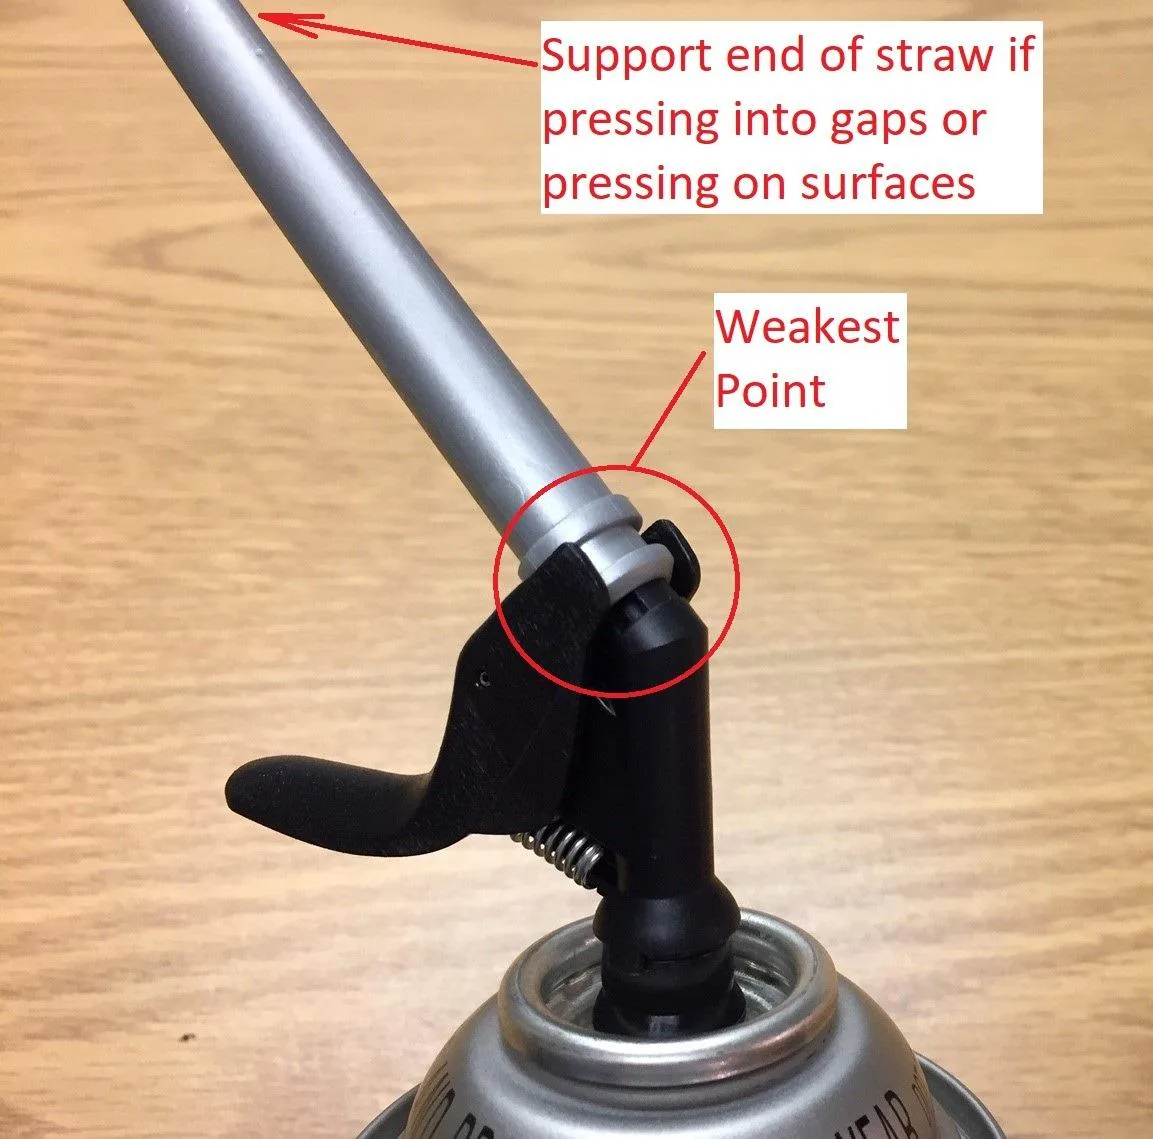
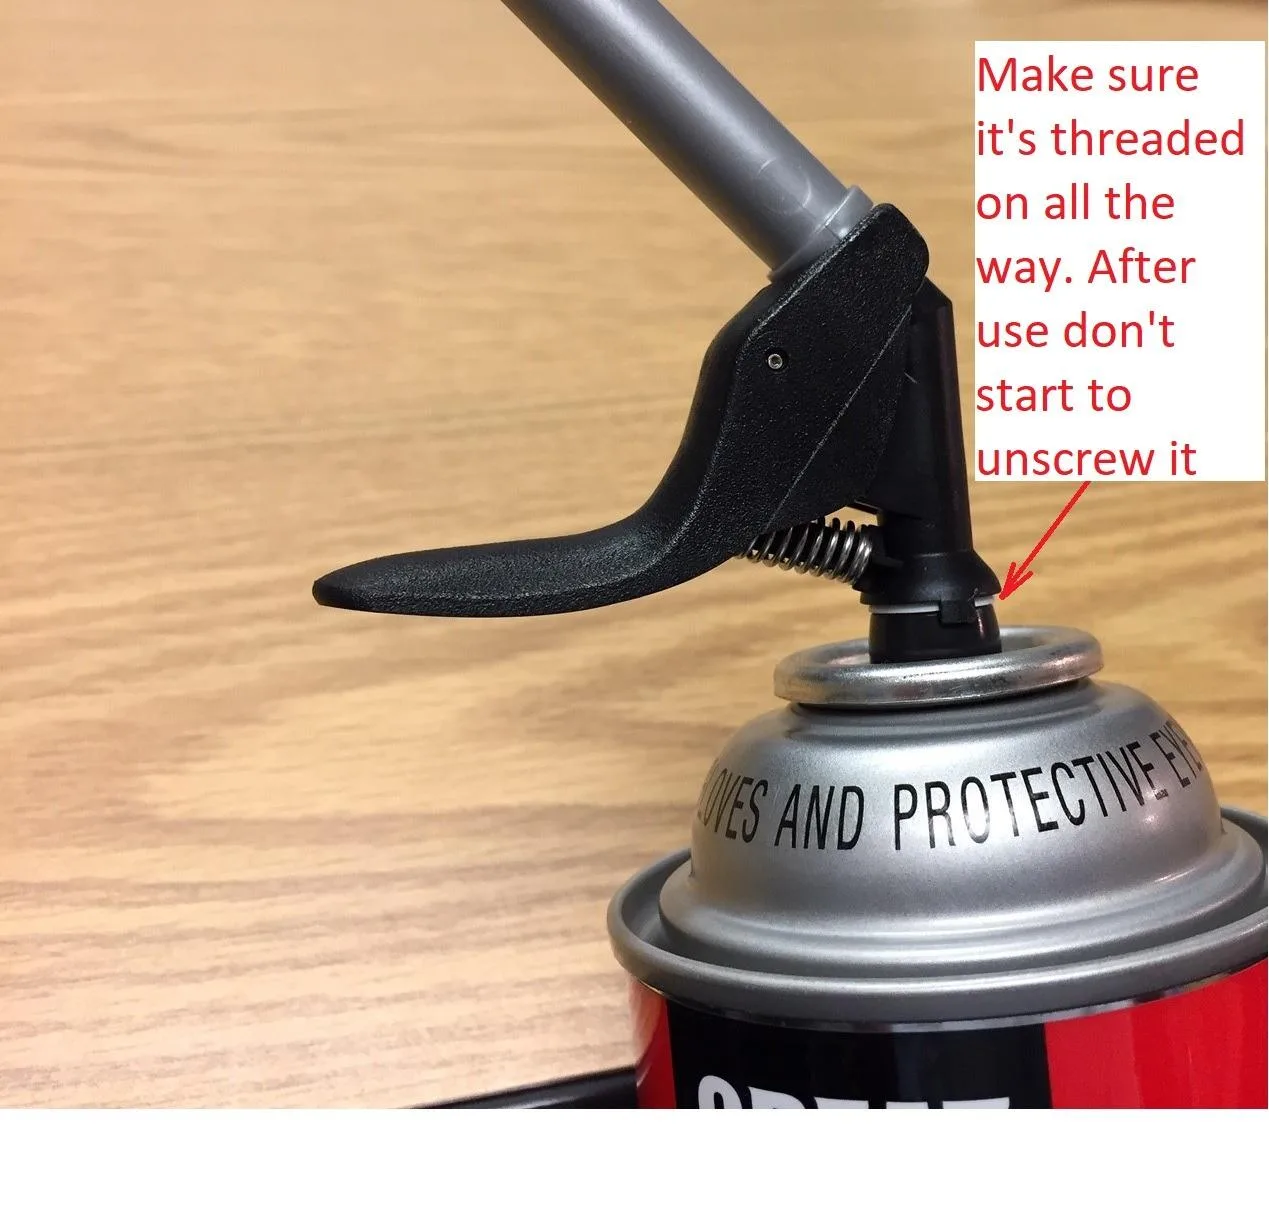
Air sealing only works if you can actually access and fill every gap, crack, and rim joist detail before insulation blankets everything. The Smart Dispenser changes how precisely you can target those problem areas in tight attic spaces where your hand barely fits.
What works
- The precision applicator tip lets you hit narrow gaps around electrical boxes and rim joists without wasting foam or over-filling cavities you can’t see into
- One-handed dispensing in cramped attic positions beats struggling with a regular can and applicator gun when you’re already contorted in a corner
- Minimal overspray means less dried foam to scrape off before insulation install, keeping your timeline tight and your labor focused
What doesn’t
- It costs more per ounce than standard Great Stuff cans, which matters when you’re sealing a full attic and going through multiple cans
- The smart dispenser can clog if you don’t clean the tip between uses, and in a real attic project you’re moving fast and sometimes forget that step
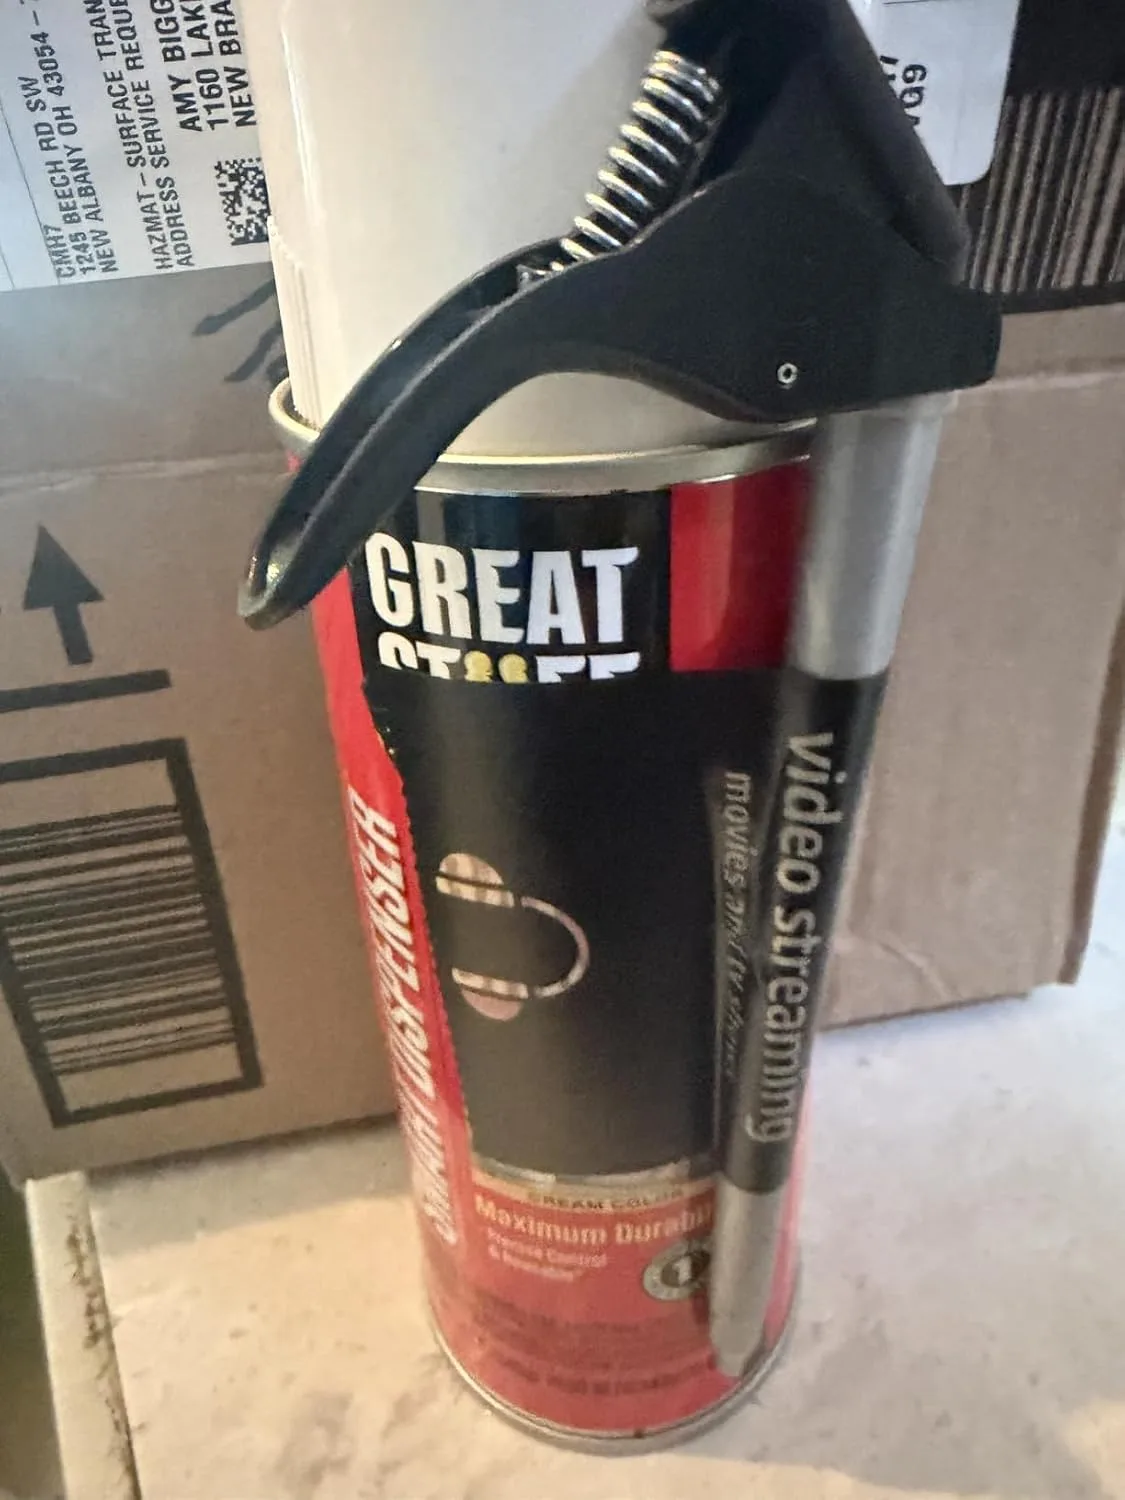
I’ll admit the first time I used one I thought I was overpaying for a gimmick, but after my third attic where I actually sealed the rim joist properly instead of leaving finger-width gaps because the standard applicator wouldn’t fit, it paid for itself in energy performance alone. Great Stuff 99108824 Smart Dispenser Gaps & Cracks, Cream, 12 Ounce
This post contains affiliate links. As an Amazon Associate, I earn from qualifying purchases at no extra cost to you.