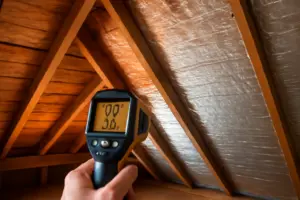
Last Tuesday, I got a call from a homeowner in South Minneapolis who’d just spent $3,200 having a contractor blow R-60 cellulose into his attic. He was frustrated. His master bedroom was still cold. His energy bill barely budged. And when I climbed into his attic with a thermal camera on a 15-degree January night, I saw exactly what I’ve found in dozens of homes: his insulation was sitting directly over dozens of unsealed gaps, holes, and penetrations—what building scientists call attic bypasses—where warm conditioned air was flowing straight from his living space into the unconditioned attic, completely bypassing all that new insulation.
He’d done the insulation upgrade in the wrong order. And he wasn’t alone. This is the most overlooked energy efficiency mistake I see in residential homes: homeowners and even some contractors add insulation without first sealing the air leaks that allow conditioned air to escape directly into the attic. It’s like trying to fill a bucket with a hole in the bottom—adding more water doesn’t solve the problem.
In this post, I’ll show you exactly what attic bypasses are, why they’re sabotaging your comfort and energy costs, and how to find and seal them before you add another inch of insulation. The right sequence—seal first, then insulate—can reduce your heating and cooling costs by 10-20%, independent of any insulation R-value increase.
Understanding the Problem: What Are Attic Bypasses and Why Insulation Doesn’t Stop Them
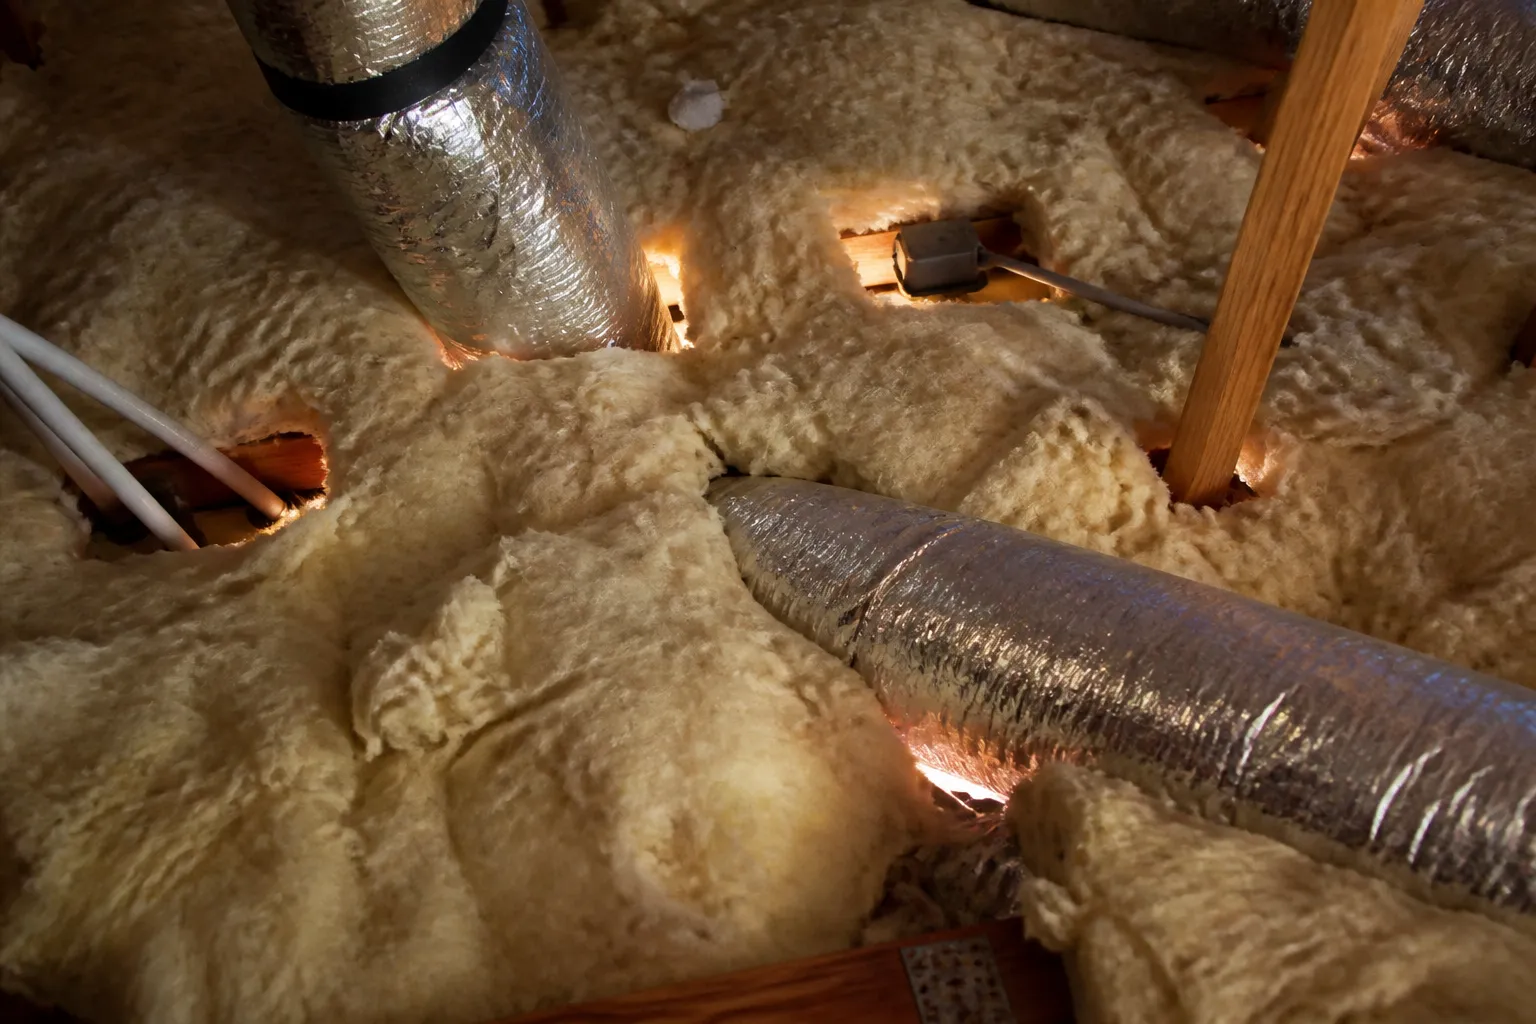
An attic bypass is any opening, gap, or penetration that allows air to flow directly from your conditioned living space up through the ceiling and into the unconditioned attic. This includes gaps around interior wall top plates, openings around recessed lights, gaps around plumbing vents, unsealed electrical boxes, HVAC chases, dropped ceilings, and even the attic hatch itself.
The critical thing to understand is that bypasses operate on a different physical principle than conductive heat loss. Insulation stops conducted heat transfer—it slows the movement of thermal energy through materials. But bypasses allow convective heat transfer: warm air physically moves from your living space into the attic, carrying its heat energy with it. That air flows through or around insulation without any resistance.
Think of it this way: R-60 insulation is excellent at slowing conductive heat transfer through the insulation material itself. But if warm air is flowing through a gap beneath the insulation, that insulation does absolutely nothing to stop it. You could have R-100 insulation, and it wouldn’t matter.
This is why your home’s heating and cooling works like a chimney—what building scientists call the stack effect. In winter, warm air naturally rises. Your home acts like a vertical pipe: warm conditioned air rises through every attic bypass at the top of the house and escapes into the attic, while cold outdoor air is simultaneously pulled in through gaps and leaks lower in the envelope (basement rim joists, poorly sealed windows, foundation cracks). The bigger the temperature difference between inside and outside, the stronger this stack effect becomes.
Here’s the brutal fact: a single 1-inch gap in an attic bypass can leak as much air volume over a heating season as leaving a standard window cracked open 24/7 for three months. Multiply that across 10, 20, or 30 different bypasses in your attic, and you’re looking at the thermal equivalent of having multiple windows open all winter—except you can’t see them.
According to research from the U.S. Department of Energy and the Building Science Institute, air sealing alone—before adding any insulation—can reduce heating and cooling costs by 10-20%. That’s independent of R-value improvements. Many homeowners achieve that savings simply by sealing the attic bypasses their contractor covered with insulation instead of fixing.
Why Most Contractors Add Insulation Over Unsealed Bypasses
I don’t want to bash contractors—I work with good ones regularly. But the economics of the insulation business incentivize speed. Pulling back existing insulation, finding and sealing dozens of small gaps, and then replacing everything takes two to three times longer than simply blowing new insulation over the top. From a labor cost perspective, it’s tempting to skip the sealing step.
The homeowner also sees insulation as “the upgrade”—it’s visible, measurable (R-values are printed right on the bag), and feels like progress. Air sealing doesn’t have the same tangible appeal, even though it’s more cost-effective in most homes.
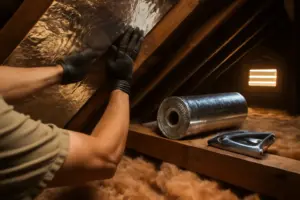
The correct sequence, according to building science standards: (1) pull back or remove existing insulation from the attic floor, (2) systematically find and seal every bypass, (3) replace and add to the insulation.
The Foam Sealant That Finally Let Me Stop Chasing Air Leaks in the Dark
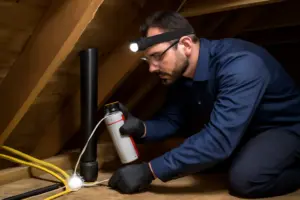
After blowing insulation over unsealed penetrations hundreds of times, I learned the hard way: no R-value fixes air leaks. You need to seal first, insulate second—and that means reaching into tight rim joists, pipe chases, and electrical boxes where a caulk gun just won’t work.
What works
- Fills irregular gaps and compressed cavities that rigid caulking misses—especially around HVAC ducts, wiring penetrations, and rim board transitions where I find the worst leakage.
- Fireblock rating means it won’t create a fire hazard in wall cavities—critical when you’re working in occupied attics where code compliance matters.
- The complete kit includes a gun and cleanup tool, so you’re not scrambling mid-job or leaving gaps because you ran out of applicator tips.
What doesn’t
- Expands aggressively—I’ve seen first-timers over-apply and create bulges that compress insulation or block airflow in tight spaces.
- Once cured, it’s nearly impossible to remove cleanly if you need to access the hole again, so measure twice and apply once.
I’ll admit, my first can taught me a lesson about restraint—I filled a rim board gap so full it took me fifteen minutes to shave it flush with a utility knife. But that’s when I realized I’d finally found a tool that wouldn’t let sloppy sealing hide under insulation batts anymore. If you’re serious about fixing cold rooms, grab a Great Stuff PRO Gaps & Cracks Complete Kit—Fireblock Expanding Foam Sealant and seal before you insulate.
This post contains affiliate links. As an Amazon Associate, I earn from qualifying purchases at no extra cost to you.