Last spring I got a call from a homeowner in Draper who was furious. He’d paid a handyman — not a licensed HVAC tech — to install a new 18,000 BTU ductless mini split in his master bedroom. The unit ran constantly, the room never got below 76°F on a 95-degree day, and after just 14 months the compressor locked up. When I pulled the line set apart, I found three things that should never happen on any professional job: the suction line insulation had been left off the last four feet before the wall penetration, the flare connections were hand-tightened without a torque wrench, and the system had been charged without ever pulling a proper vacuum. The refrigerant oil had already started breaking down from moisture contamination, and the compressor windings showed early acid damage. A $1,400 system was dead before its second summer. These are the most common mini split installation mistakes I see — and they’re almost always preventable. Whether you’re hiring a contractor, supervising a DIY install, or troubleshooting a system that’s already underperforming, understanding these failure points can be the difference between a 20-year system and a 2-year headache. Let me walk you through exactly what goes wrong and how to make sure it doesn’t happen to you.
Understanding the Most Common Mini Split Installation Mistakes
Mini splits are genuinely excellent equipment — efficient, flexible, and quiet when they’re installed correctly. The problem is that their relatively straightforward appearance fools a lot of people into thinking installation is simple. It’s not. There are five categories of mistakes I see repeatedly in the field, and each one can shorten the life of what should be a 15-to-20-year system.
1. Wrong Head Unit Placement
Cold air is dense and falls. That’s why you want the indoor air handler mounted high on the wall — typically 6 to 8 inches from the ceiling. But I’ve seen units mounted so close to the ceiling that the discharge air immediately hits the ceiling and short-circuits back to the return sensor. The unit senses cold air, thinks the room is satisfied, and cycles off. Room never cools. I’ve also seen heads installed in corners, which creates the same problem from a different angle — the unit blows cold air along two walls and senses it on the return within seconds. The sweet spot is centered on the dominant wall, 6 to 8 inches from the ceiling, with at least 18 inches of clearance on each side.
Interior wall placement is another common trap. The farther the head is from the exterior wall, the longer the line set run, the harder the condensate has to drain, and the more refrigerant you need. Every extra 10 feet of line set beyond the factory charge distance (usually 25 feet on most residential units) requires additional refrigerant — and that math has to be right. Too much or too little refrigerant by even a few ounces destroys compressor efficiency and longevity.
2. Line Set Problems
This is the biggest category of installation errors I see. Mini split line set too long issues are real: most residential single-zone mini splits are rated for a maximum line set length of 50 to 65 feet. Go beyond that and you get oil return problems — the lubricating oil that travels with the refrigerant can’t make it back to the compressor, which then runs dry. You also get increased refrigerant pressure drop, reduced capacity, and efficiency losses that compound over time.
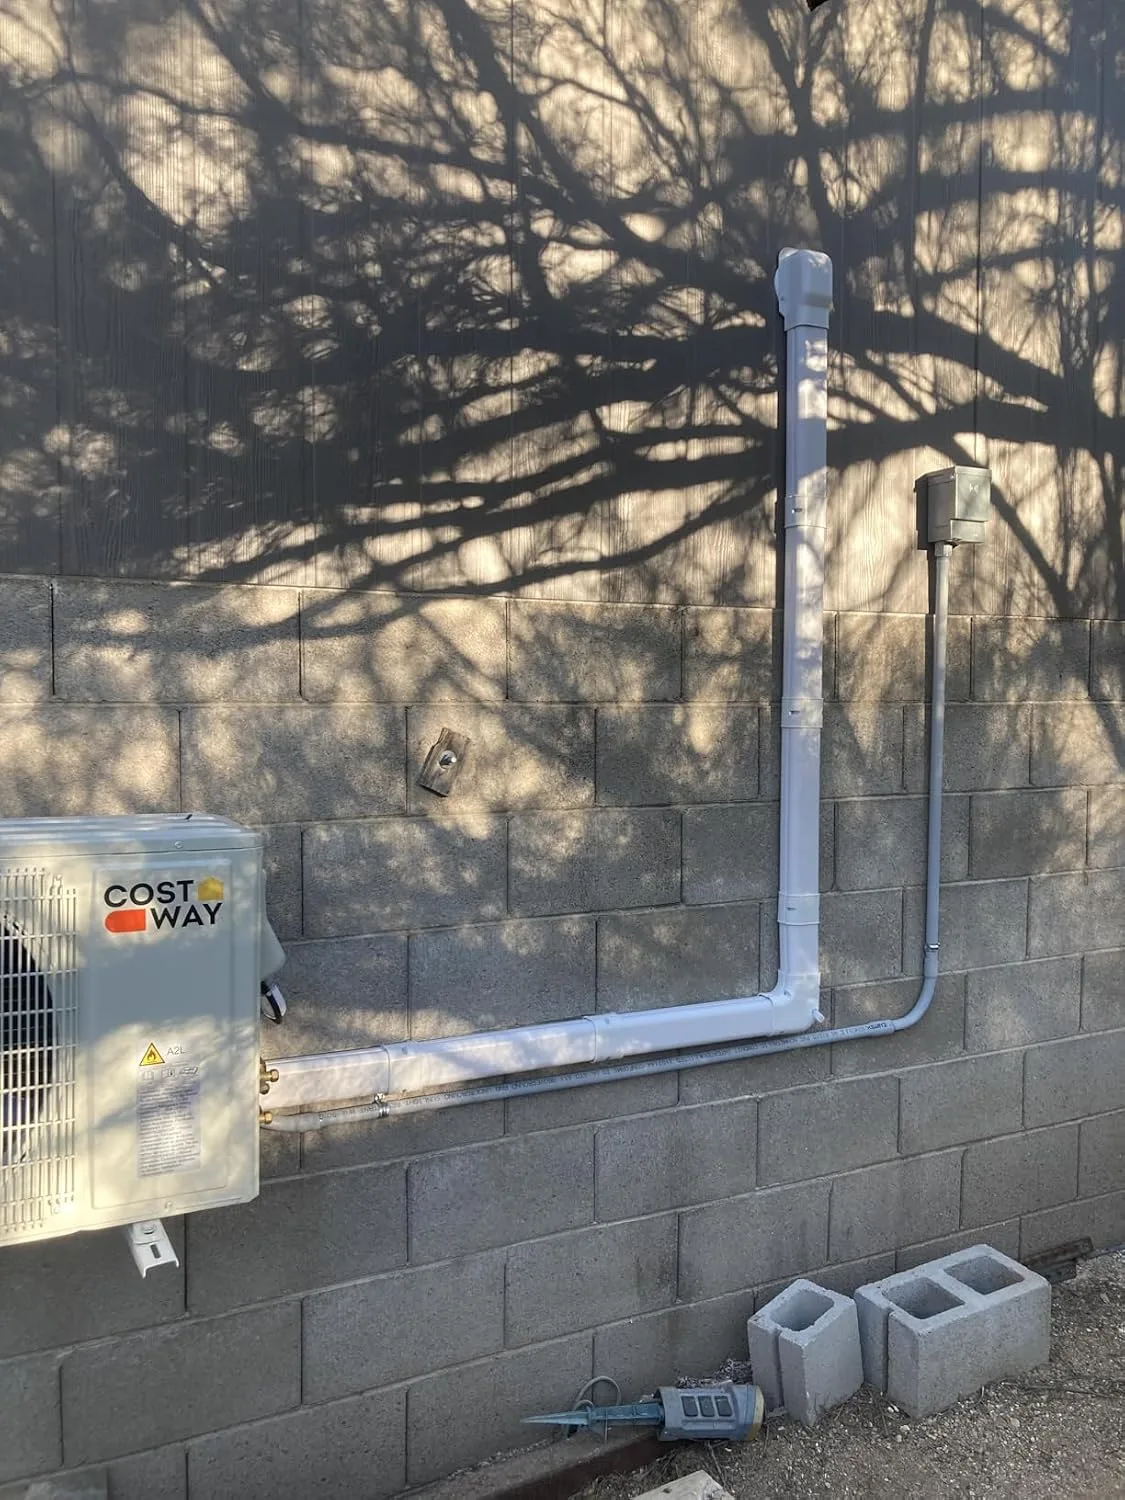
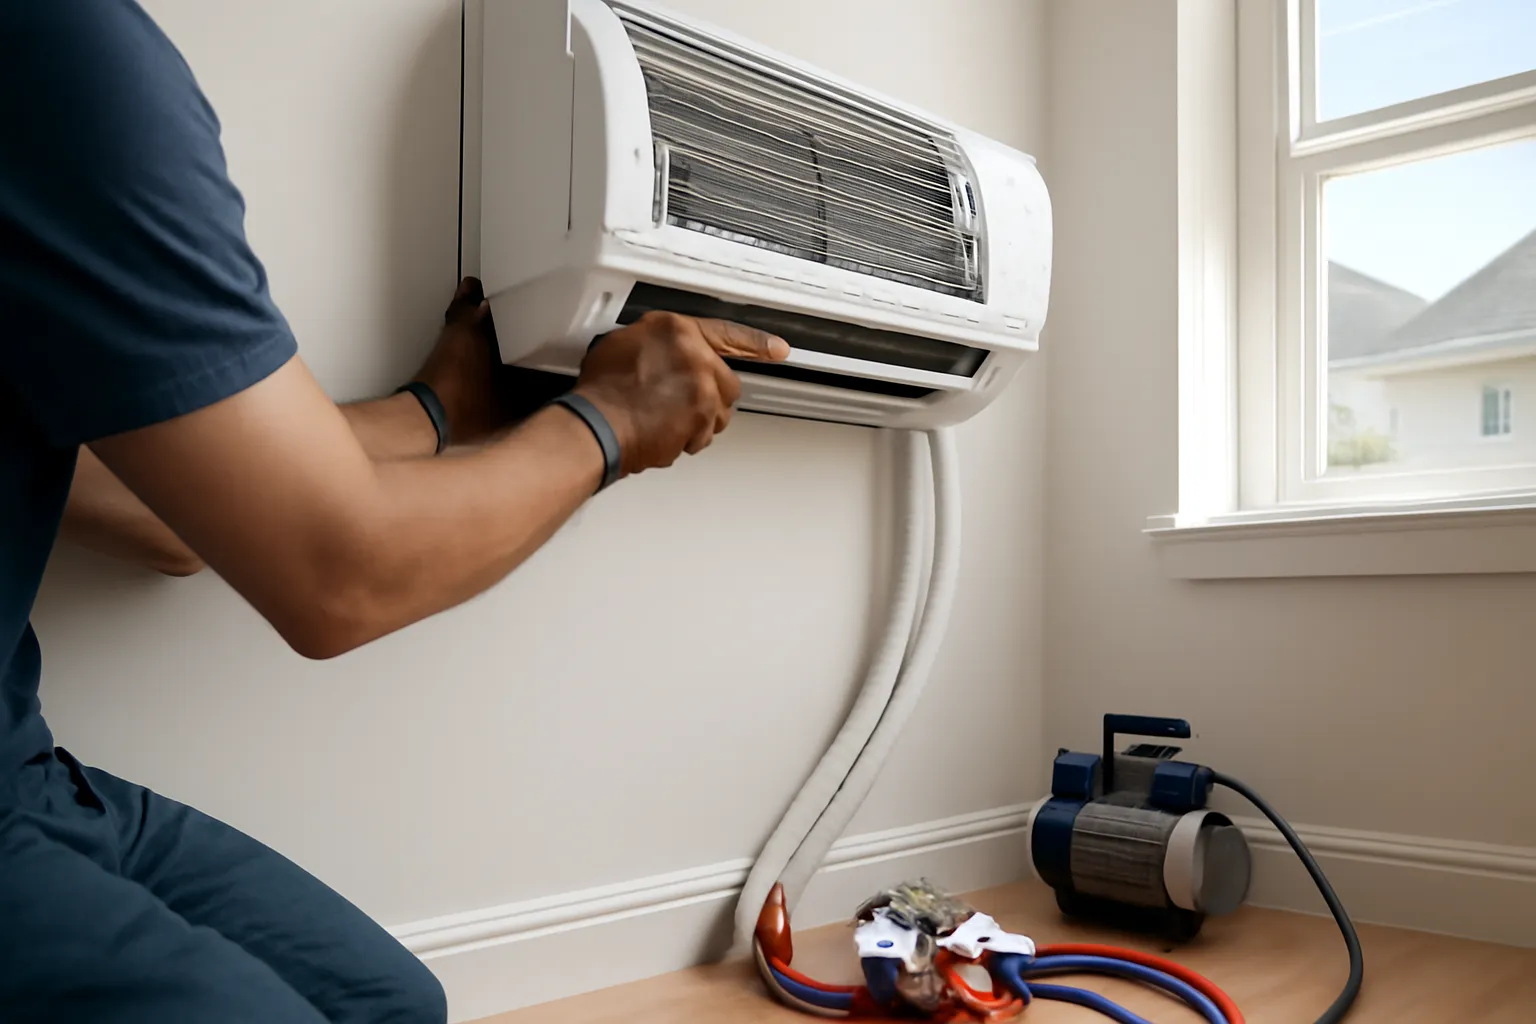
Insulation on the suction line — the larger copper tube — is non-negotiable. That line runs at roughly 40–50°F during cooling mode. Leave it uninsulated and you get condensation, energy loss, and in humid climates, water dripping inside your wall cavity. The entire length, right up to both connections, must be insulated with closed-cell foam insulation rated at 3/8-inch wall thickness minimum.
Sagging line sets trap refrigerant oil in low spots. Lines must be supported every 4 to 6 feet and pitched correctly. And brazing quality — on systems that use brazed connections — is the number-one cause of slow refrigerant leaks. A pinhole leak you can’t see with the naked eye will slowly bleed the system over 2 to 3 years until it stops cooling entirely.
3. Inadequate Vacuum Procedure
This one is almost invisible to homeowners but it’s the silent killer of mini split compressors. Before you release refrigerant from the factory-charged outdoor unit into the line set and indoor coil, you must evacuate all air and moisture from the copper lines. The correct procedure is to pull a vacuum to 500 microns (measured with a micron gauge — not a manifold gauge, which isn’t accurate enough) and hold that vacuum for a minimum of 15 minutes after closing the vacuum pump valve. If the vacuum rises — meaning the pressure increases — you have a leak or moisture in the system. Period. No exceptions. Many ductless mini split DIY problems and even some rushed contractor jobs skip or shortcut this step. Moisture left in the system combines with refrigerant to form hydrofluoric acid. That acid attacks copper and compressor windings. Most compressors that fail before five years have moisture contamination as a root cause.
4. Condensate Drainage Failures
Most mini splits have a built-in condensate pump or rely on gravity. Either way, the drain line must have a continuous slope — no traps, no low spots, no kinks. A plugged or disconnected condensate line overflows into the pan, then into the wall, and you end up with mold, drywall damage, and a service call that costs more than the original installation.
5. Electrical Mistakes
Undersized wire gauge, missing disconnect boxes within sight of the outdoor unit (required by code in most jurisdictions), and improper grounding are all common. A 18,000 BTU mini split typically draws 15 amps; a 24,000 BTU unit can draw 20 amps or more. Wire it on an undersized circuit and you’ll trip breakers at best, melt insulation at worst. Always run a dedicated circuit, correct wire gauge per nameplate data, and install a properly rated disconnect.
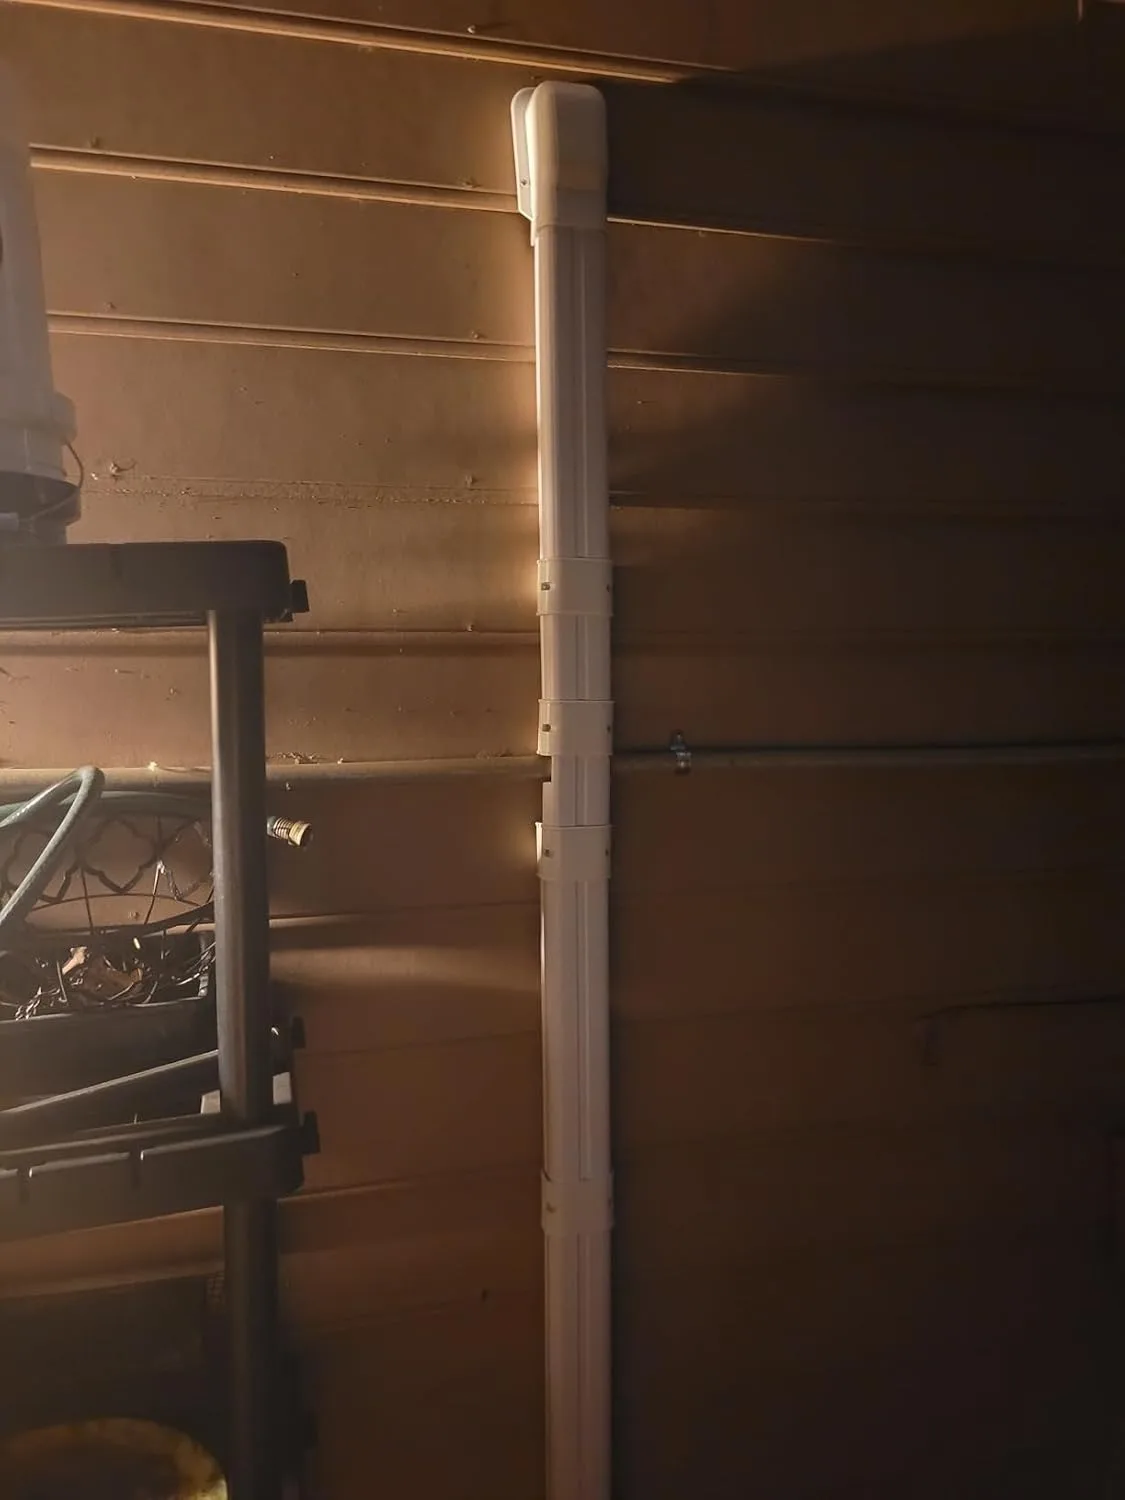
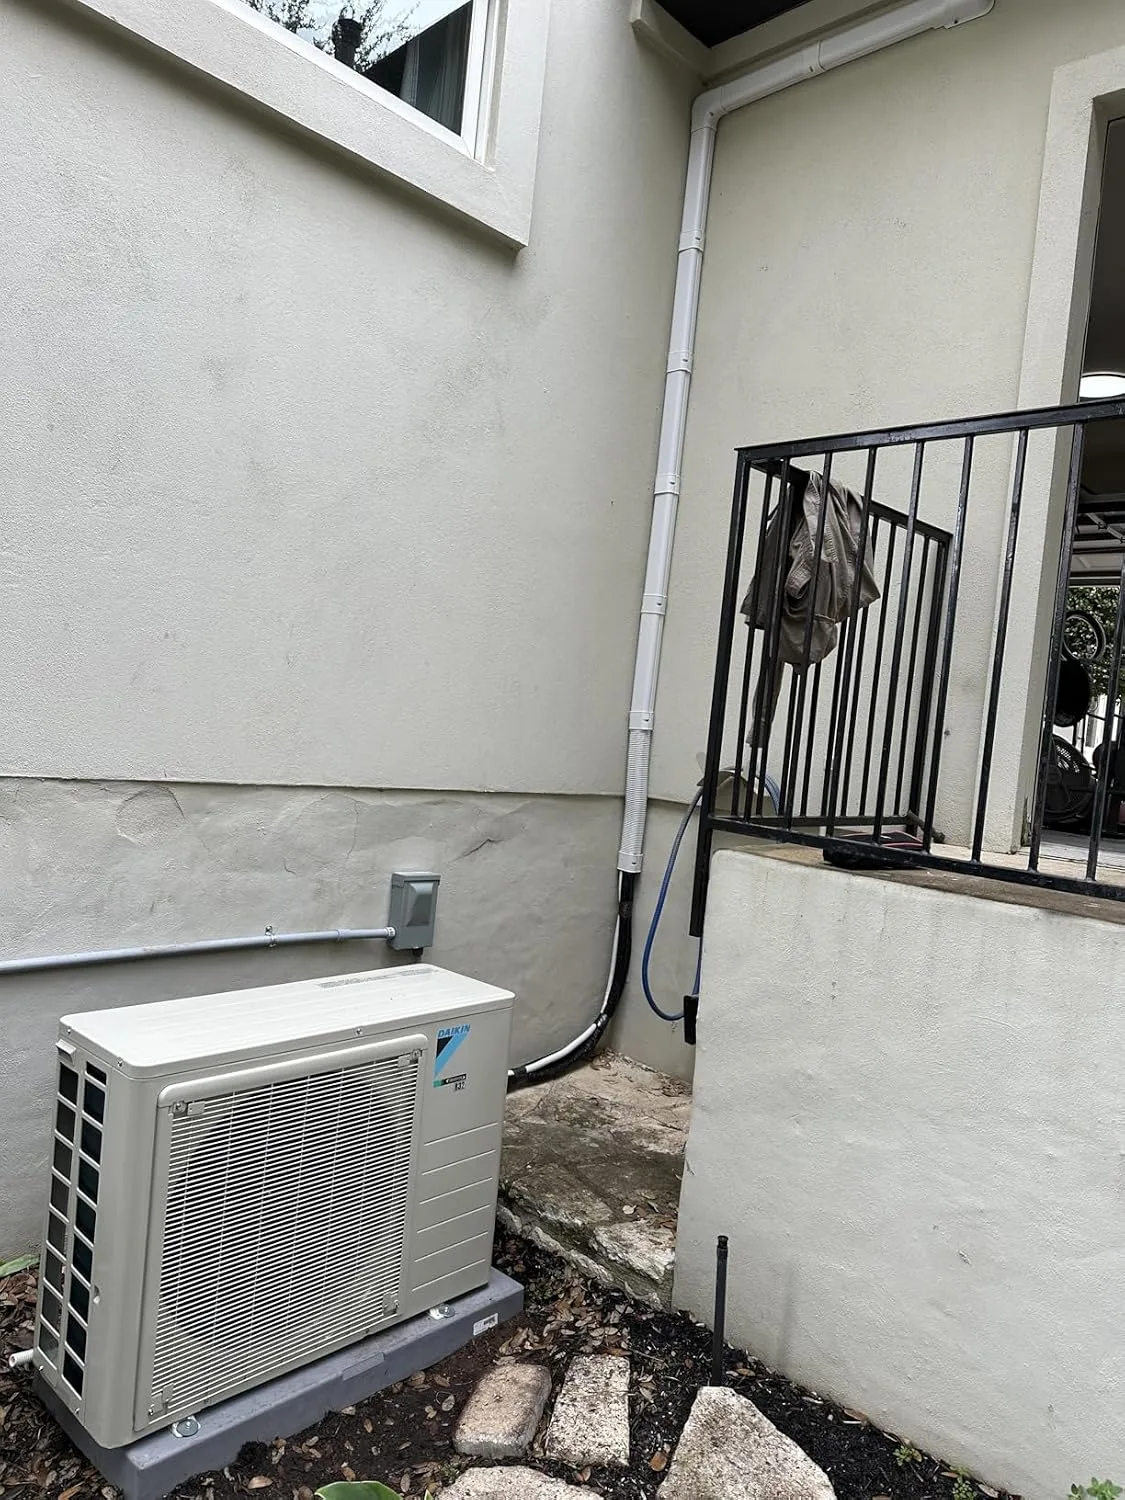
The Line Set Cover That Finally Kept My Refrigerant Lines From Sweating and Freezing
Exposed suction lines are the silent killer of mini split systems — they absorb heat from the air, force your compressor to work harder, and create condensation that eats away at your copper. I learned this the hard way when that Draper homeowner’s uninsulated line set cost him a $1,200 compressor replacement in under 15 months.
What works
- Foam wrap is thick enough (3/8″) to actually prevent condensation sweating on the suction line, even in humid climates — I’ve pulled covers off systems after five years with zero moisture damage underneath.
- The pre-slit design saves hours on installation; you’re not spiraling tape or fighting with adhesive-backed foam that won’t stick to refrigerant oil residue.
- 13 feet of coverage gives you enough slack to cover the entire run from outdoor unit to the wall penetration without splicing sections together — one fewer failure point.
What doesn’t
- UV degradation is real if you leave it exposed to direct sunlight for more than 2-3 years; you’ll want to pair this with a conduit sleeve or paint it if the line set runs along a south-facing wall.
- The fit is snug by design, which is good for performance but means you need to slide it on before you connect the fittings — forgetting this step means taking apart line sets you’ve already pressure-tested.
I almost skipped this step on a retrofit job three years ago because I thought I could just tape over the existing exposed lines, but the first summer proved me wrong when the suction line frosted up and the system went into thermal shutdown. Grab the “Nouscan 3” 13Ft Mini Split Line Set Cover Kit and install it right the first time.
This post contains affiliate links. As an Amazon Associate, I earn from qualifying purchases at no extra cost to you.