Last spring I got a call from a homeowner in a panic. She’d just gotten three quotes to insulate her 1,400-square-foot attic — one came in at $1,800 for blown fiberglass, and two others came in at $7,500 and $9,200 for closed-cell spray foam. All three contractors told her their option was “the best investment.” The spray foam guys handed her printouts showing 40% energy savings. The fiberglass guy said spray foam was overkill. Nobody gave her a straight answer on spray foam insulation cost vs savings ROI, and she was more confused walking out of those meetings than she was walking in. I’ve been doing HVAC and home performance work for over fifteen years, and I’ll tell you — that scenario plays out constantly. Contractors with skin in the game aren’t always the best source of unbiased advice. So let me give you the honest breakdown: what spray foam actually costs, what it actually saves, and how to figure out whether that premium is worth it for your specific house — before you sign anything.
Understanding the Real Cost Gap Between Spray Foam and Fiberglass
Let’s start with the numbers, because the sticker shock is real and it deserves a direct explanation. For a typical 1,000-square-foot attic roofline application, here’s what you’re looking at in today’s market:
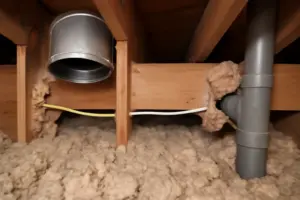
- Blown fiberglass (attic floor): $1,200–$2,000 installed to R-38 or R-49
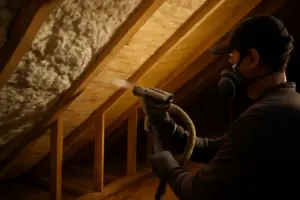
- Open-cell spray foam (roofline): $3,000–$5,000 installed at R-20 to R-30
- Closed-cell spray foam (roofline): $6,000–$10,000 installed at R-35 to R-42
That’s a 3x to 5x cost difference. And here’s the part most contractors skip: the R-value alone doesn’t explain it. Spray foam’s real value isn’t just thermal resistance — it’s air sealing. In a typical older home, 30–40% of heating and cooling energy loss happens through air infiltration, not conduction through the insulation itself. A blower door test (which pressurizes your house to 50 Pascals to measure air leakage) on an unsealed older home will often show 3,000–5,000 CFM50 of leakage. A well-done spray foam job on the roofline can get that number down to under 1,000 CFM50. Blown fiberglass is a great thermal barrier, but it’s air-permeable — it doesn’t seal gaps, bypasses, or penetrations. It just slows heat transfer through the insulation material itself.
This is where the building science matters. Heat moves in three ways: conduction (through solid material), convection (through air movement), and radiation (infrared energy through space). Fiberglass handles conduction reasonably well. It does almost nothing about convection — meaning air can still move through and around it, carrying conditioned air right out of your house. Spray foam handles all three simultaneously. That’s the justification for the premium. The question is whether your house actually has enough of a convection and radiation problem to make that premium pay off.
The honest answer? It depends entirely on your starting point. A leaky 1960s ranch with original attic bypasses, open wall top plates, and ductwork sitting in a 140°F attic in July? Spray foam could transform that house. A 2005 home that already had a professional air sealing job and blown fiberglass to R-49? The marginal improvement from upgrading to spray foam may take 20+ years to recoup. Understanding which situation you’re actually in is the single most important factor in this whole analysis — and most homeowners don’t know the answer before they start getting quotes.
The Thermal Camera That Revealed Why the Contractors’ Numbers Didn’t Match
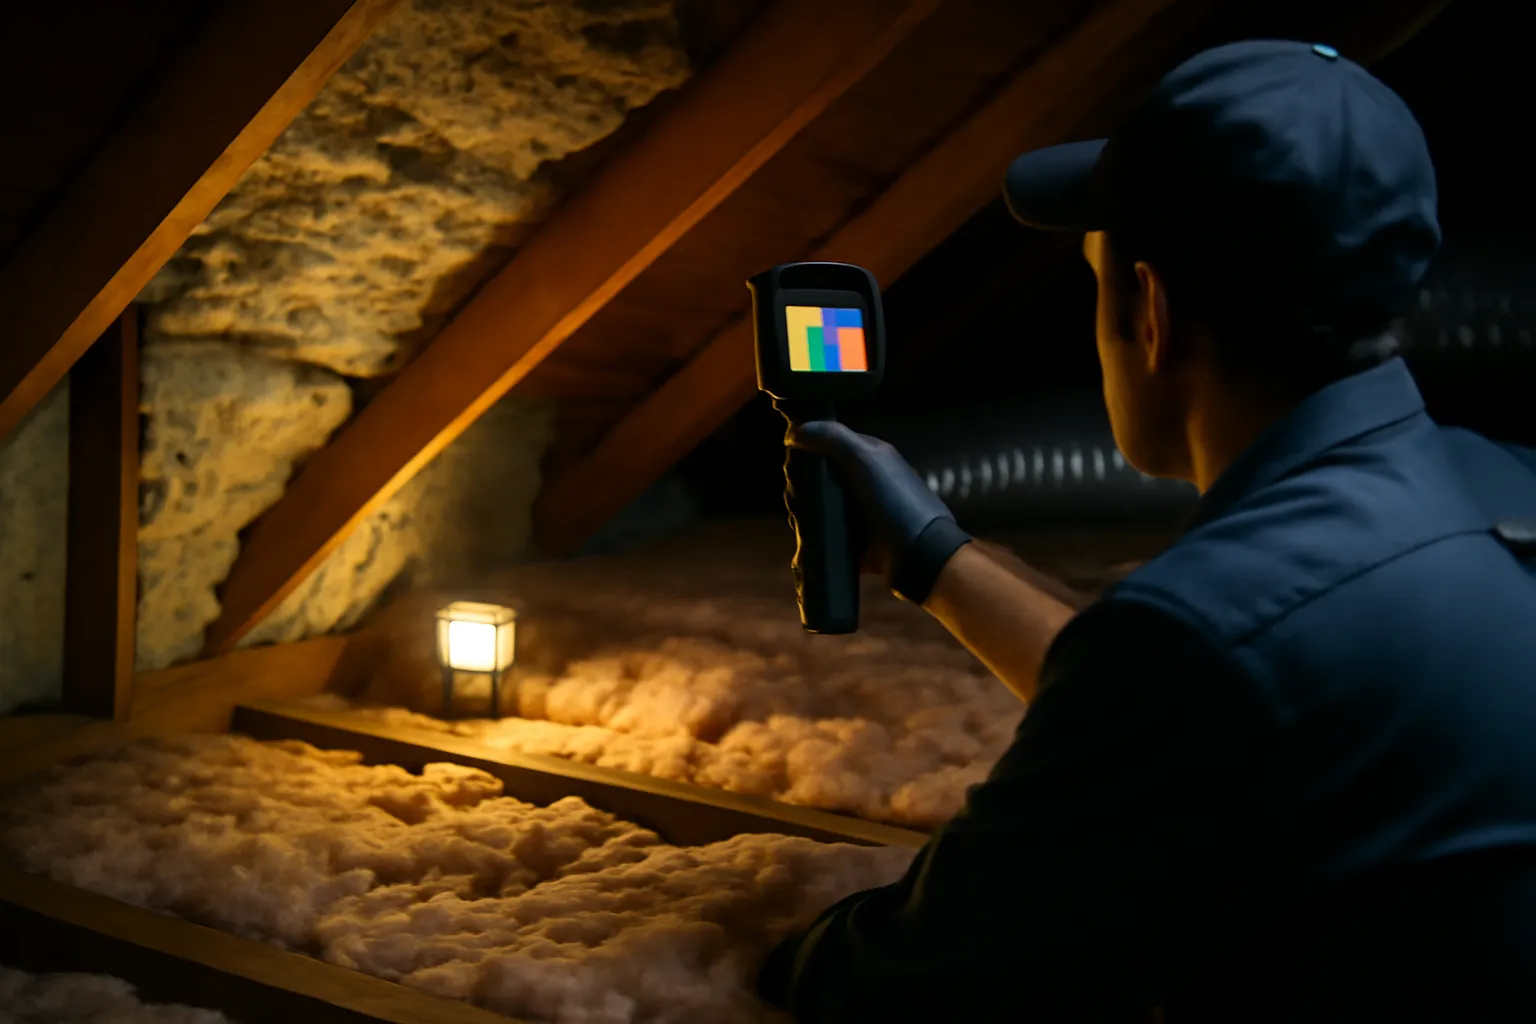
When you’re comparing spray foam vs. fiberglass quotes, you’re essentially comparing claims without evidence. I needed a way to see what was actually happening in the attic—air leaks, thermal bridging, cold spots—before deciding which insulation method made sense for the ROI.
What works
- Spots air leaks and thermal bridges that explain why one contractor’s “40% savings” claim might actually be real—or wildly optimistic. I’ve caught rim joists and plate seams contractors assumed were sealed but weren’t.
- Gives you hard visual evidence to push back on vague promises. Instead of trusting printouts, you can show contractors exactly where the energy is bleeding and ask how their method addresses it.
- The 256 x 192 resolution is sharp enough to distinguish between insulation gaps and actual air movement without spending $3,000+ on industrial-grade equipment.
What doesn’t
- It won’t tell you the R-value or predict your exact energy savings—it shows you *where* the problem is, not the dollar amount you’ll recover.
- You need a meaningful temperature difference between inside and outside to get useful readings; on mild spring days, thermal patterns are harder to read clearly.
The first time I used this camera during an attic walk-through, I almost missed a 12-inch section of missing insulation hidden under ductwork—the thermal signature would have been invisible without it. That’s when I realized I couldn’t give homeowners honest ROI advice without seeing the actual problem. Grab the Elitech Thermal Imaging Camera (256 x 192 IR Resolution) and stop taking contractor claims on faith.
This post contains affiliate links. As an Amazon Associate, I earn from qualifying purchases at no extra cost to you.