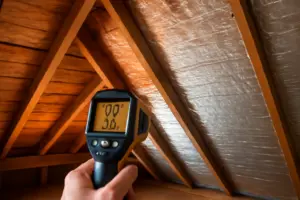
If you’ve ever wondered why your hardwood floors feel like ice in January despite a fully heated basement, I want to tell you about a service call I went on a few years back in a 1960s split-level outside of Salt Lake City. The homeowner had already replaced her furnace, added attic insulation, and even invested in new windows — and she was still freezing. Her heating bills were eye-watering. When I pulled out my thermal imaging camera and walked the perimeter of her basement, the problem lit up like a neon sign: a continuous band of blue running around the entire foundation line. The rim joist — every single bay of it — was completely uninsulated, totally unaired, and hemorrhaging heat. We’re talking about a 12-inch band of exposed framing that ran the entire perimeter of her house, open to outside air at every seam. I’ve done hundreds of energy audits and blower door tests over the years, and I’d estimate that more than 70% of the older homes I walk into have the exact same problem. The fix took one Saturday and cost her under $300 in materials. Her next heating bill dropped noticeably, and those cold floors? Gone. That’s what insulating rim joists band board how to looks like in the real world — and it’s what I want to walk you through today.
Understanding the Problem: Why the Rim Joist Is Your Home’s Biggest Air Leak
Let’s start with a quick anatomy lesson, because most homeowners have never heard the term “rim joist” even though it’s one of the most important parts of their house from an energy standpoint. When a house is framed, the floor joists — those horizontal lumber members that hold up your first floor — need something to bear on at the edges. That “something” is the rim joist, sometimes called the band board or band joist. It sits on top of your foundation wall and runs along the perimeter of the house, closing off the ends of all those parallel floor joists. In a typical home, it’s a single piece of 2×10 or 2×12 lumber.
Here’s the problem: that rim joist is sitting right at the intersection of your conditioned living space and the outside world. It’s framing lumber — not insulation, not an air barrier. And in older homes built before modern energy codes, it’s almost always left completely bare. No foam. No fiberglass. Nothing.
Now add in the physics. Wood framing has an R-value of roughly R-1 per inch, so a 1.5-inch-thick rim joist gives you about R-1.5 against outdoor temperatures that might be 15°F in January. Compare that to the R-13 to R-21 that’s typically in your exterior walls, and you can see why this is such a massive thermal bridge. But heat loss from conduction is actually the secondary problem. The bigger issue is air leakage.
The rim joist area is riddled with gaps. You’ve got the joint between the sill plate and the foundation. You’ve got the joint between the rim joist and the sill plate. You’ve got gaps at every single floor joist end, where the joist meets the rim. If the house has settled even slightly — and most older homes have — those gaps open up further. Building scientists who run blower door tests (a diagnostic that depressurizes a house to 50 Pascals and measures total air infiltration in cubic feet per minute) routinely identify the rim joist area as accounting for 15% to 30% of total whole-house air leakage. I’ve personally measured homes where it was even higher.
That cold draft you feel along baseboards on exterior walls in winter? That’s not your imagination and it’s not a window leak. Nine times out of ten, it’s rim joist air infiltrating through the floor system and migrating up the wall cavity. It also creates a moisture problem: warm interior air hitting cold framing can condense, leading to mold and rot over time — especially if someone stuffed fiberglass batts in there without air sealing first. We’ll come back to that.
The rim joist air sealing importance really can’t be overstated. It’s the single highest-return insulation upgrade available in most older homes, and it’s almost always skipped — either because contractors don’t go looking for it, or because homeowners don’t know to ask. If you only do one air sealing project this year, make it this one.
The Foam Gun That Finally Let Me Seal Rim Joists Right the First Time
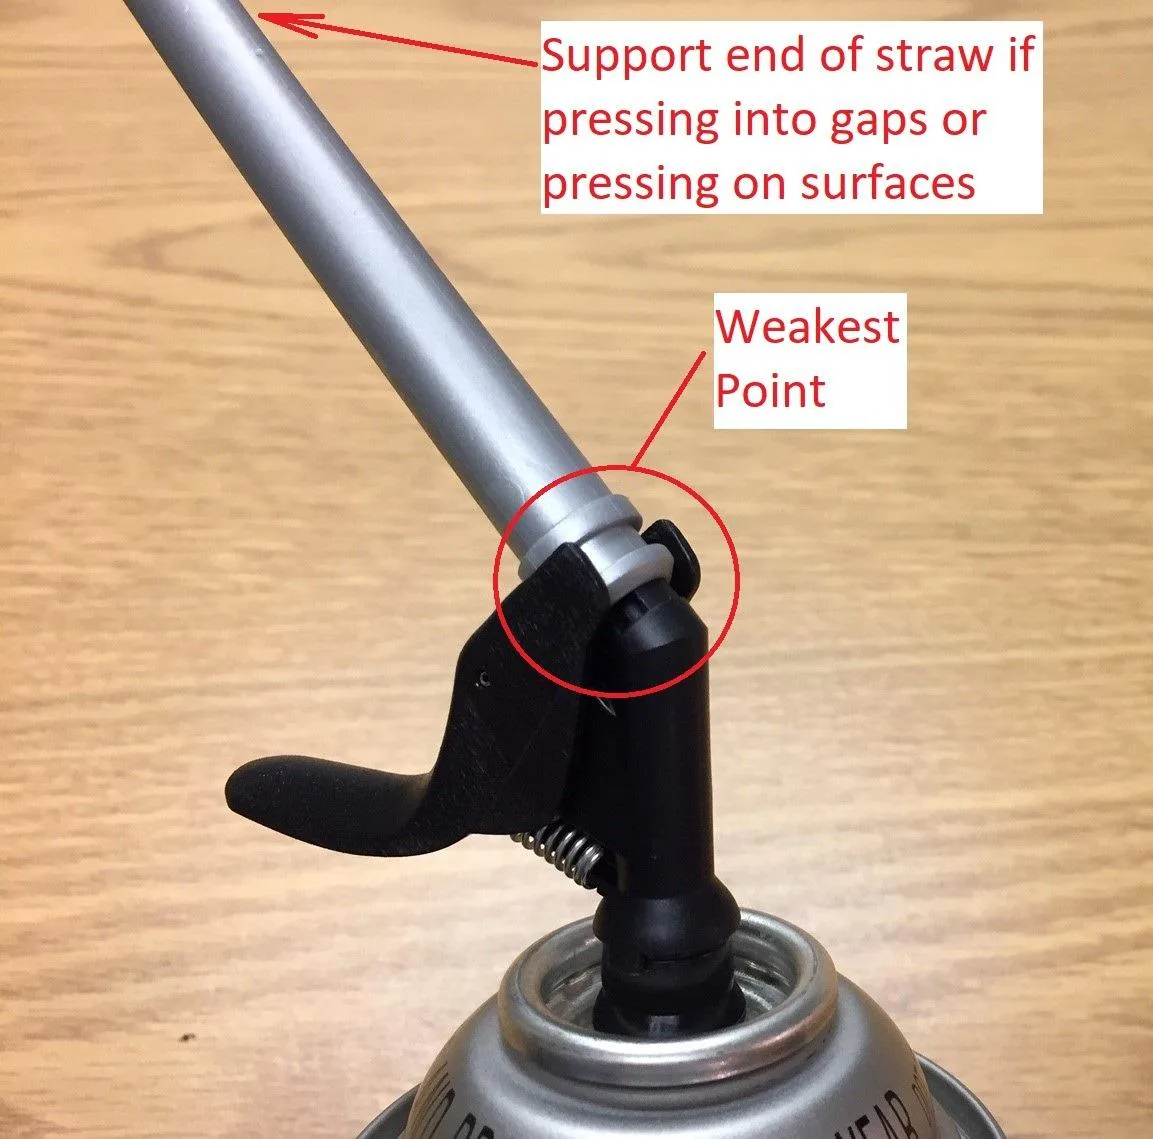
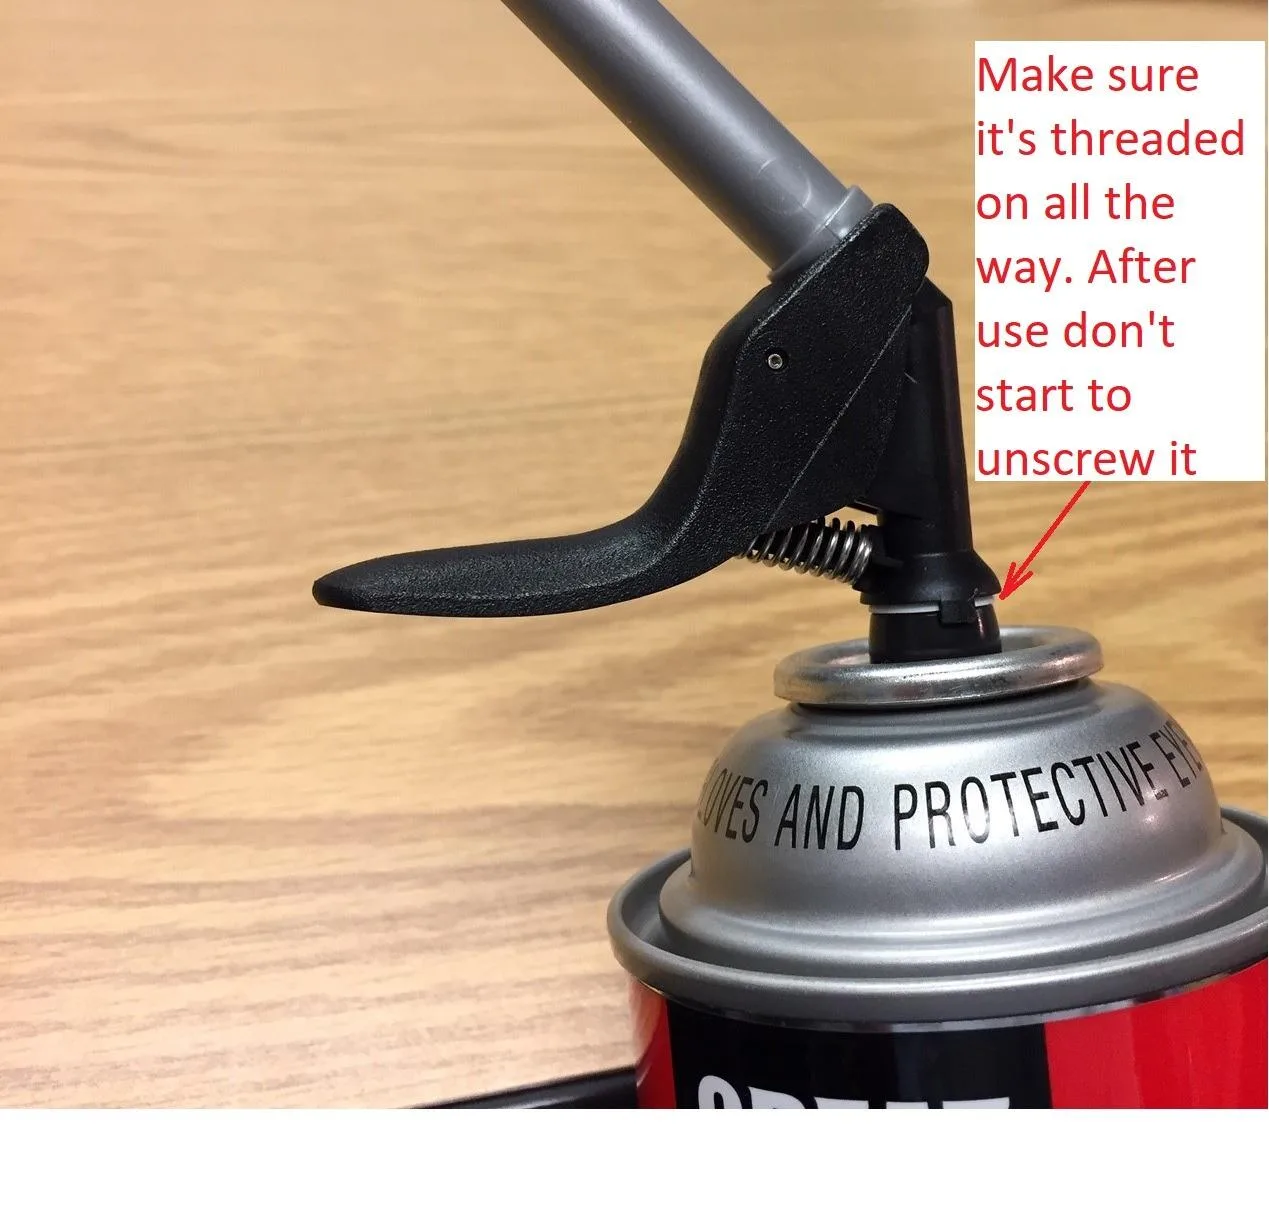
Rim joist sealing demands precision—you’re filling irregular gaps between rim board and foundation in tight basement corners where a caulk gun just won’t reach or control the bead. A quality expanding foam dispenser makes the difference between an airtight seal and wasted cans of product that over-expand or leave voids.
What works
- The smart dispenser trigger gives you one-hand control—critical when you’re balancing yourself on a foundation ledge and need to manage application speed so foam doesn’t blow out of tight gaps.
- 12-ounce cans with this nozzle let you complete a typical rim joist on one or two applications without switching cans mid-run, keeping your bead consistent and reducing waste.
- The precision tip prevents the aggressive overspray you get with standard straw applicators, which matters when you’re sealing inches away from finished basement walls or electrical runs.
What doesn’t
- The dispenser itself adds cost per application compared to basic cans, though you’ll recover that in reduced product waste on your first two or three jobs.
- If you don’t purge the nozzle between uses, the foam hardens inside and clogs it—you’ll need to plan for that cleanup or accept buying new dispensers regularly.
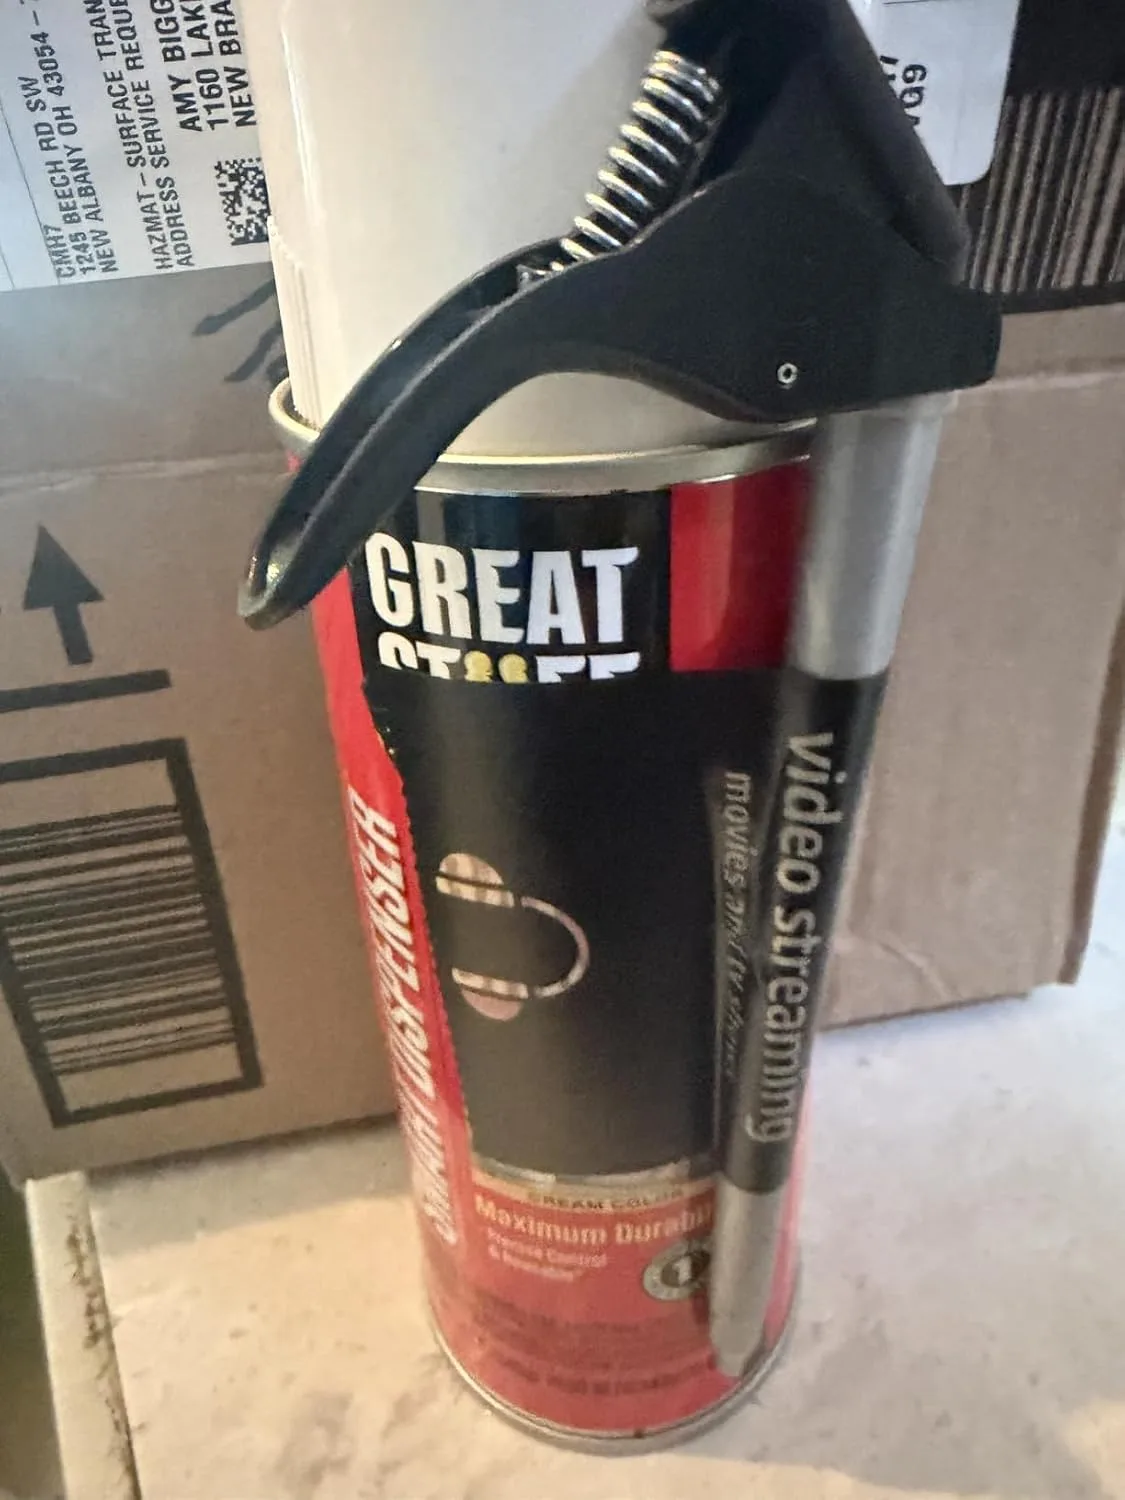
I remember my first rim joist seal-up without one of these: I burned through three standard cans, made a mess along the top of the foundation, and still had thin spots where air could whistle through. I won’t do that again. Great Stuff 99108824 Smart Dispenser Gaps & Cracks, 12 oz has become part of every rim joist job I bid now.
This post contains affiliate links. As an Amazon Associate, I earn from qualifying purchases at no extra cost to you.